Sign-In with SAML (Okta)
IceHrm supports Single Sign-On (SSO) using SAML 2.0. This guide walks you through configuring Okta as your identity provider for IceHrm authentication.
Step 1: Configure Okta Application
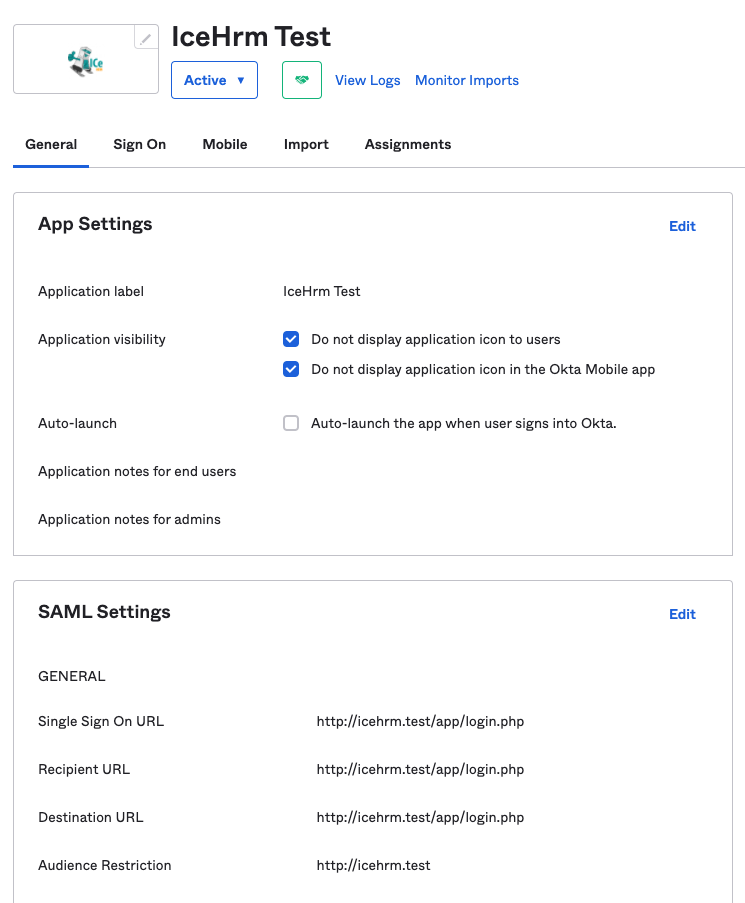
Create a SAML application in Okta with the following endpoint URLs (replace icehrm.test with your domain):
- Single Sign On URL:
http://icehrm.test/app/login.php - Recipient URL:
http://icehrm.test/app/login.php - Destination URL:
http://icehrm.test/app/login.php - Audience Restriction:
http://icehrm.test
Step 2: Assign Users in Okta
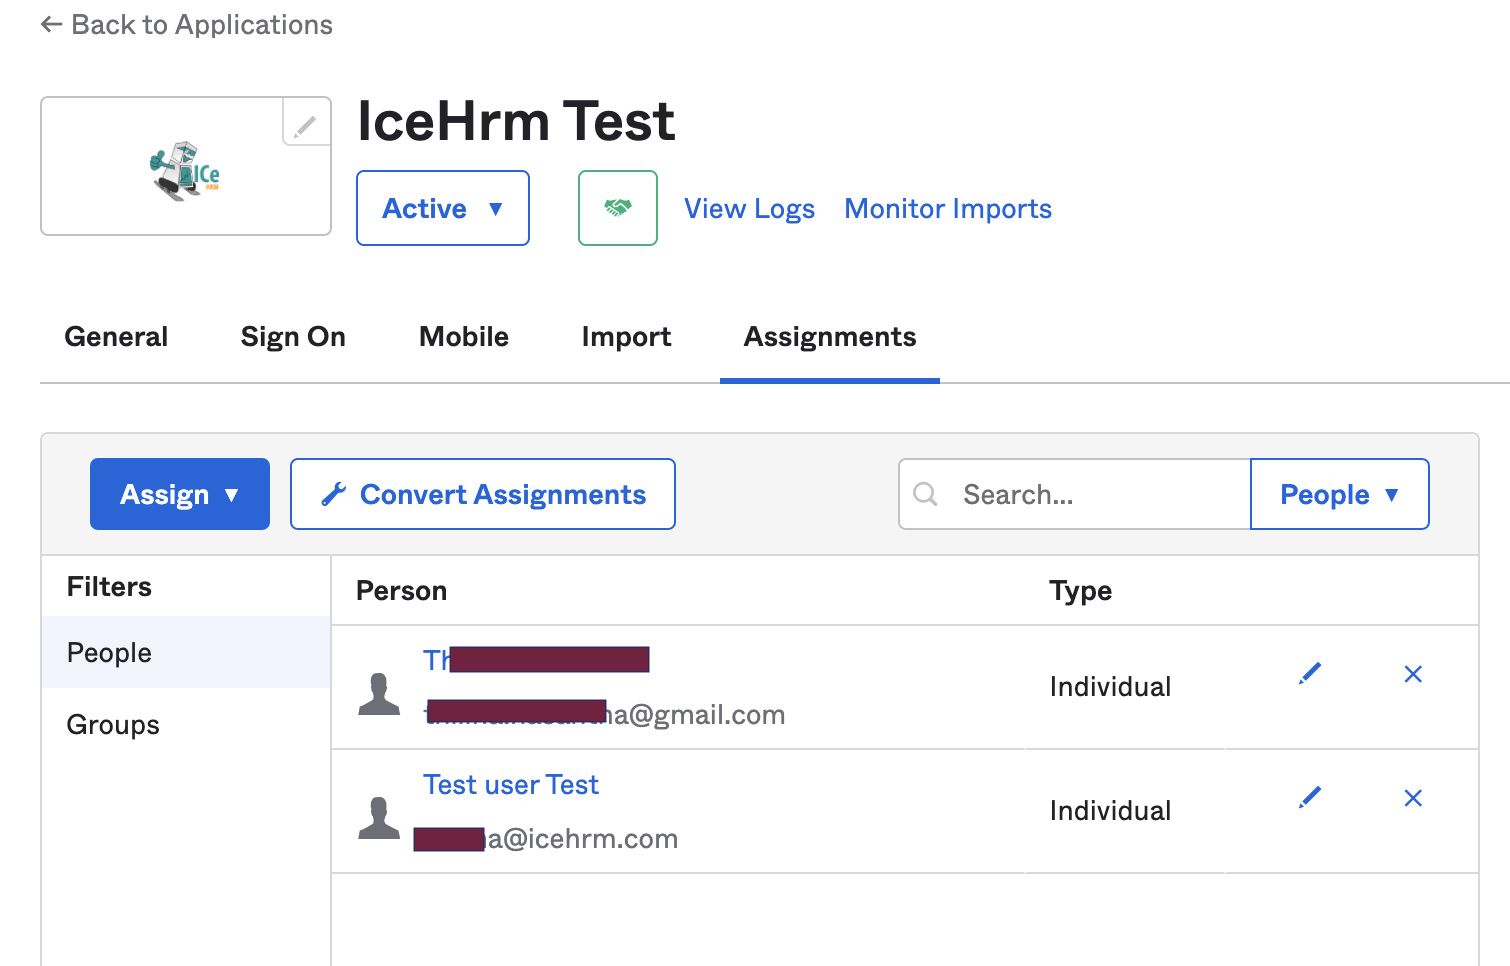
Assign users to the Okta application via the Assignments tab.
warning
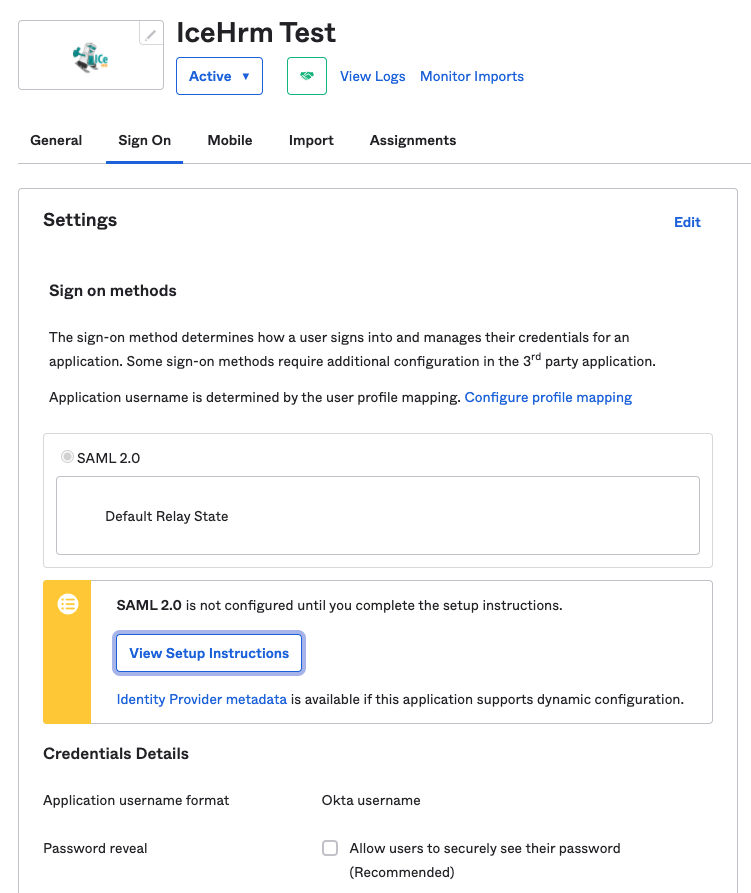
The Name ID of the assigned user must match the email of a user registered in IceHrm.
Step 3: Get Okta Configuration Details
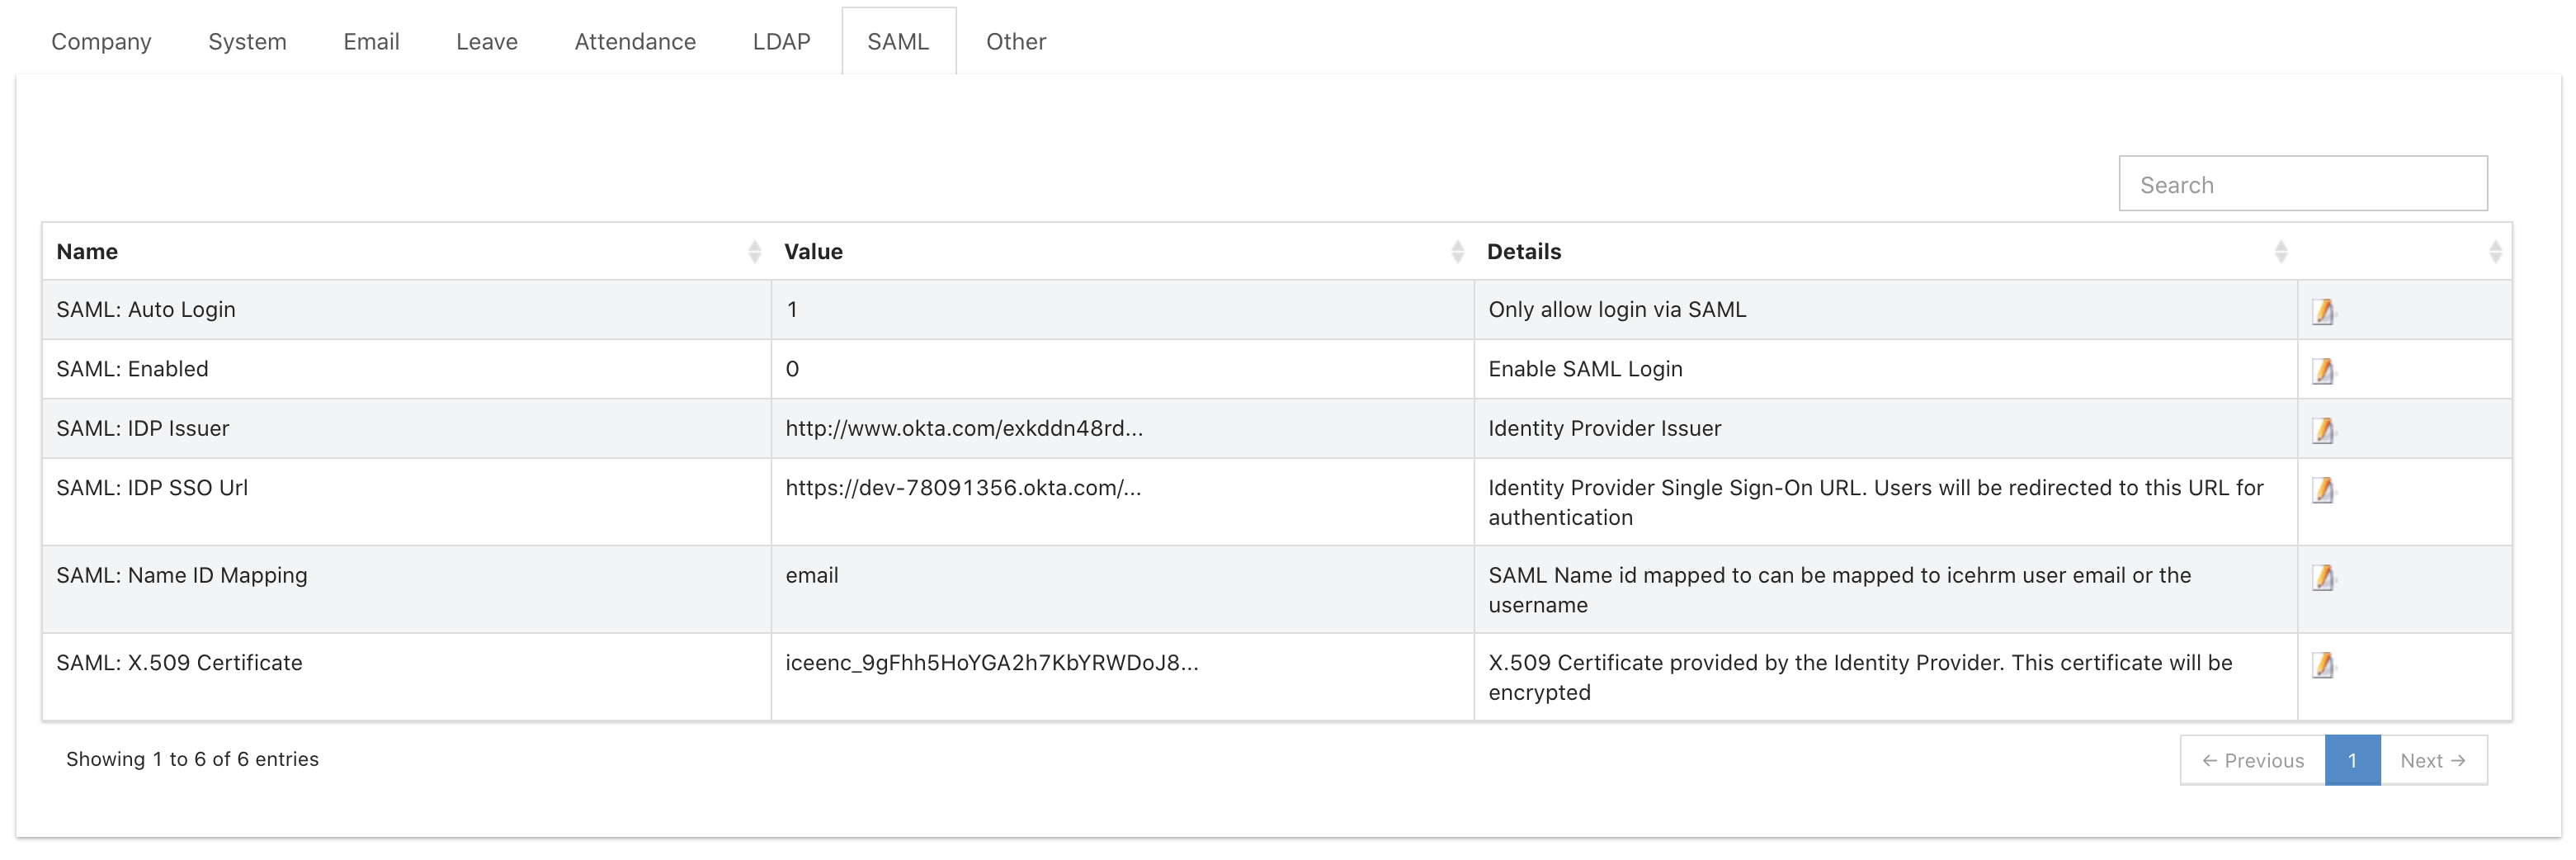
- Navigate to your Okta application's Sign On section
- Click View Setup Instructions
- Copy the configuration values needed for IceHrm
Step 4: Configure IceHrm SAML Settings
- Log in to IceHrm as an administrator
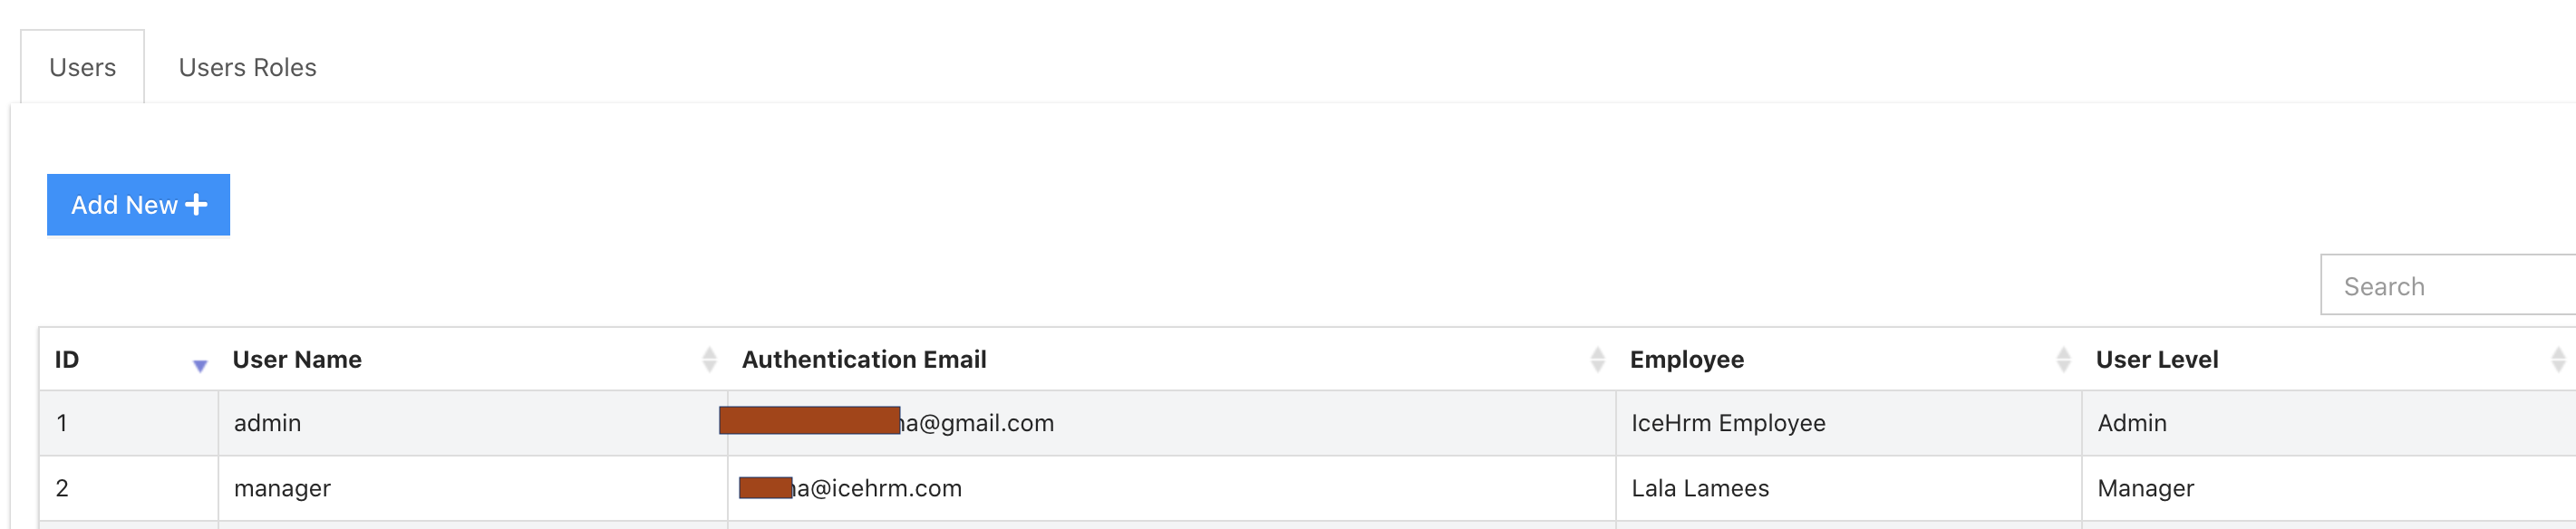
- Navigate to System -> Settings -> SAML
- Enter the values from Okta's setup instructions
Step 5: Enable SAML Authentication
In System -> Settings -> SAML, enable the following settings:
- Set SAML: Enabled to Yes
- Set SAML: Auto Login to Yes
Result
Once configured, users visiting the IceHrm login page will be automatically redirected to Okta for authentication. After successful login with Okta credentials, they will be redirected back to IceHrm.
Troubleshooting
User cannot log in:
- Verify the Name ID in Okta matches the user's email in IceHrm
- Ensure the user is assigned to the Okta application
- Check that all SAML URLs are correct
Redirect loop:
- Verify the Single Sign On URL is correct
- Check that the Audience Restriction matches your IceHrm domain
To disable SAML:
- Access IceHrm directly via
http://your-domain/app/login.php?saml=0 - Log in as admin with local credentials
- Disable SAML in settings