Projects and Clients for Timesheets
Timesheet hours in IceHrm are logged against projects, and every project belongs to a client. Before your team can fill in timesheets, set both up in the Time and Work area under Manage > Projects.
IceHrm is not a project management tool
It stores only the minimum details about clients and projects — just enough to track and bill time on timesheets.
Set up in this order
- Add clients first — a project cannot exist without a client.
- Then add projects, assigning each one to a client.
- Optionally, assign projects to employees so each person only sees the projects relevant to them.
Step 1: Add clients
Clients can be external customers or internal departments.
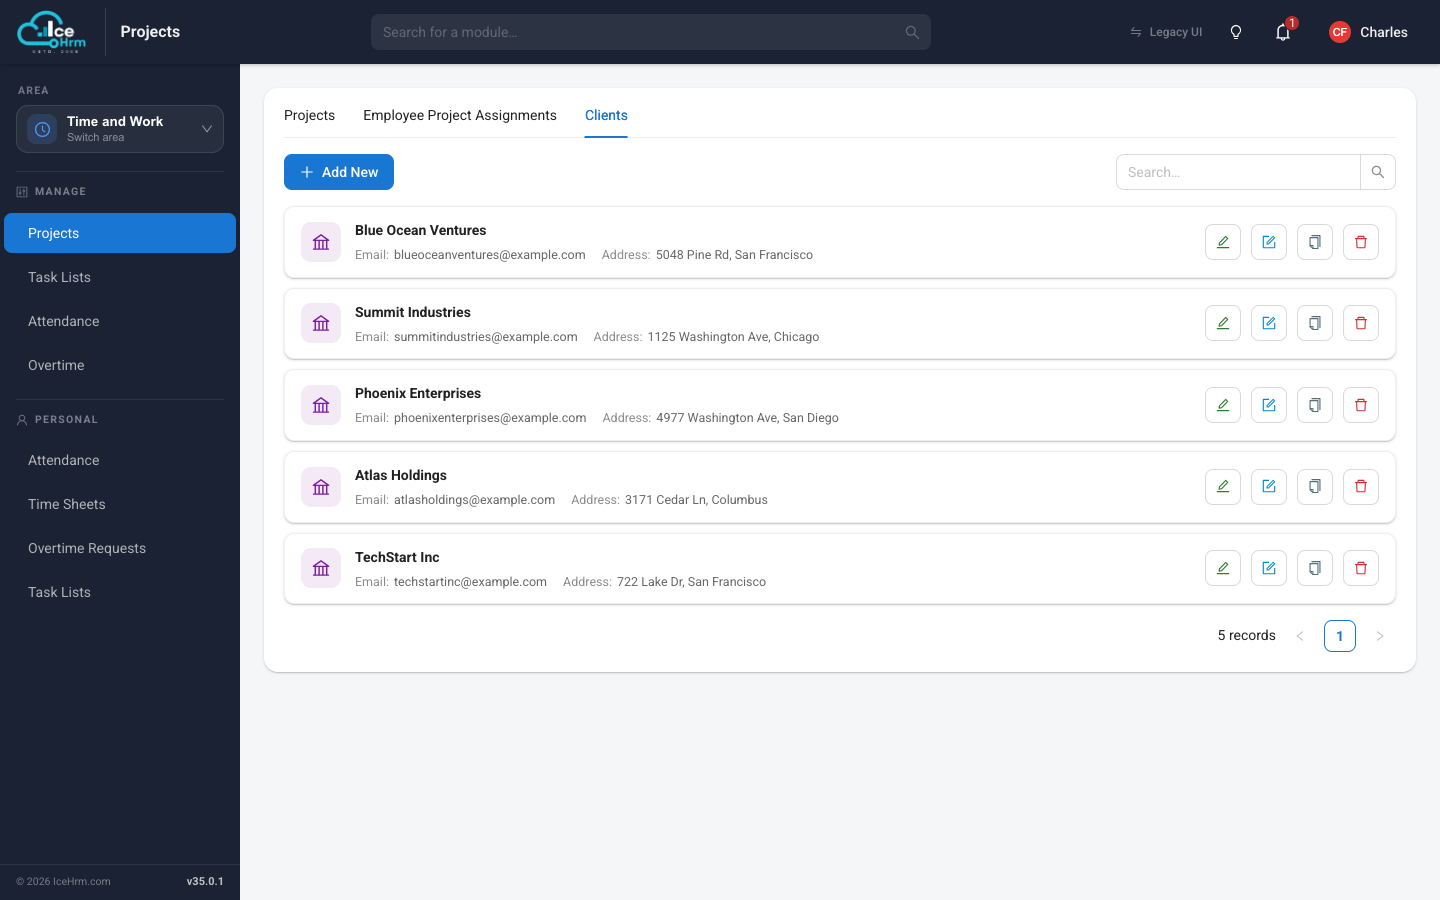
- Go to Time and Work > Projects and open the Clients tab.
- Click Add New.
- Enter the client's name, and optionally contact details and an address.
- Click Save.
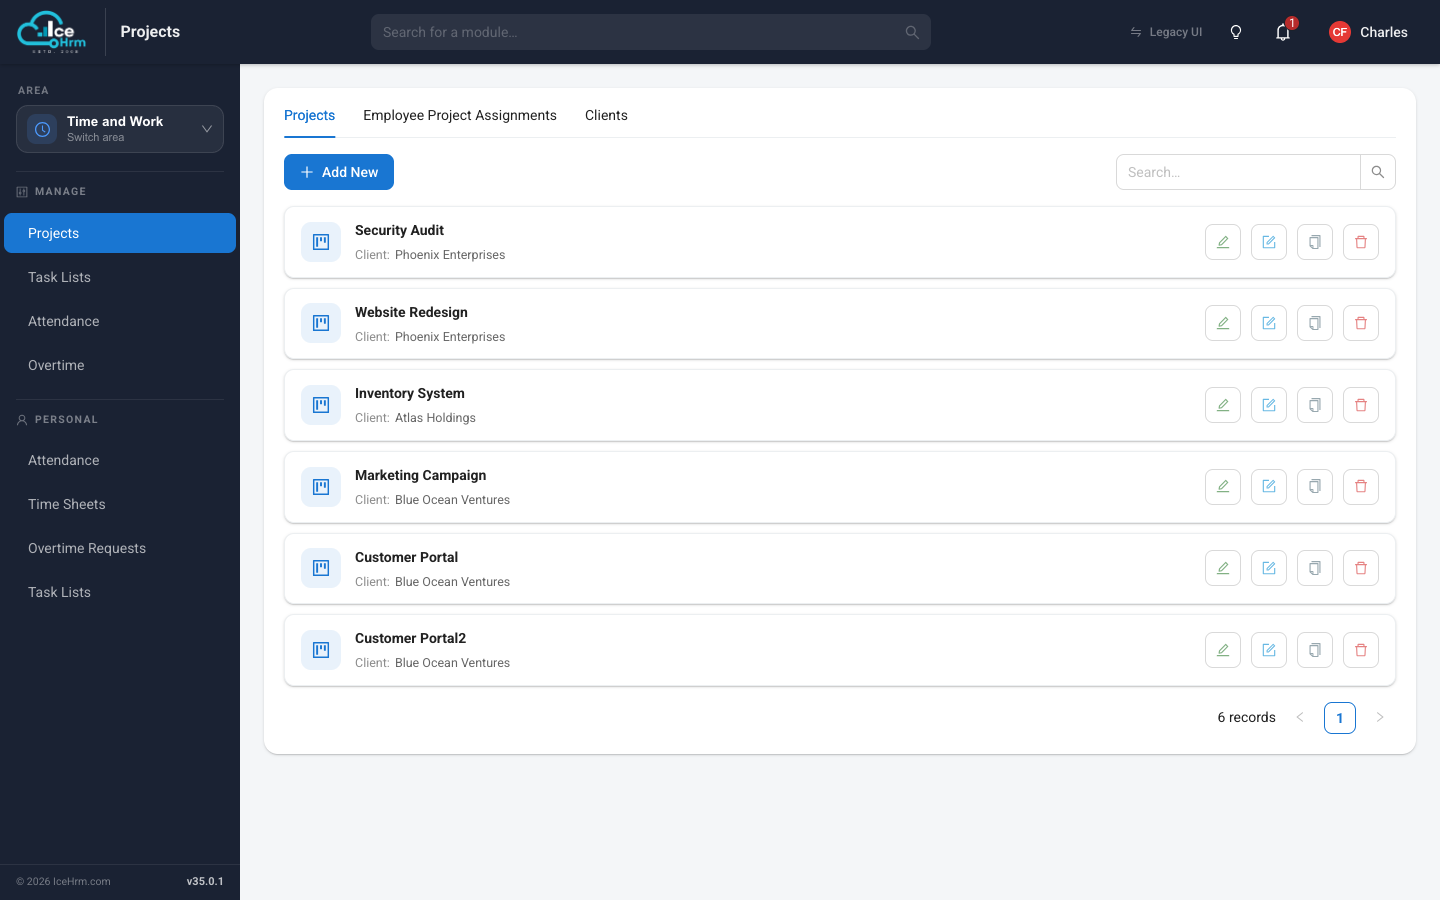
Step 2: Add projects
- Open the Projects tab.
- Click Add New.
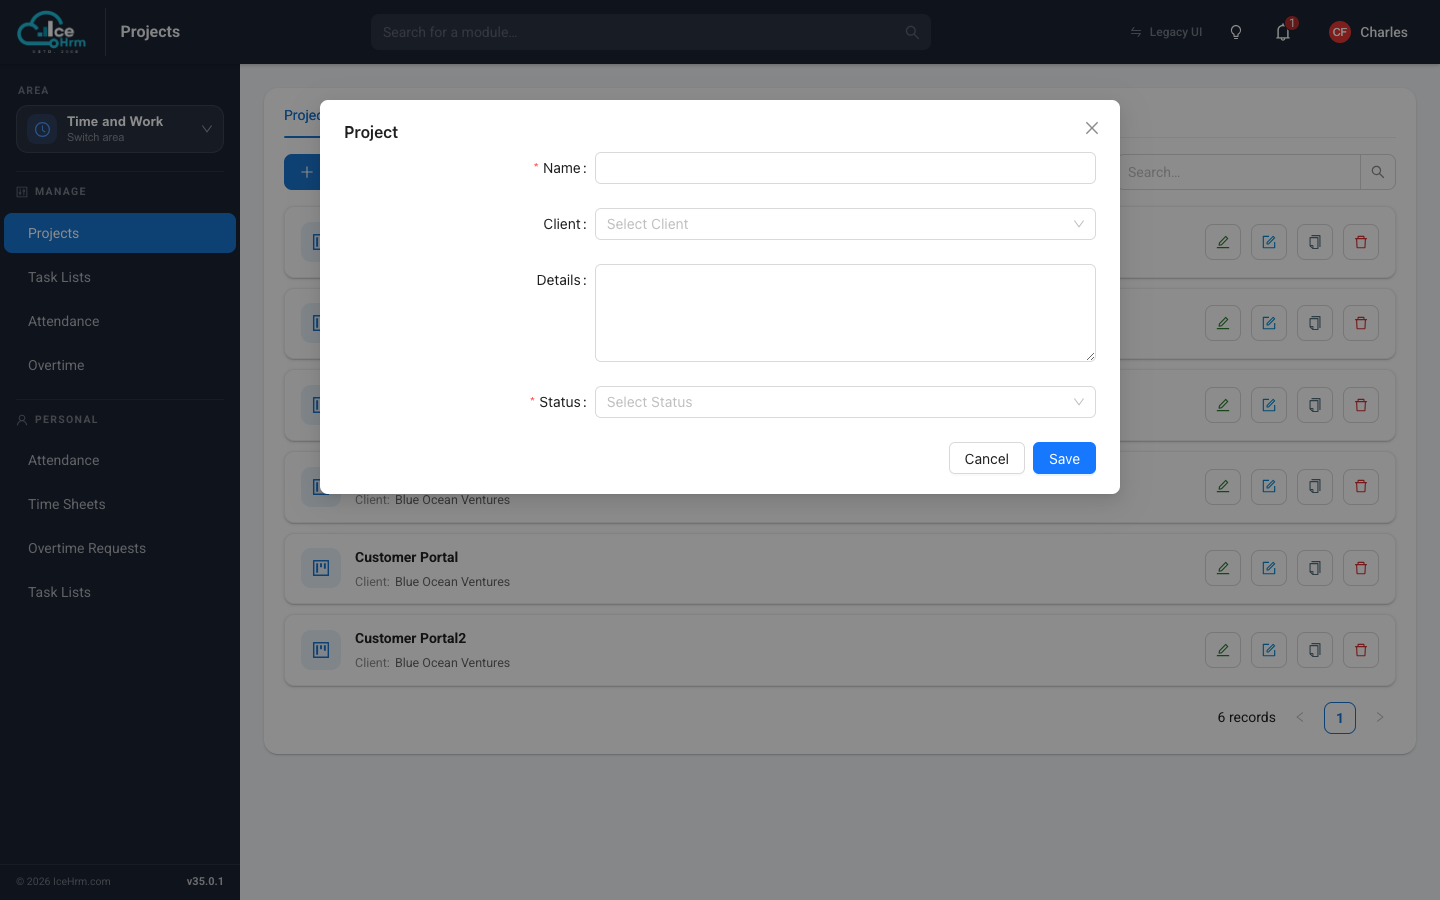
- Fill in:
- Name — the project name, for example "Website Redesign".
- Client — the client this project belongs to.
- Details — an optional description.
- Status — keep it Active while time can be logged against it.
- Click Save.
Step 3 (optional): Choose who works on which project
By default, every employee sees every project on their timesheet. To show each person only their own projects:
- Go to System > Settings > Other and set Projects: Make All Projects Available to Employees to No.
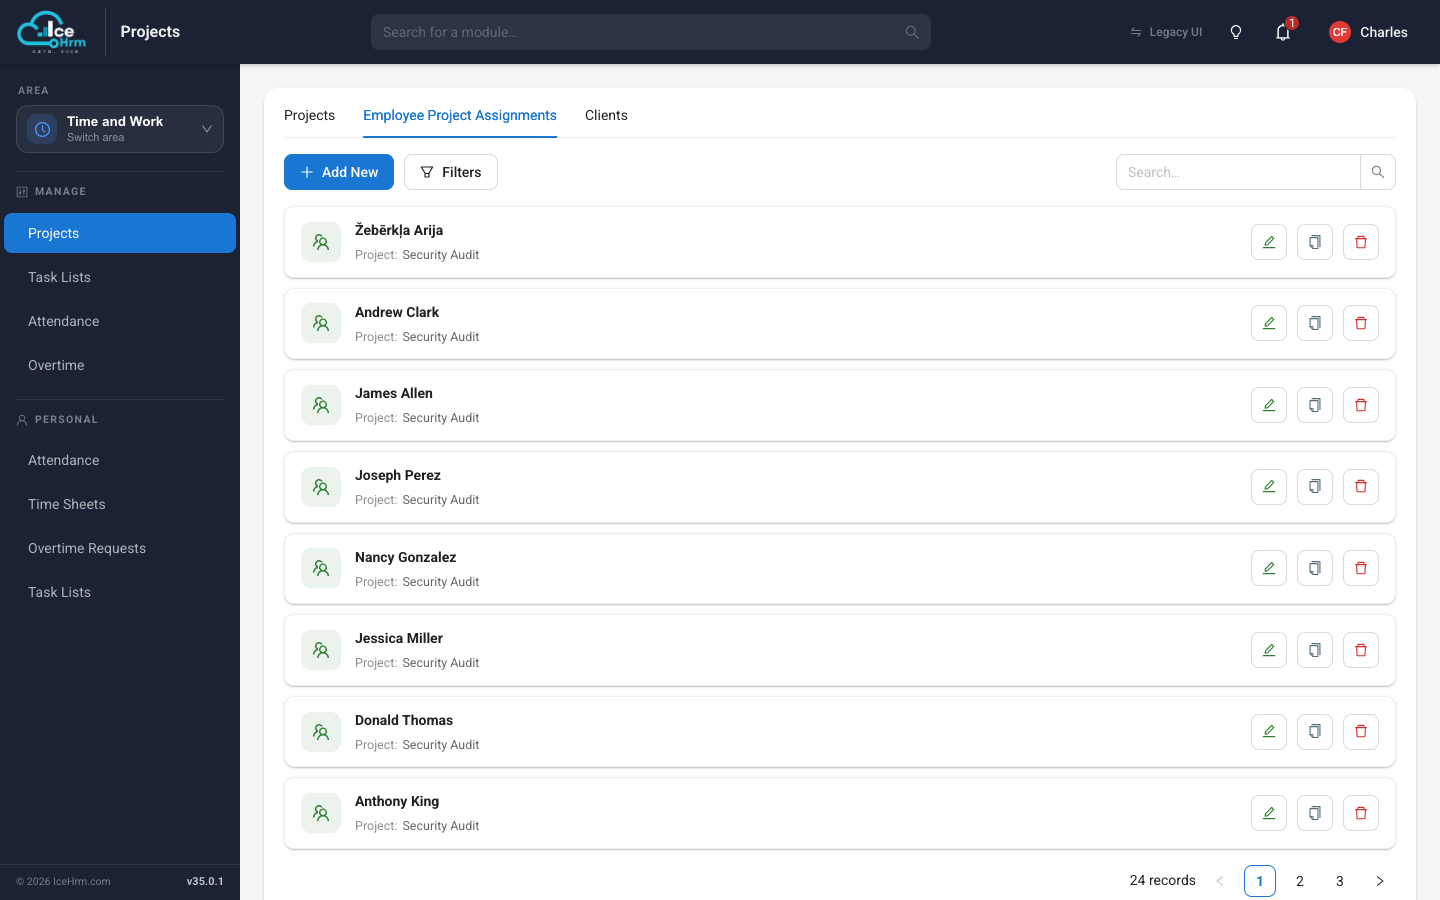
- Back in Time and Work > Projects, open the Employee Project Assignments tab.
- Click Add New and pair each employee with the projects they work on.