Create and Assign Tasks
Task lists are simple, shareable checklists — use them for onboarding a new hire, preparing an event, or any routine your team repeats. You create a task list, add tasks to it, assign them to employees, and follow the progress as items are ticked off.
Creating a task list
- Open the Time and Work area and choose Task Lists (in the Manage section).
- Click Add New.
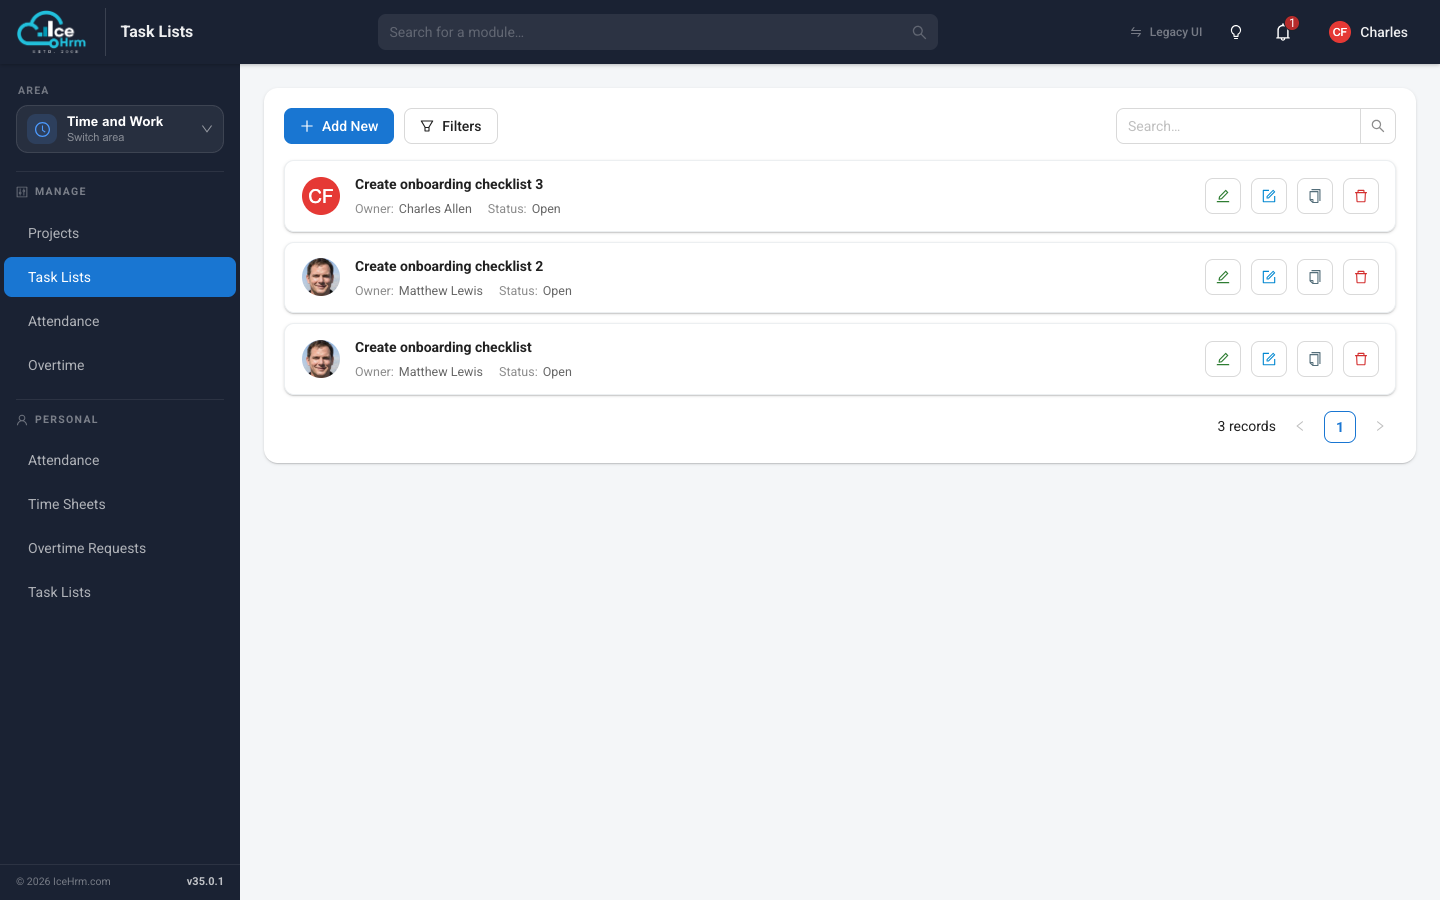
- Fill in:
- Owner — the person responsible for the list being completed.
- Task List Name — for example "Onboarding checklist".
- Status — keep it Draft while you build the list; switch to Open when it's ready for assignees.
- Owner Can Edit / Assignees Can Edit — who may change the list later.
- Click Save.
Employees can't see a task list while it's in Draft. Build it fully, then set it to Open.
When you assign someone as the Owner of a task list, they receive an IceHrm notification. Clicking it takes them straight to the Task Lists page. (You won't get a notification for making yourself the owner.)
Building the task document
Open the task list (the form button on its row) to edit its contents. The editor works like a simple document:
- Add headings to group tasks into stages (for example "Week 1").
- Add user tasks — checkbox items that can be assigned to a person.
- Mix in text, lists, or images for instructions.
To assign a task, click the profile icon next to it and pick the employee. Their photo appears on the task so everyone can see who owns what.
When you're done, Save, go Back, and change the list's status to Open.
Following progress
Back on the Task Lists page, each list shows its owner and status. Open any list at any time to see which items are checked off and who completed them.