Building Online Courses
An online course is a set of lessons employees work through at their own pace, on screen. Each lesson can hold formatted text, images, embedded videos, and quizzes. This page shows how to create a course and fill it with lessons.
Open the Learning area and click Courses under Manage. The page has three tabs: Course, Lessons, and Enrollments of Direct Reports.
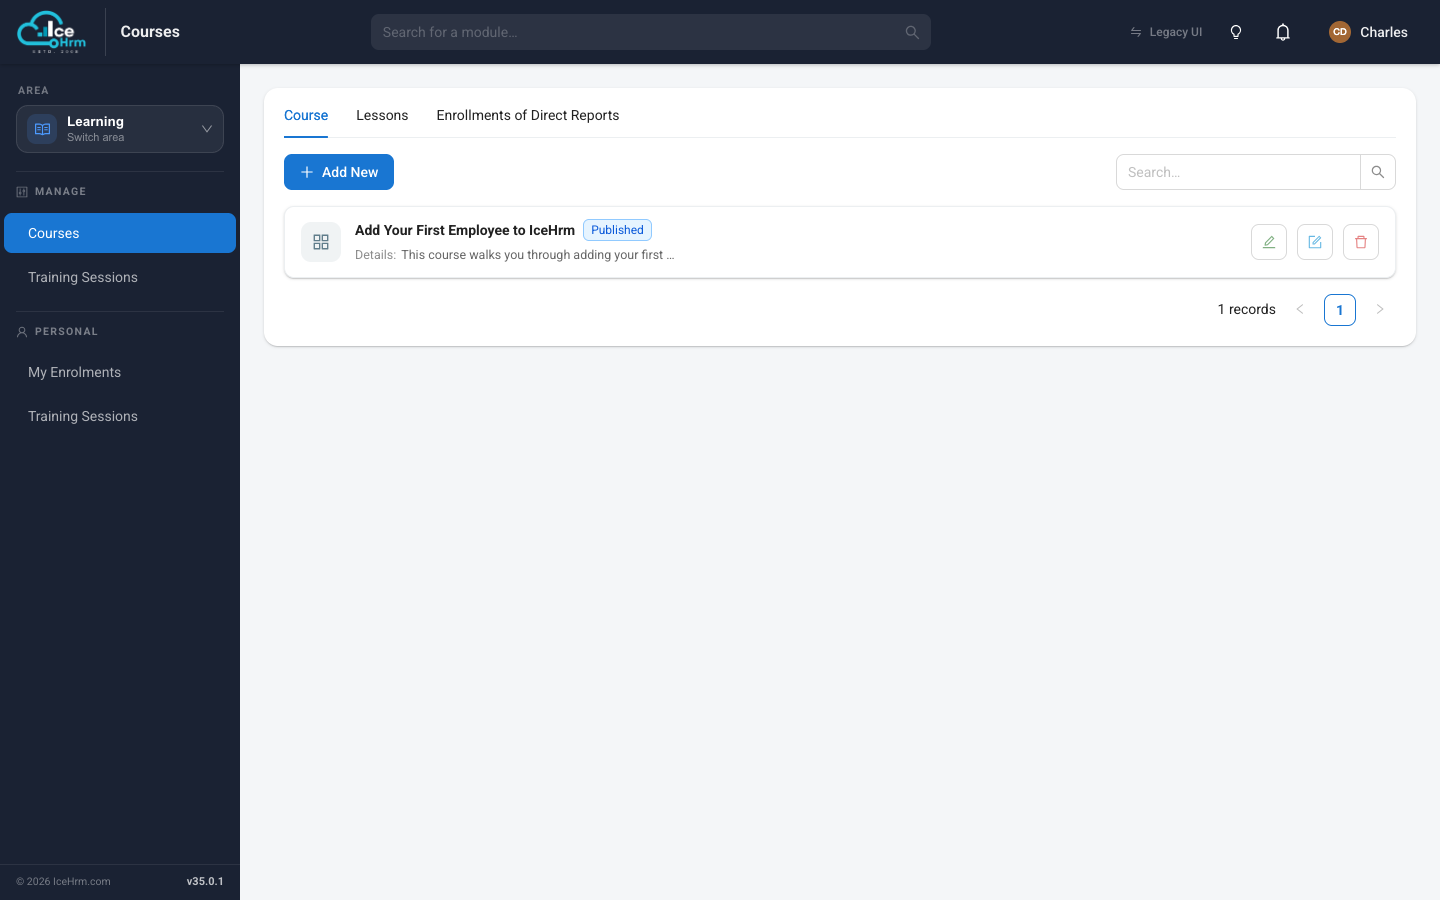
Both admins and managers can open the Courses module. The Enrollments of Direct Reports tab lets a manager follow the course progress of the people who report to them.
Step 1 — Create the course
-
On the Course tab, click + Add New.
-
Fill in the course form:
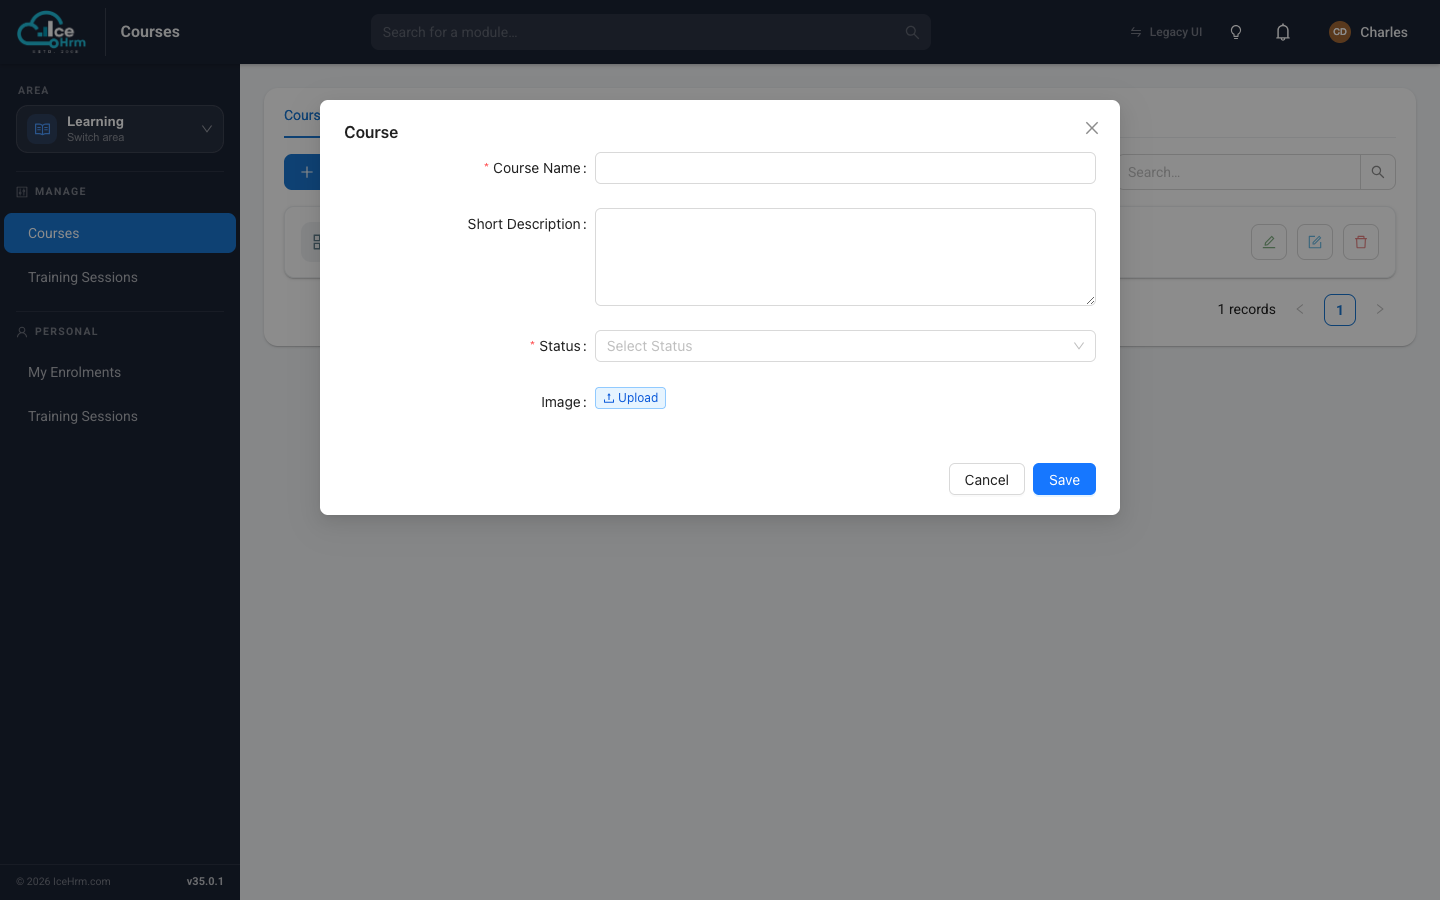
Field What to enter Course Name A clear title, e.g. "Workplace Safety Basics". Short Description One or two sentences shown on the course card. Status Set to Published when it's ready for employees; keep it unpublished while you're still building it. Image An optional cover image for the course card. -
Click Save. The course now appears in the list.
Each course row has three buttons on the right: Edit (change the name and status), the content editor (add the overview and lessons), and Delete.
Step 2 — Add the overview and lessons
Click the content editor button on a course to open its Course Overview. This is a full-screen editor: the left side is the content you're writing, and the right side lists the course's Lessons.
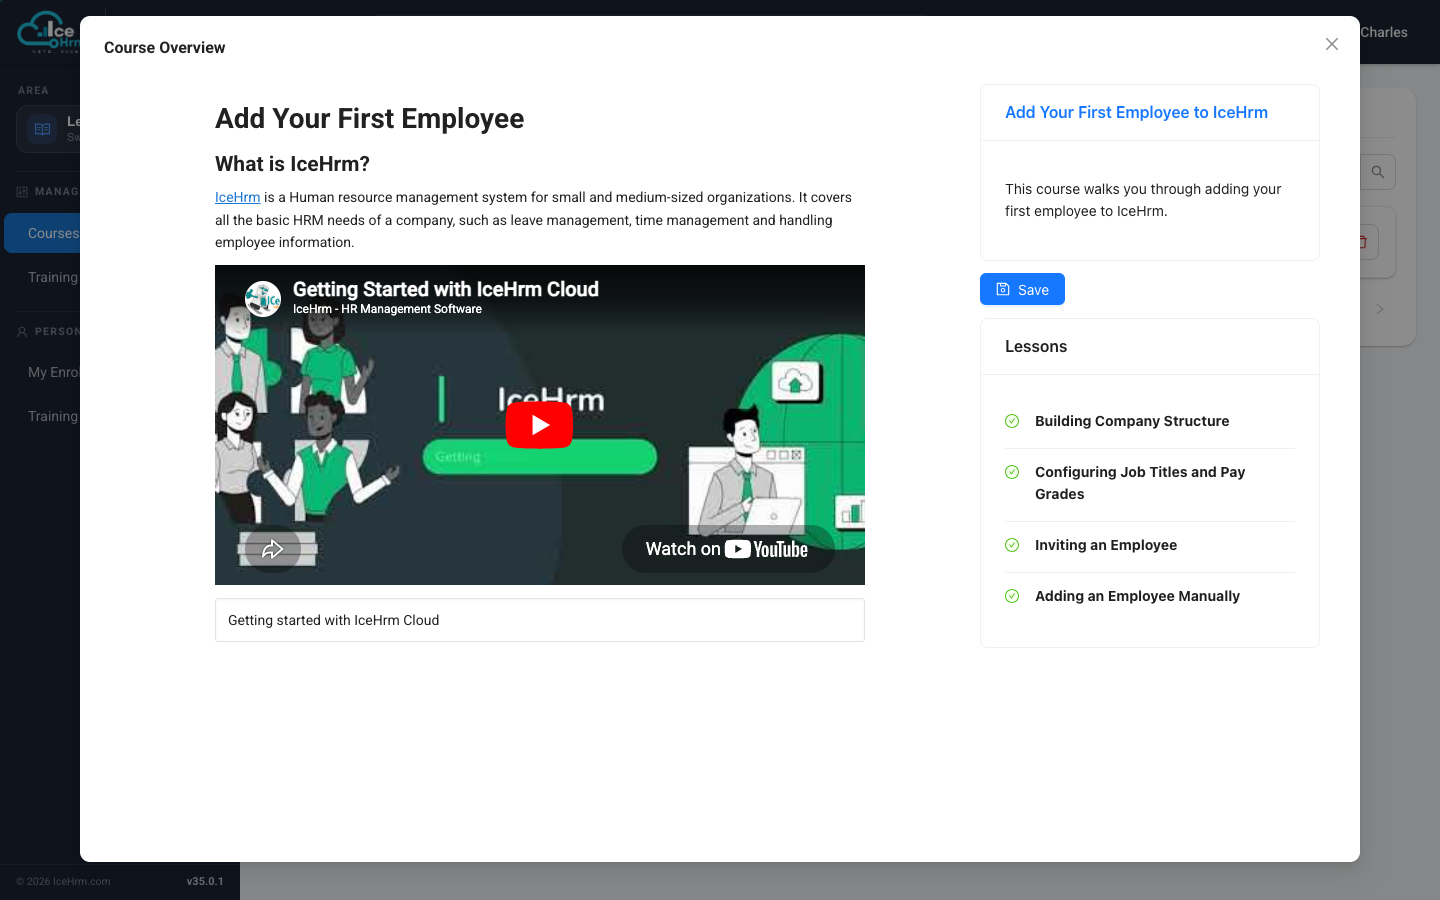
On the left you can build rich content — headings, paragraphs, links, images, and embedded videos (like the YouTube clip shown above). Click Save on the right when you're happy with it.
Step 3 — Write each lesson
Click a lesson in the right-hand Lessons panel to open it in the same editor. Each lesson is its own page of content that employees read in order.
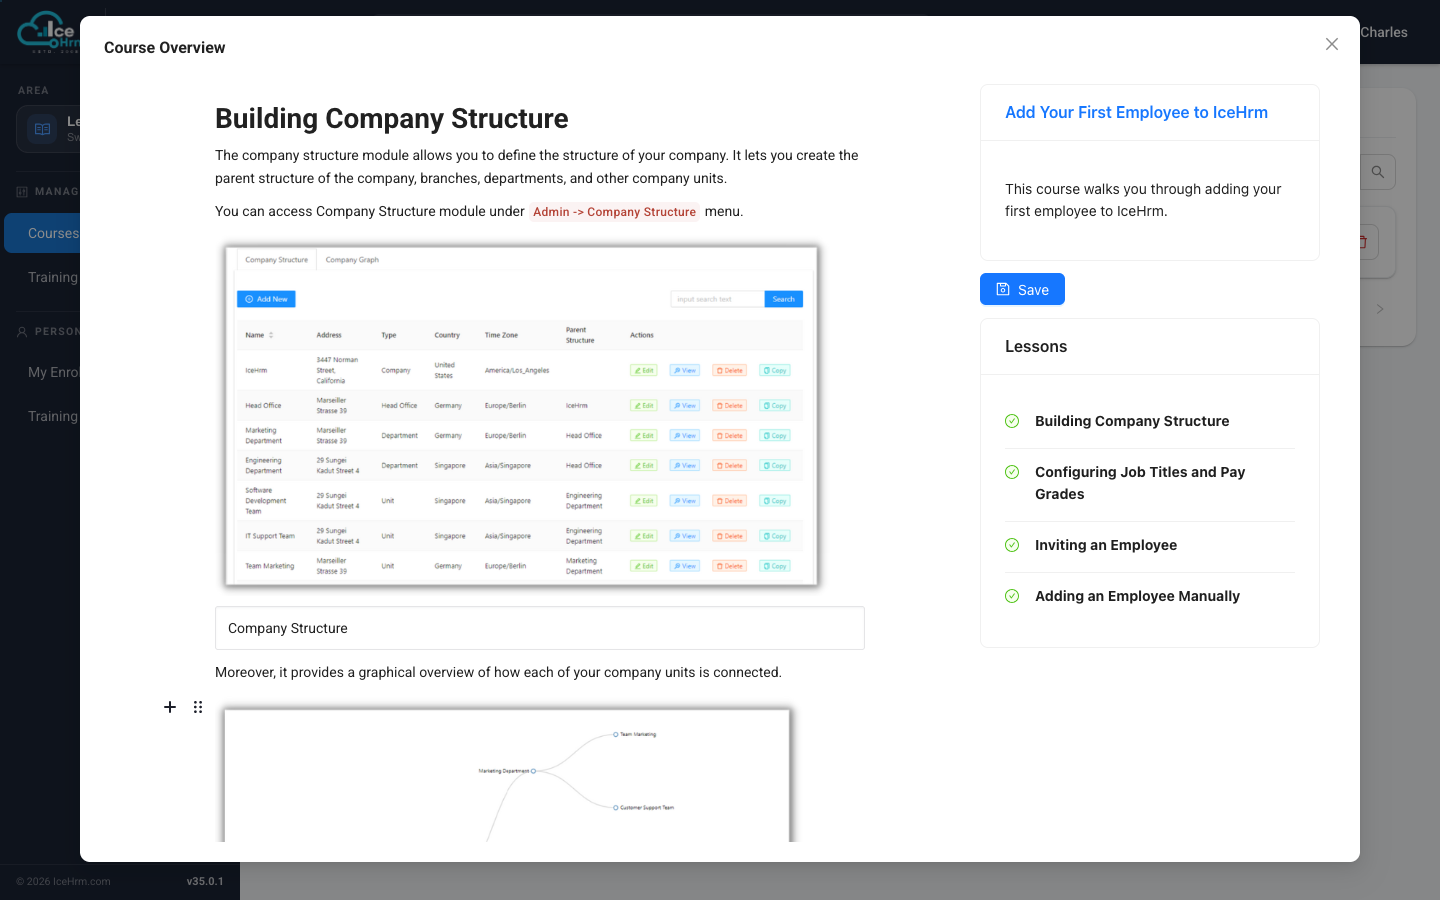
Use the editor to add explanatory text, screenshots, diagrams, and videos. The + button in the left margin inserts a new content block (text, image, video, and so on). Save when done.
Managing all lessons at once
The Lessons tab (next to Course) lists every lesson across your courses, each showing which course it belongs to and its status.
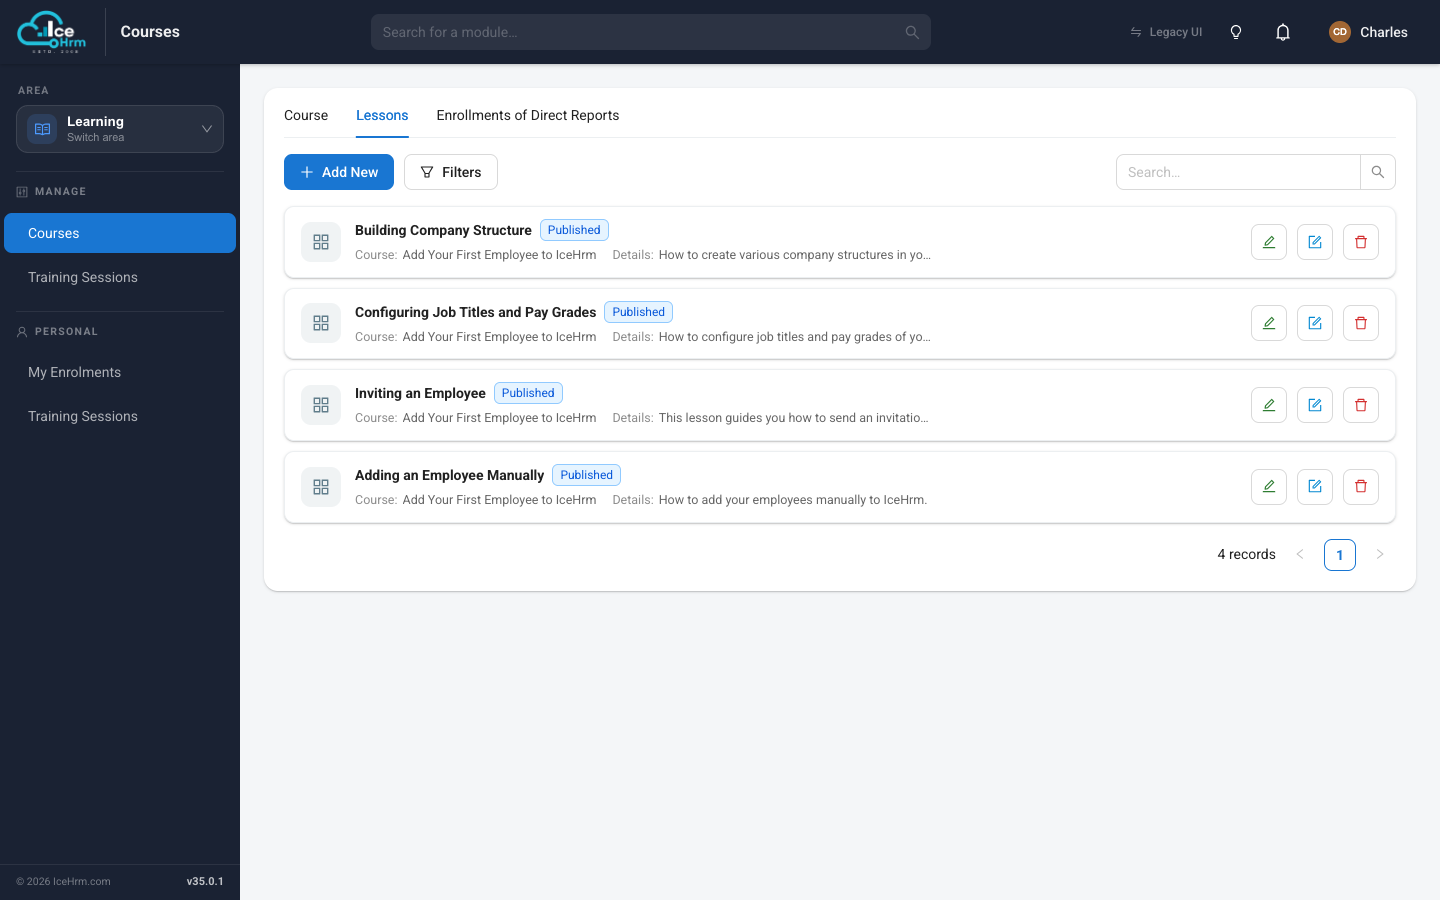
From here you can add a lesson, edit its details or content, or remove it — handy when you want to see the whole library rather than one course at a time.
Tips for good courses
- One idea per lesson — keep each lesson focused on a single topic.
- Order lessons logically — basics first, then build up.
- Keep them short — 15–30 minutes per lesson holds attention better.
- Mix in visuals — images and videos help far more than walls of text.
- Publish only when ready — leave a course unpublished while you're still writing so employees don't start an unfinished course.
Next step
Once a course is Published, employees can enroll and take it. See Enrolling in a course.