Recruitment Setup
Before you advertise your first role, spend a few minutes in Recruitment Setup. This is where you define the reusable options that appear as drop-downs when you create a job — things like "Full-time", "Senior", or "Engineering". Set them up once and every future job advert can pick from them.
Open the Recruitment area and click Recruitment Setup in the sidebar. The page has five tabs across the top.
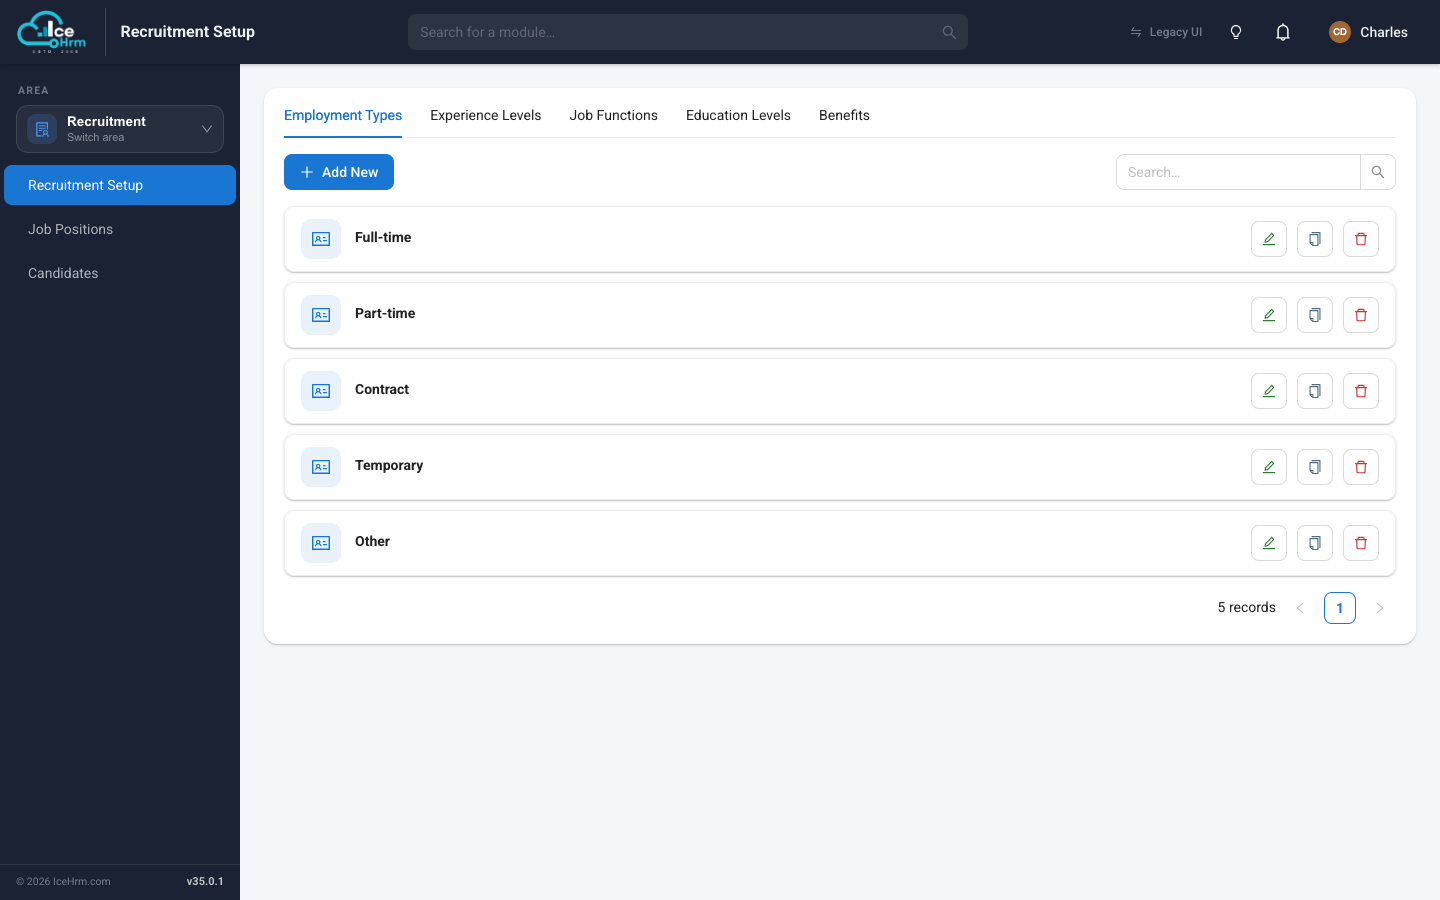
The five tabs
| Tab | What it holds | Example values |
|---|---|---|
| Employment Types | The nature of the contract | Full-time, Part-time, Contract, Temporary |
| Experience Levels | How senior the role is | Entry level, Mid-Senior level, Manager |
| Job Functions | The department or job family | Engineering, Marketing, Finance |
| Education Levels | Minimum qualification | Diploma, Bachelor's, Master's Degree |
| Benefits | Perks you can list on the advert | Health insurance, Remote work |
IceHrm ships with sensible defaults already filled in for most of these — for example, the Job Functions tab comes with dozens of common functions ready to use, so you may not need to add anything at all.
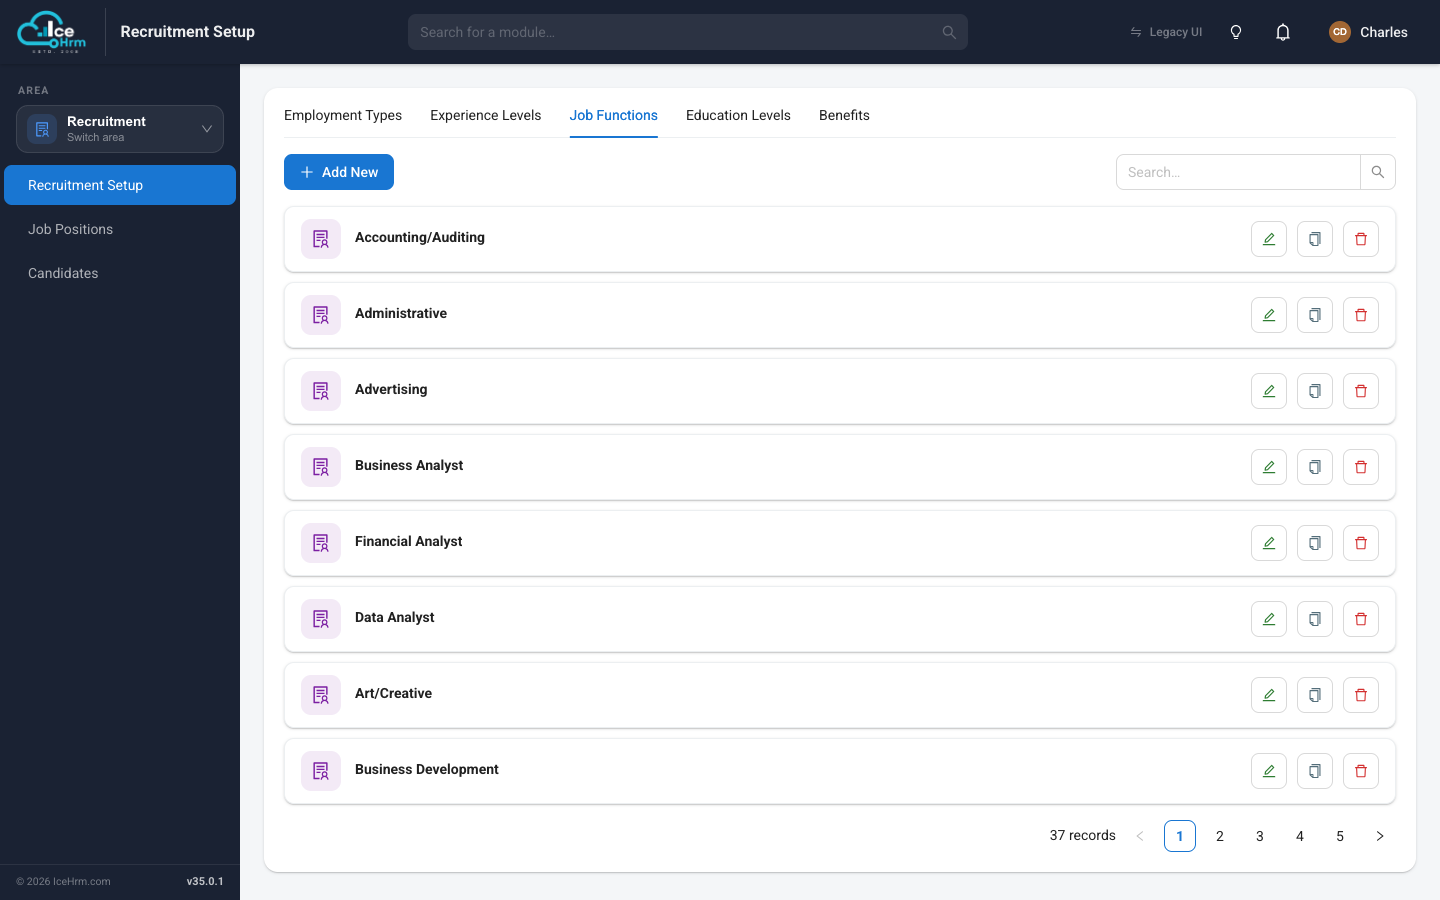
Adding a new option
Every tab works the same way, so once you've learned one you've learned them all:
-
Click the tab you want (for example Experience Levels).
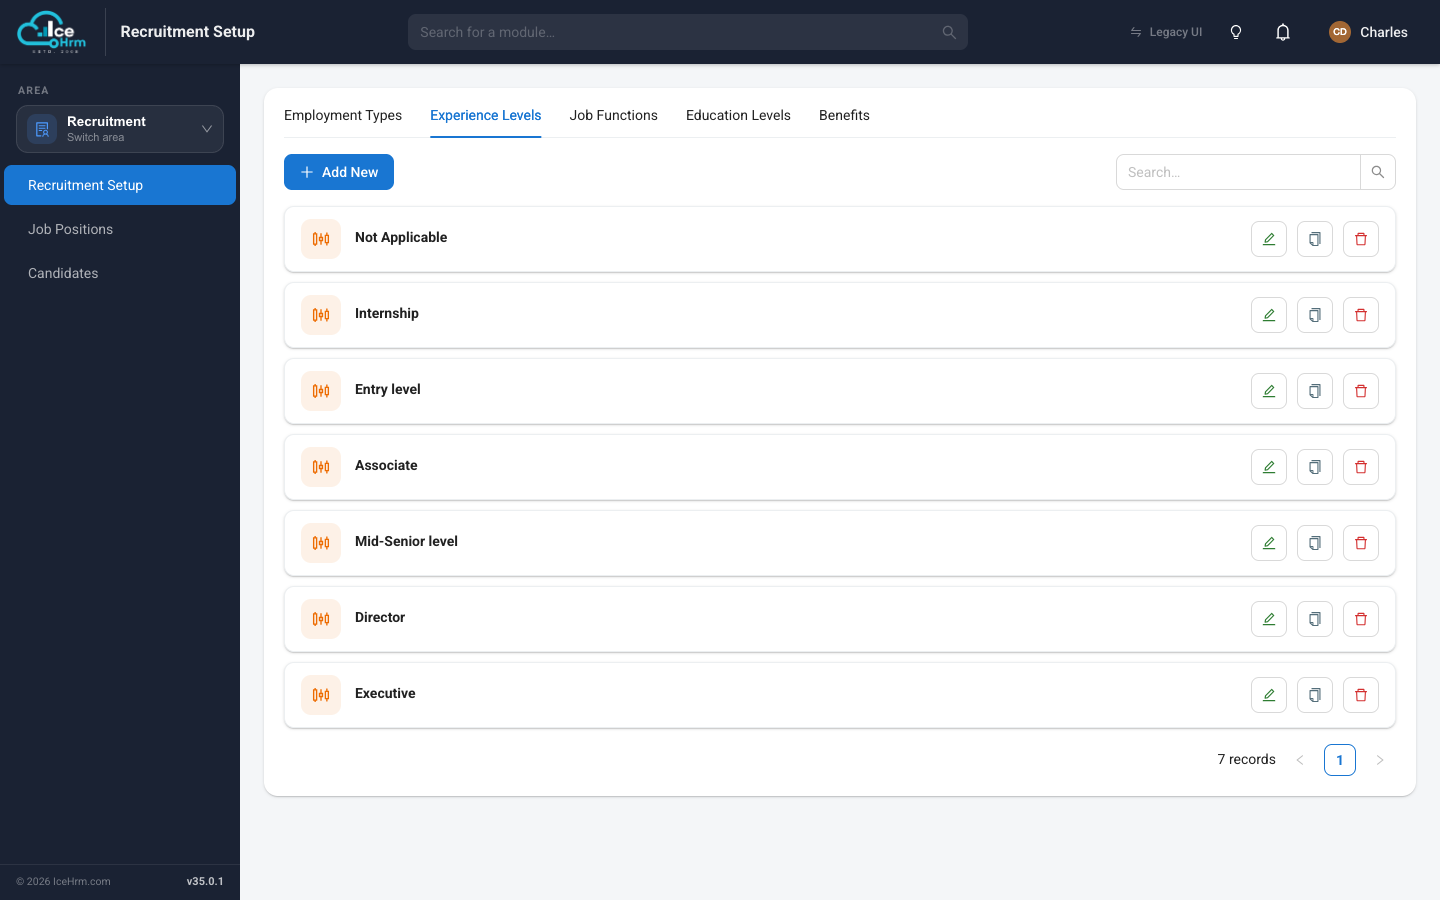
-
Click the blue + Add New button.
-
Type a Name in the box.
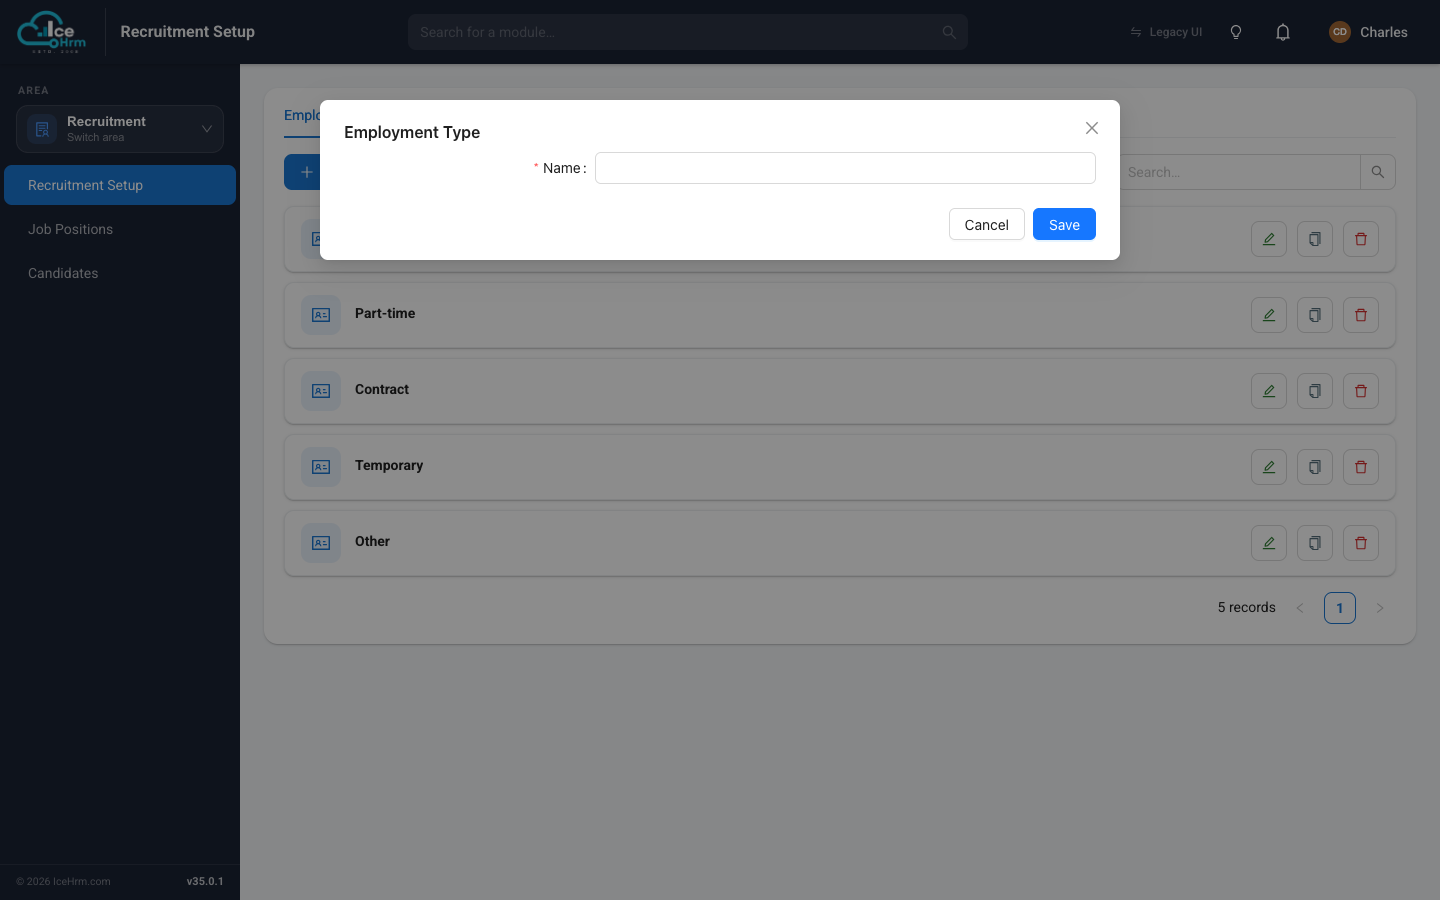
-
Click Save.
Your new option appears in the list straight away and will be available in the drop-downs when you create a job.
Editing or removing an option
Each row has three small buttons on the right:
- Edit (pencil) — change the name.
- Copy (duplicate) — create a similar option quickly.
- Delete (trash) — remove it. Only remove options that aren't used by any job.
How this connects to a job advert
When you later create a Job Position, its Requirements step asks for the Employment Type, Experience Level, Job Category (job function), Education Level, and Benefits. Those drop-downs are filled from exactly the lists you manage here — which is why it's worth getting them right up front.