Defining Company Structure
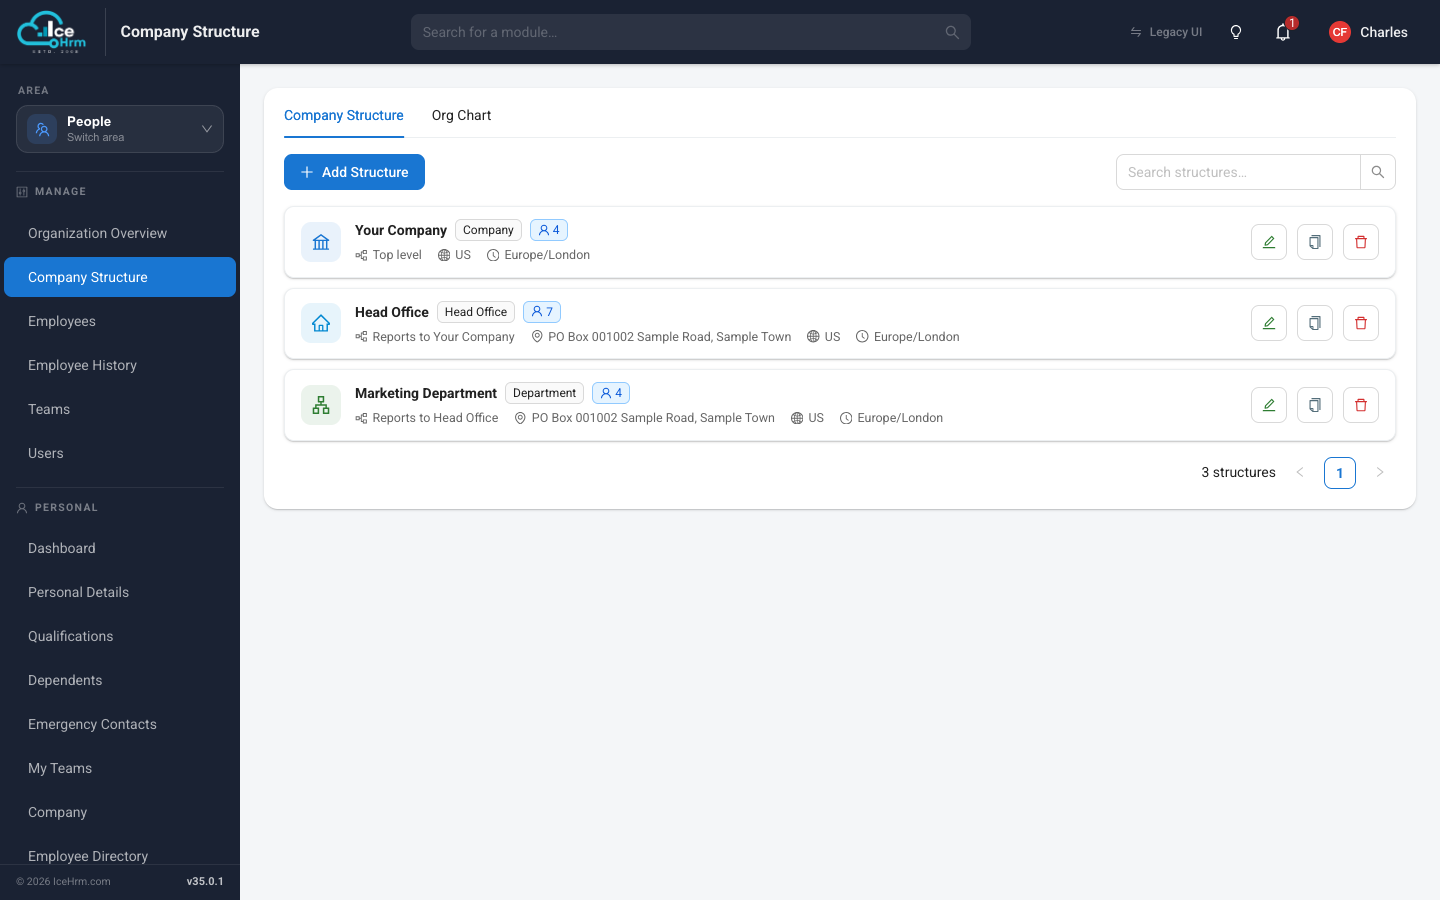
Before adding employees, define how your organization is put together: the company itself, its offices or branches, and the departments inside them. Every employee is later attached to one of these structures.
Open People > Company Structure. Each structure is shown as a card with its type, the number of people in it, who it reports to, and its country and time zone.
Creating the top-level company
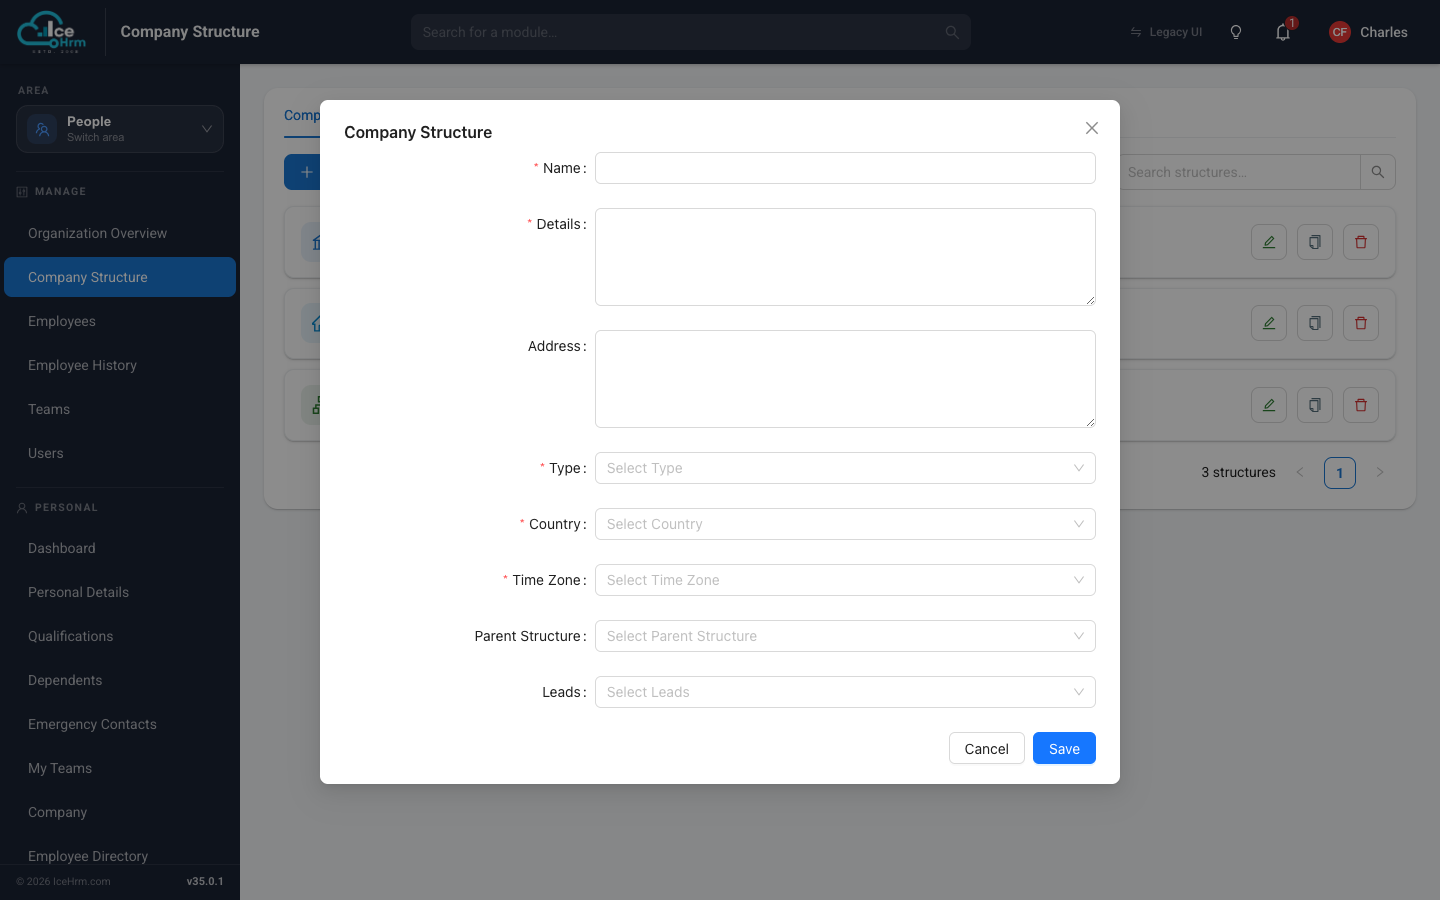
- Click Add Structure.
- Fill in the form:
- Name — your organization's name.
- Details — a short description.
- Address — the main address (optional).
- Type — choose Company for the top level.
- Country — where the company is based.
- Time Zone — the company's time zone. Employees who don't have their own time zone set will use the time zone of their structure — this matters for attendance tracking.
- Parent Structure — leave empty for the top level.
- Leads — the people responsible for this structure (see Defining a head of structure).
- Click Save.
Adding offices and branches
Repeat the same steps for each physical location or regional division:
- Click Add Structure.
- Give it a name such as "London Office".
- Set Type to Head Office, Regional Office, or Branch as appropriate.
- Set Parent Structure to your top-level company.
- Fill in the address, country, and time zone, then Save.
Creating departments
Departments are functional groups inside an office:
- Click Add Structure.
- Name the department (for example "Engineering" or "Human Resources").
- Set Type to Department.
- Set Parent Structure to the office or branch it belongs to.
- Click Save.
Example hierarchy
A typical company might look like this:
Acme Corporation (Company)
├── New York Office (Head Office)
│   ├── Engineering (Department)
│   ├── Marketing (Department)
│   └── Human Resources (Department)
└── London Office (Branch)
    ├── Sales (Department)
    └── Customer Support (Department)
Viewing the org chart
Switch to the Org Chart tab to see your structure as a diagram. Each card shows the structure's type and how many people belong to it.
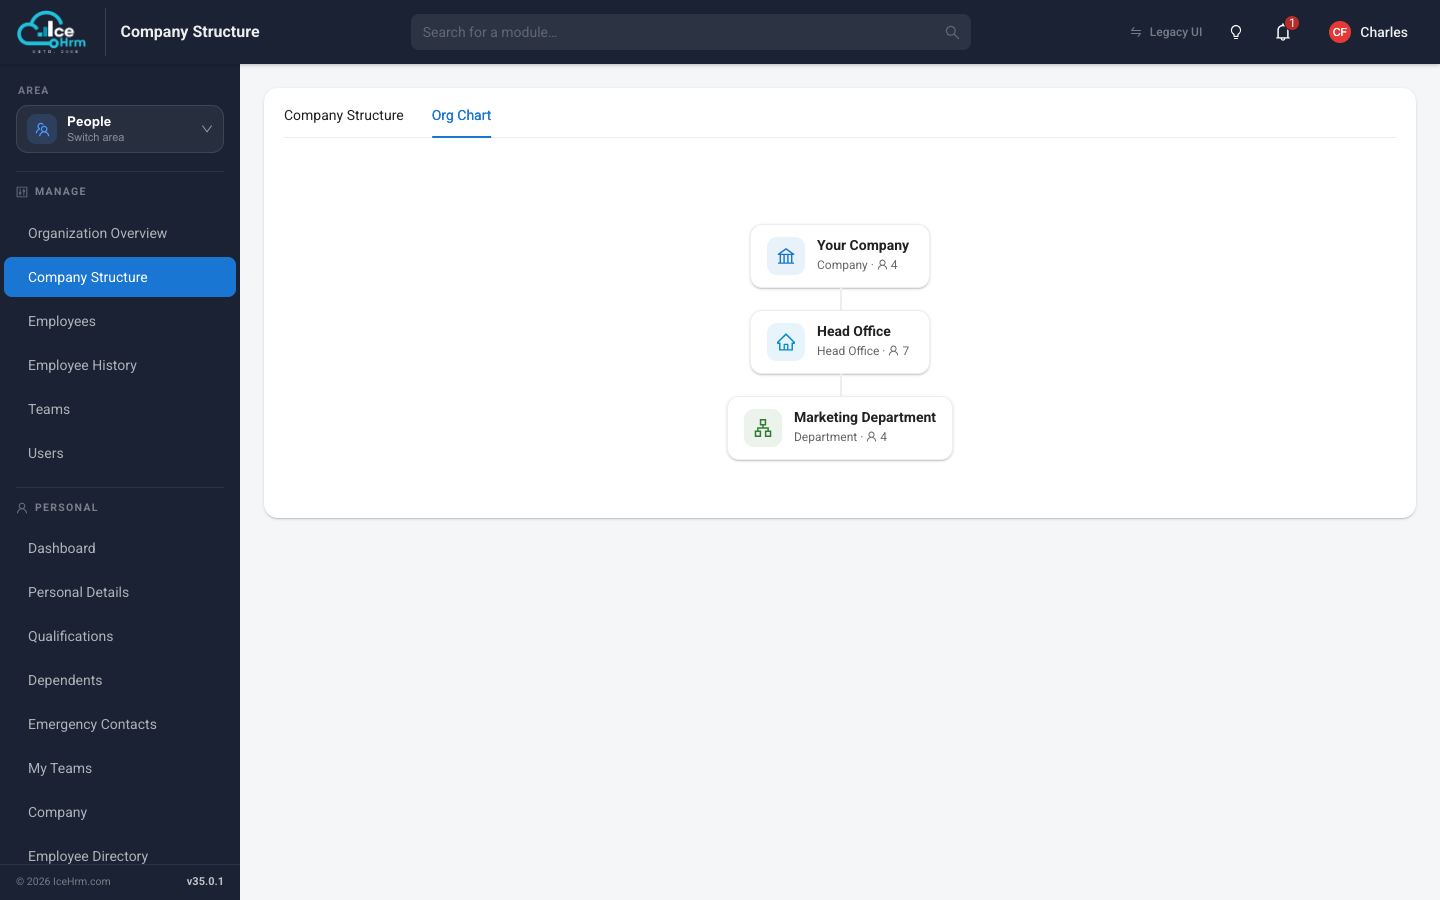
The chart is handy for:
- Checking the whole organization at a glance
- Spotting structures that report to the wrong parent
- Presenting the organization to stakeholders
Best practices
- Plan before creating — sketch the hierarchy on paper first.
- Use consistent names — for example "Department – Location".
- Keep it simple — avoid unnecessary levels of nesting.
- Review regularly — update the structure as the organization changes.