Custom User Permissions
Advanced topic
If you are new to IceHrm you can safely skip this page and come back when you need to give someone unusual, limited access.
Sometimes the standard user levels are too broad. Custom user roles let you:
- Grant access to only specific modules (for example, recruitment only)
- Deny access to specific modules (for example, hide Training from some people)
- Control what a role can do with each type of record: List, Get (view one record), Add/Edit, and Delete
The building blocks:
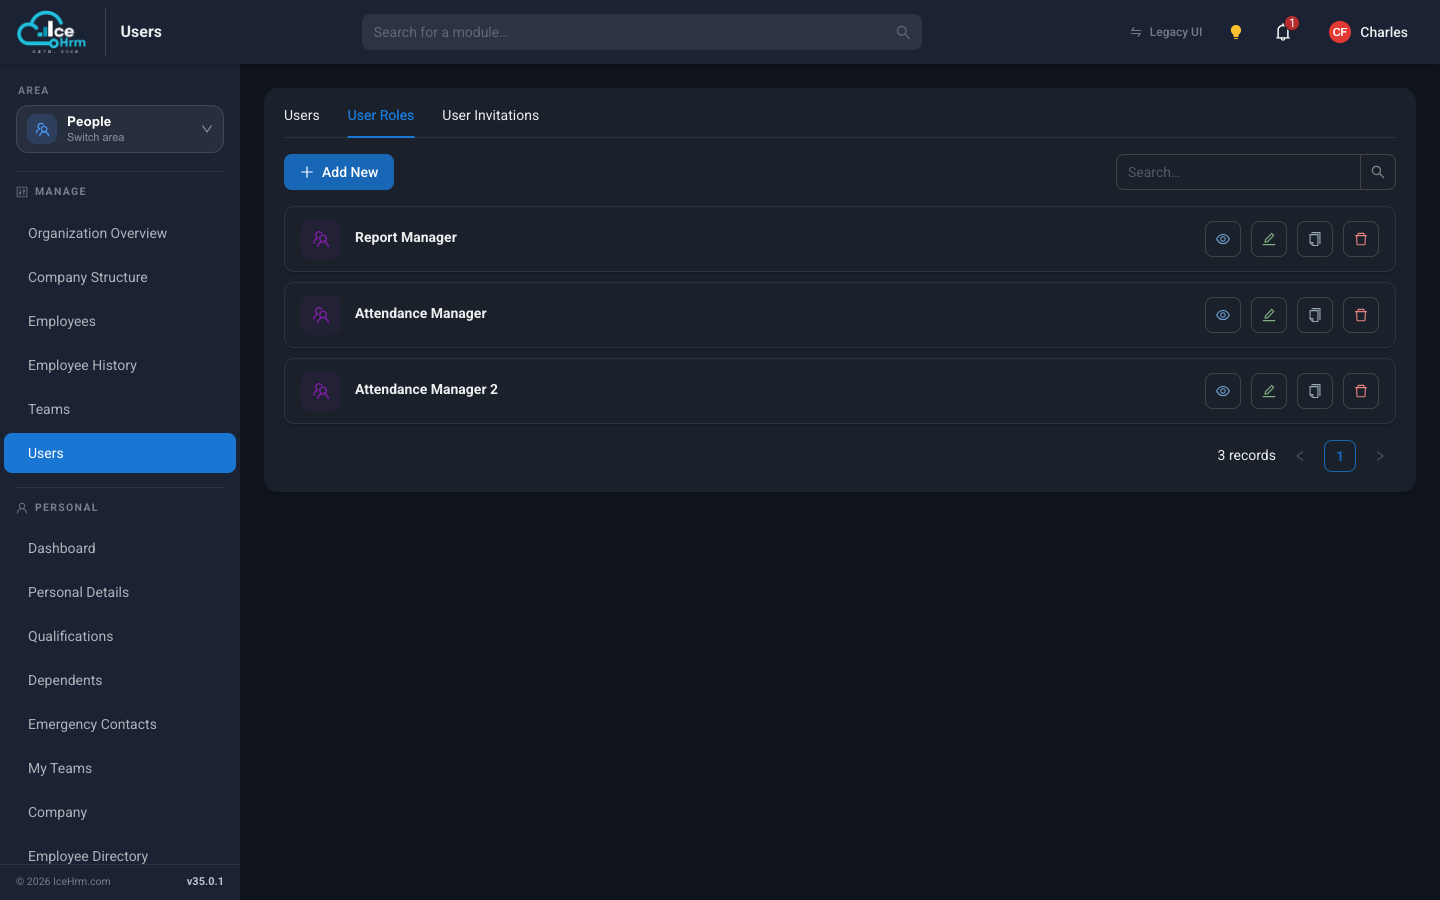
- User roles are created under People > Users > User Roles.
- Modules are granted or denied to roles under System > Manage Modules.
- Roles are attached to users under People > Users, usually together with one of the Restricted user levels (Restricted Admin / Manager / Employee), which start with no access at all.
Example 1: a recruitment-only manager
Goal: a manager who can work with candidates and interviews, and nothing else.
- Create the role
- Go to People > Users, open the User Roles tab, and click Add New.
- Name it "Recruitment Manager".
- Grant List, Get, Add/Edit, Delete on the recruitment entities (candidates, interviews, applications).
- Save.
- Allow the role on the recruitment modules
- Go to System > Manage Modules and open the Modules tab.
- Find each recruitment-related module and click Edit.
- Add "Recruitment Manager" to its allowed user roles and save.
- Attach the role to the user
- Go to People > Users, edit the user.
- Set User Level to Restricted Manager.
- Add the "Recruitment Manager" role under User Roles.
- Set a Default Module (required — this is the page they land on after logging in).
- Save.
When this person logs in they will only see the recruitment modules.
Example 2: an attendance-only employee
Goal: field staff who can only punch in and out.
- Create a role named "Sales Person" under People > Users > User Roles with minimal permissions on attendance records.
- Under System > Manage Modules, edit the Attendance module and add the "Sales Person" role to its allowed roles.
- Edit the user: set User Level to Restricted Employee, add the "Sales Person" role, and set Default Module to Attendance.
Example 3: hiding a module from certain people
Goal: keep the standard Employee access, but hide the Training module.
- Create a role named "No Training Access" under People > Users > User Roles — it doesn't need any permissions.
- Go to System > Manage Modules, edit the Training module, and add "No Training Access" to its Disallowed User Roles.
- Edit each affected user, keep their user level as Employee, and add the "No Training Access" role.
The Training module disappears from their menu the next time they log in.
Good habits
- Set a Default Module for every restricted user — without one their home page cannot load.
- Name roles by what they do — "Recruitment Manager", "No Training Access".
- Test with a real login — log in as the user (or use Switch to Employee) to confirm they see only what you intended.
- Keep a note of your roles — a short list of what each custom role is for saves headaches later.