Adding Employees
There are two ways to add people to IceHrm. Pick whichever suits you:
- Invite by email — you enter a few basic details, the employee receives an email, sets their own password, and completes their own profile. Least work for HR.
- Add manually — you create the full employee record yourself, and (if they need to log in) a separate user account. Full control, more typing.
Before you start
Make sure you have already set up your company structure and job titles and employment statuses — you will be asked to pick them while adding an employee.
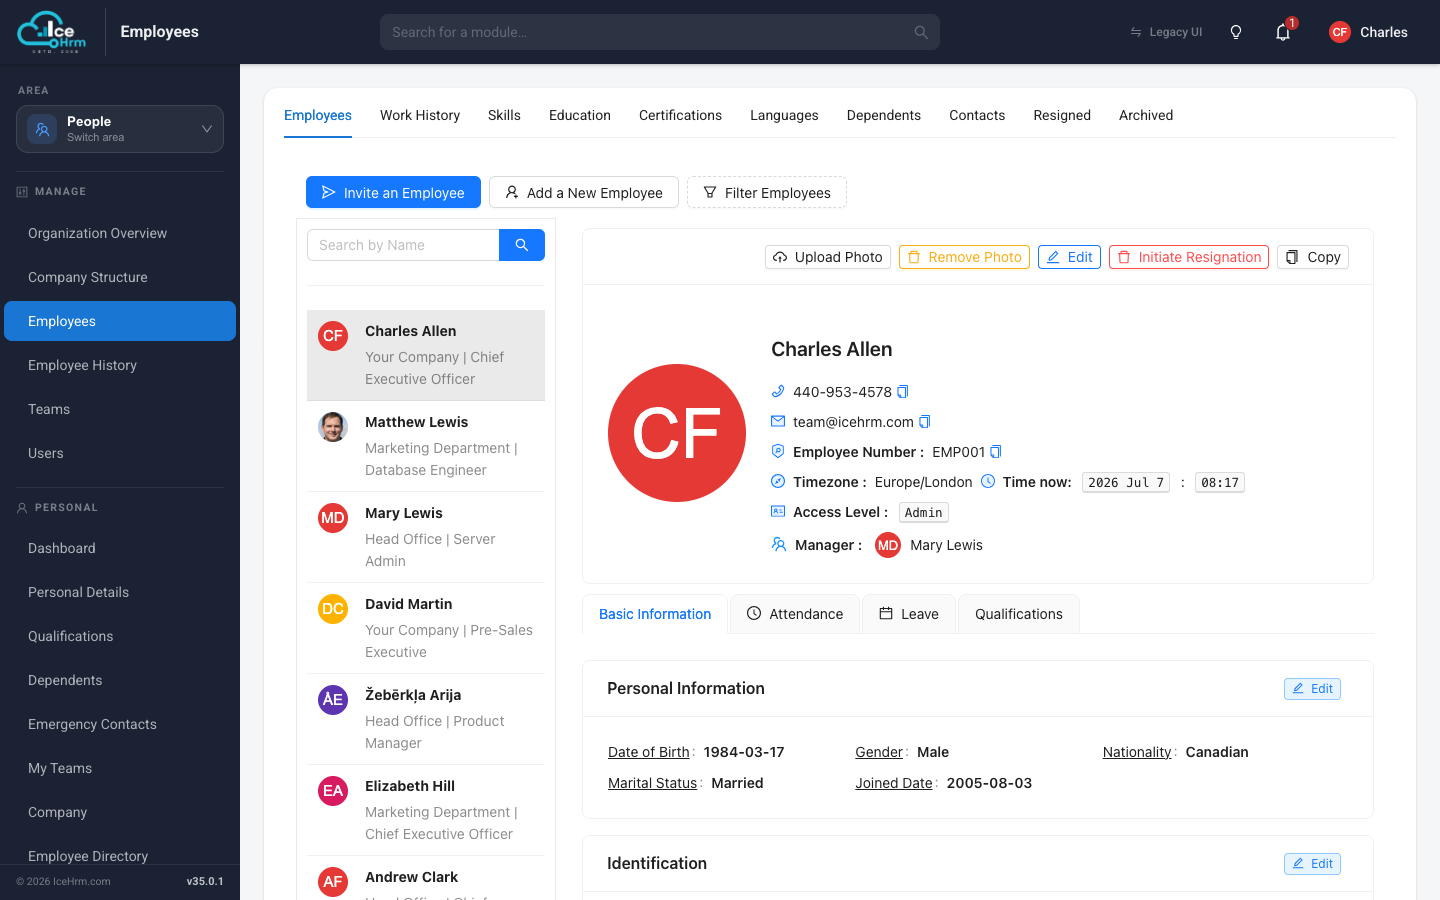
Both options live at People > Employees.
Method 1: Invite an employee by email
- Go to People > Employees.
- Click Invite an Employee.
- Fill in the mandatory details — email address, employee number, first and last name, user level (choose Employee for regular staff), and country.

- Click Next if you want to pre-fill optional details such as the person's department or manager — or just click Save to send the invitation right away.
What happens next:
- The employee receives an activation link by email.
- They click the link, set a password, and fill in their own personal details.
- Once activated, they can log in to IceHrm.
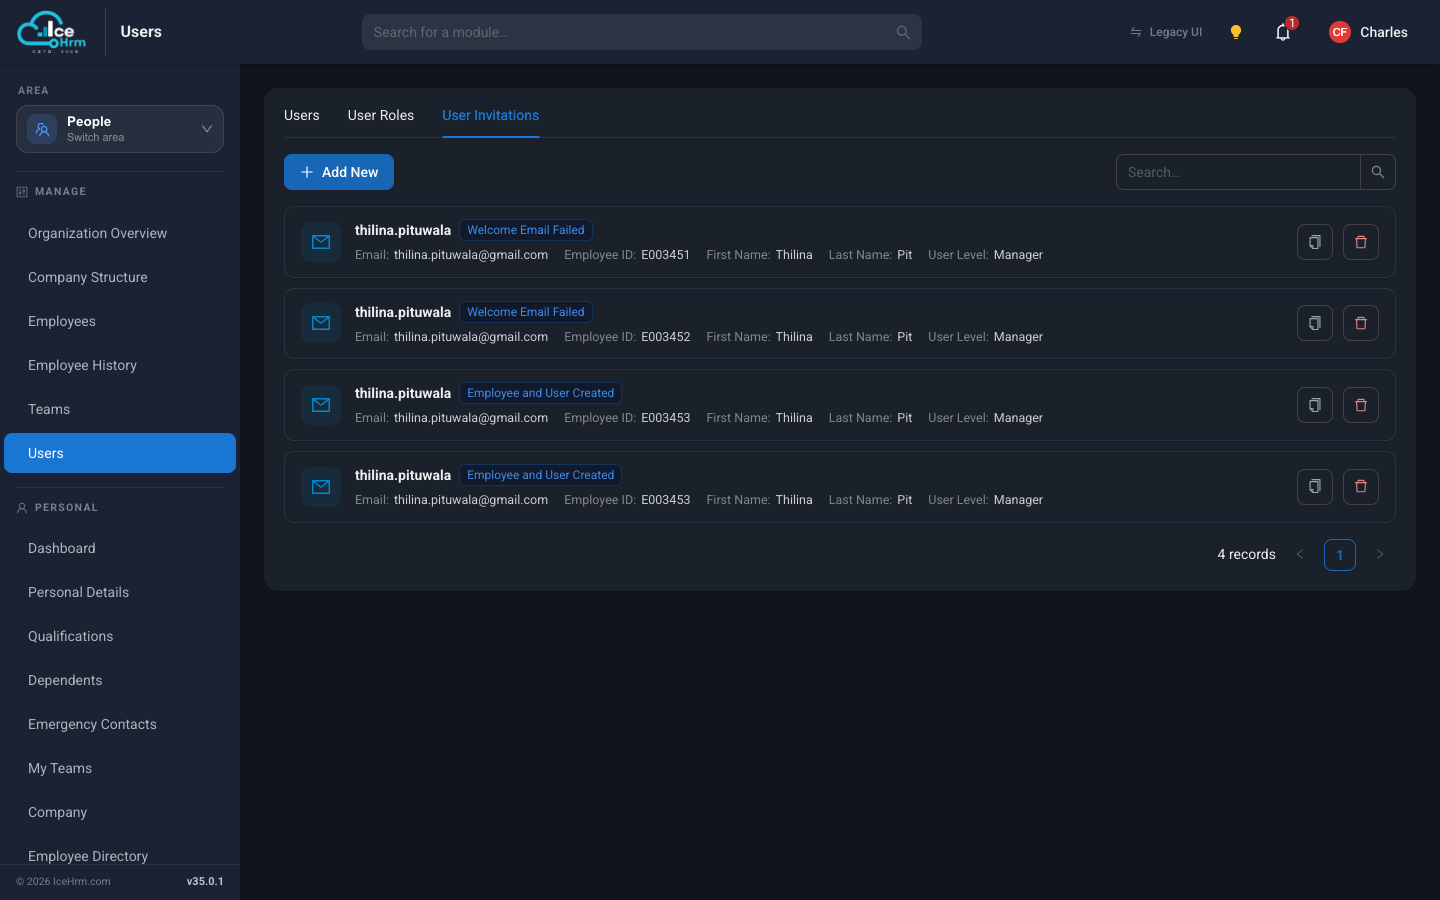
Tracking invitations
You can see the status of every invitation under People > Users > User Invitations — including whether the welcome email was delivered and whether the employee record has been created yet.
Method 2: Add an employee manually
- Go to People > Employees.
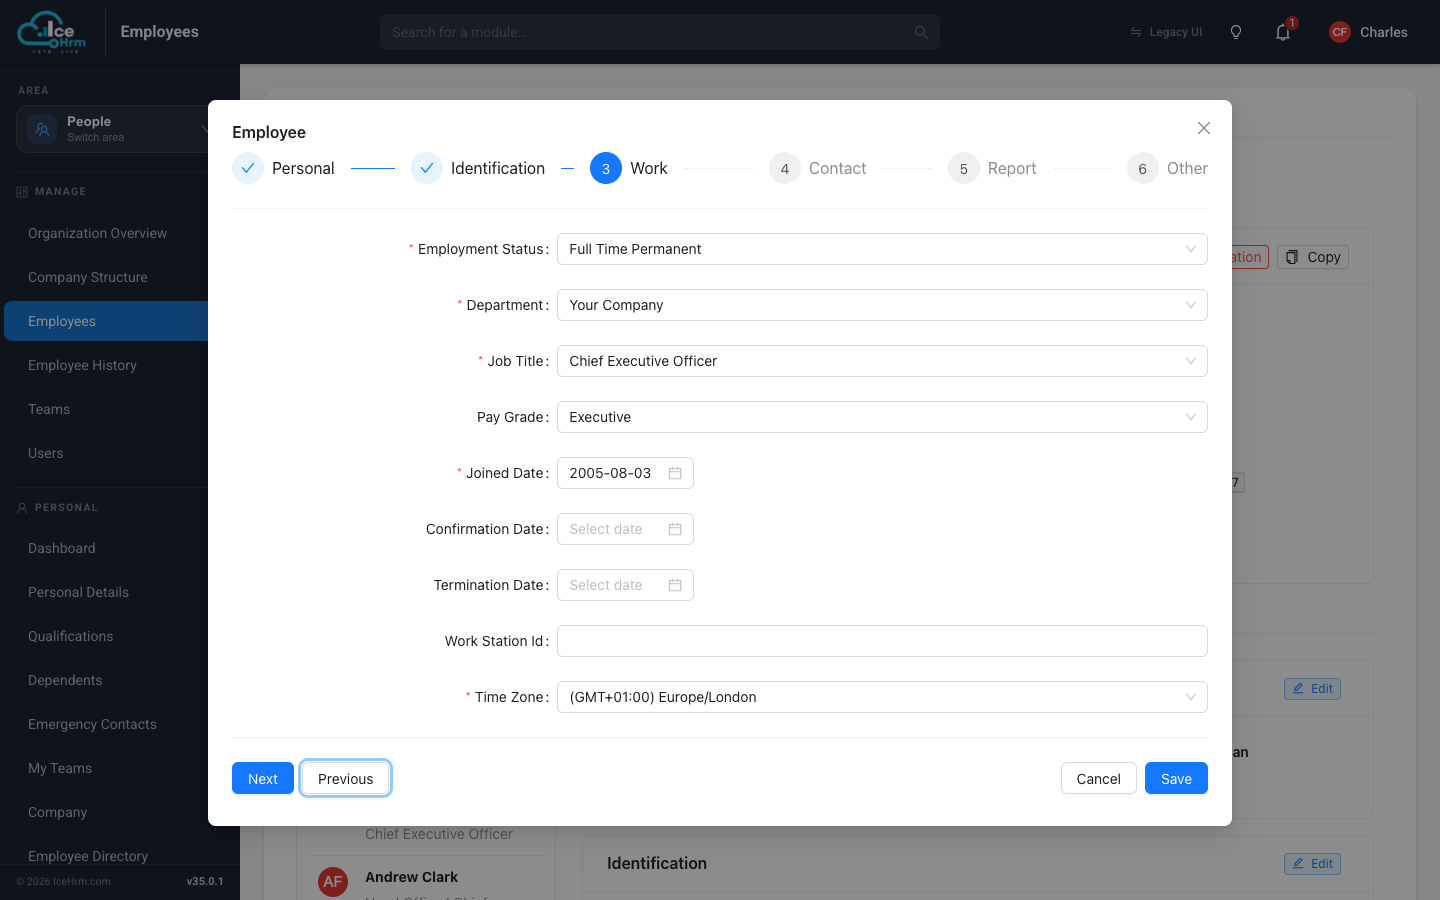
- Click Add a New Employee. A six-step form opens.

- Work through the steps. You can click Save at any point once the required
fields (marked with a red asterisk) are complete:
- Personal — employee number, name, nationality, date of birth, gender, marital status.
- Identification — national ID, tax ID, and similar identifiers.
- Work — employment status, department, job title, pay grade, joined date, and time zone.
- Contact — address, phone numbers, and email addresses.
- Report — who the employee reports to (their manager and any additional approvers).
- Other — any remaining custom fields your company uses.
An employee record does not create a login
Adding an employee this way does not let them log in. If they need access to IceHrm, also create a user account for them — see Users, user levels and managers. The invitation method does both at once, which is why it is usually the easier option.
Important reminders
- Employee number must be unique — every employee needs their own.
- Use a valid email — login details and notifications are sent to it.
- Pick the right user level — Employee for regular staff; see user levels for the full list.