Notice and Waiting Periods
Two settings help you control when leave can be taken. Both live on the Rules step of a leave type, so you can set them differently for each type of leave.
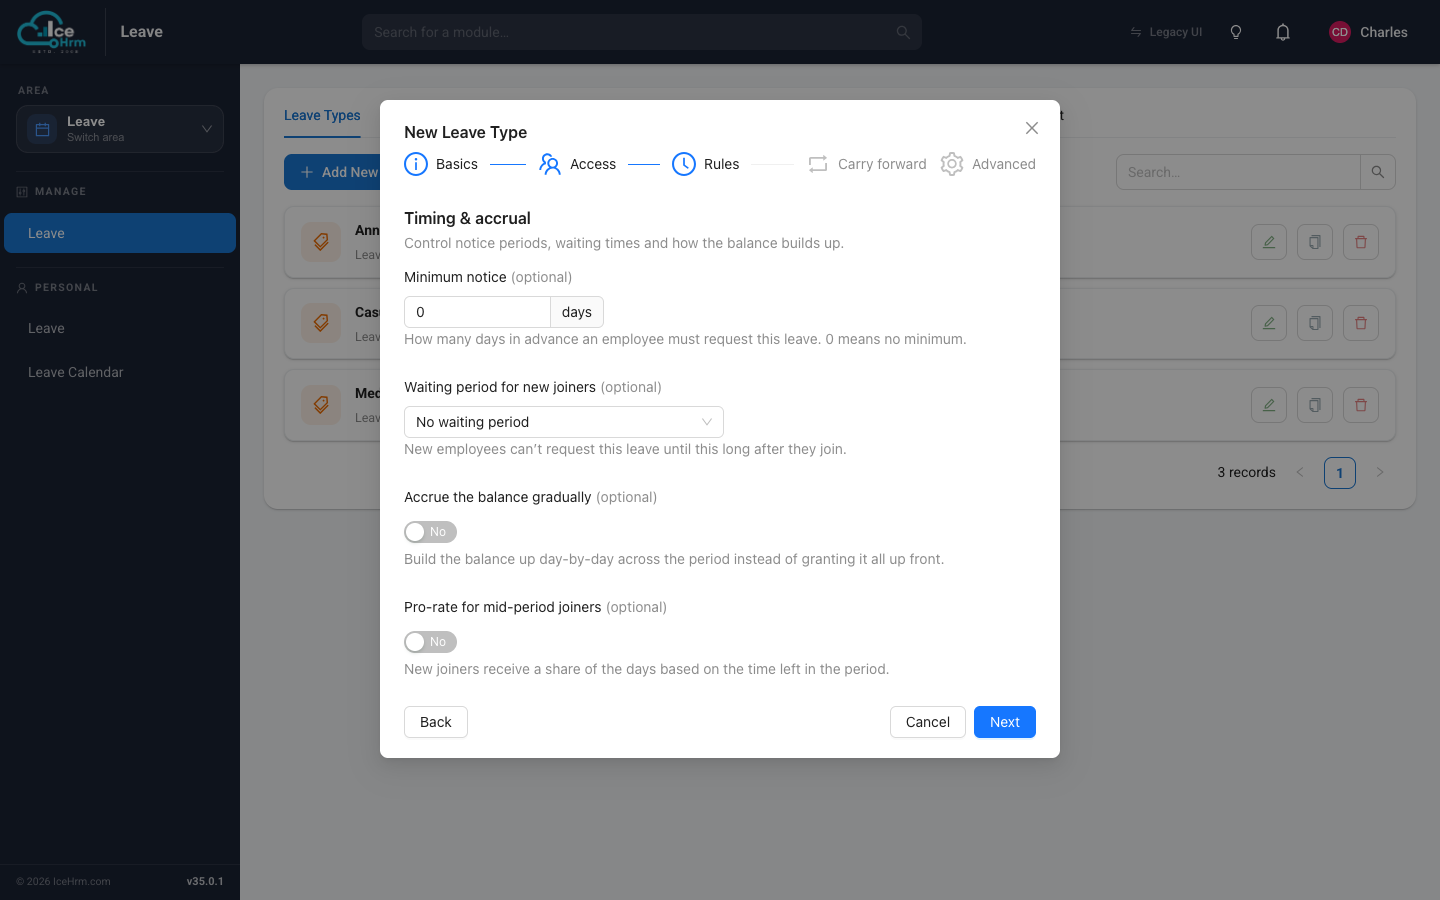
Minimum notice
Minimum notice is how many days in advance an employee must request this leave. For example, setting it to 14 means requests must be made at least two weeks ahead. Set it to 0 for no minimum (handy for sick leave, which usually can't be planned).
If an employee tries to request leave with too little notice, IceHrm blocks the request and explains why.
Waiting period for new joiners
Waiting period for new joiners stops brand-new staff from using a leave type until they've been with the company long enough. Pick a period from the dropdown (for example, three months). New employees simply won't see the leave as available until the waiting time has passed.
Choosing values
- Annual leave — a short notice period (say a week or two) helps you plan cover, and a waiting period is common for new hires.
- Sick / medical leave — usually 0 notice and no waiting period, since illness can't be scheduled.
- Casual leave — often a day or two of notice, no waiting period.