Document Signing (e-Signatures)
Document Signing lets you send a document to a person and collect their electronic signature — no printing, scanning, or paper. It's ideal for contracts, policy acknowledgements, and consent forms. You can send to an employee inside IceHrm, or to any email address so an outside party can sign without ever logging in.
Open the Documents area and click Document Signing under Manage. It has four tabs, in this order:
- Document Templates — reusable documents you write in the editor.
- Documents — ready-to-sign PDFs (uploaded, or produced from a template).
- Documents to Sign — requests that are out and waiting for a signature.
- Signed Documents — the completed, audited record.
1. Build a template
Start on the Document Templates tab. A template is written in the built-in editor and can be reused again and again.
- Create Template — give it a name and set the status, then Save.
- Content — opens the editor so you can write the body (headings, paragraphs, lists, tables, and more).
- Clone — duplicates a template, including its editor content, as a new "… (Copy)" draft. Handy when a new document is just a small variation of an existing one.
- Edit — rename or change the status.
A template's status can be Draft, Active, or Archived. It must be Active before you can assign a signatory to it.
Use placeholders for per-person details
Anywhere in the template's content you can type a placeholder in double braces,
for example {{name}}, {{start date}}, or {{salary}}. You fill these in later,
per signatory, when you assign the document — so one template serves everyone.
When you assign a signatory, each placeholder gets its own field with a System Value button. It can drop in the Selected Employee Name, the Employee Manager Name, the Current Date, or your Company Name so you don't have to type them by hand.
2. Turn the template into a signable PDF
Signatures are stamped onto a PDF, so a template has to become a PDF first.
- Convert to PDF — renders the template's current editor content into a PDF and links it to the template. The template stays fully editable; if you change the content later, just run Convert to PDF again to regenerate it.
- Show PDF — opens the generated PDF in a new tab so you can check it.
- Sig Position — mark where the signature should land (see below).
Prefer to work from a finished PDF you already have? Skip templates entirely: go to the Documents tab, click Create Document, and upload the PDF directly.
Place the signature boxes
Click Sig Position to open the placement window. Page through the document, click Place Signature, then click on the page wherever a signature should appear — you can drop several boxes, across multiple pages. Each box shows up in a list you can remove individually. Click Save Positions when you're done.
Positions are stored as percentages of the page, so they land in exactly the same spot when the document is signed, whatever the viewer's screen size.
3. Assign a signatory
Once an Active template has been converted to a PDF and has at least one signature position, an Assign Signatory button appears. This is the split that keeps you in control:
- Assign Signatory prepares a personal copy — it does not send anything yet.
- Send (on the next tab) is what actually asks the person to sign.
In the Assign Signatory window you choose who it's for:
- Employee — pick someone from your directory.
- Email address — type any address for an outside signer (no IceHrm account needed).
If the template has placeholders, fill them in here (using the System Value button where it helps). When you click Assign, IceHrm creates a personalized PDF — placeholders substituted, signature boxes copied — and drops it onto the Documents tab, tagged with the assigned employee or email.
Because assigning and sending are separate steps, you can prepare a batch of personalized documents, review them, and send them when you're ready.
4. Send it for signing
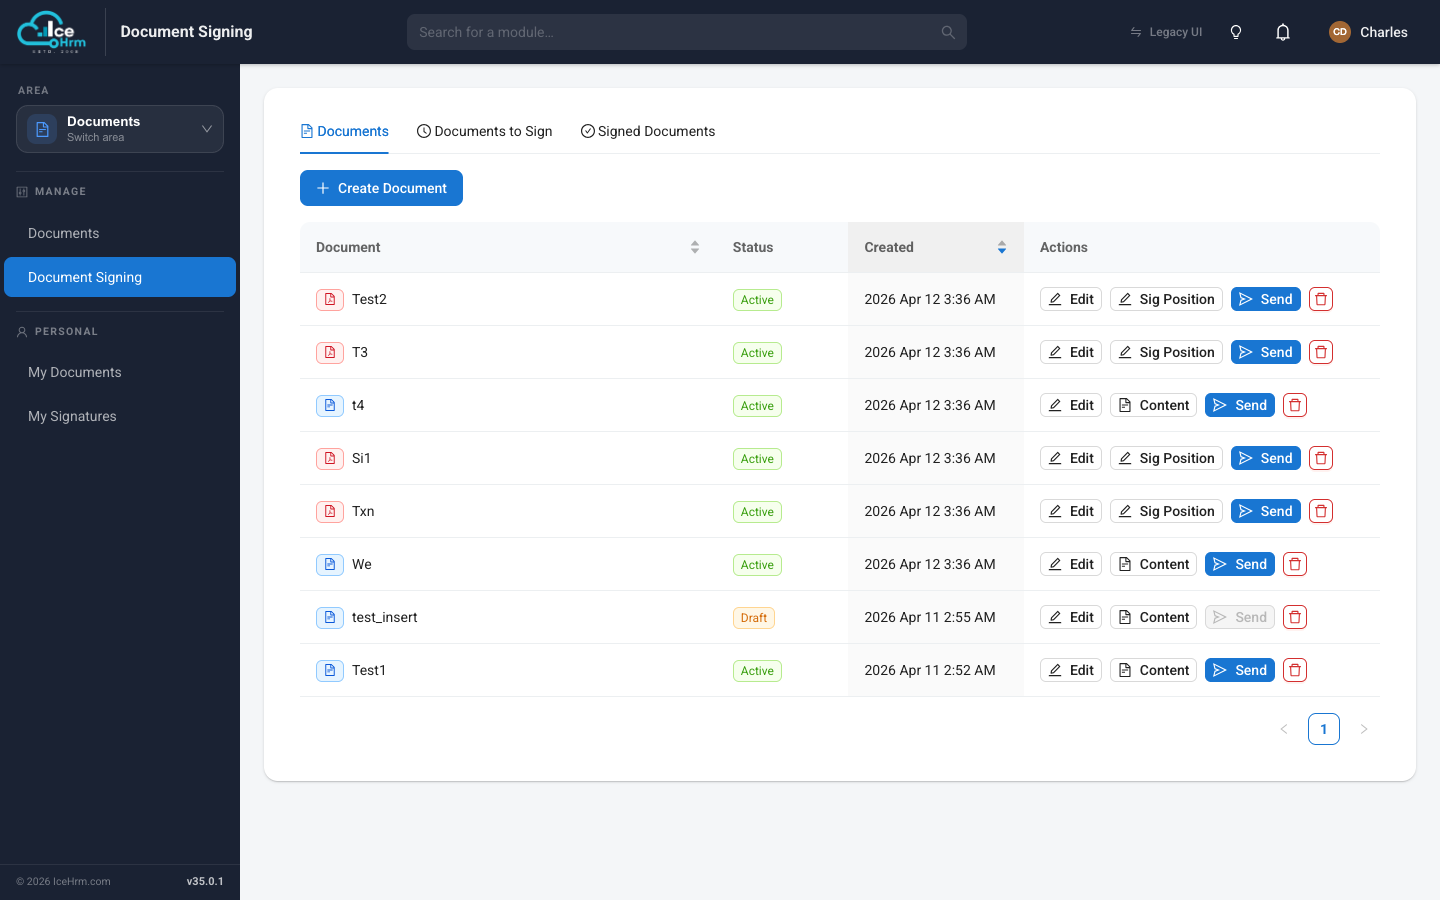
The Documents tab holds every ready-to-sign PDF — the personalized copies from Assign Signatory, plus any PDFs you uploaded yourself with Create Document. Each row shows its status and, if assigned, a tag for the employee or email.
- Send — for a document that already has an assigned signatory, this confirms and sends it straight to them. For an unassigned uploaded PDF, it first asks you to pick an employee or email. The document must be Active to send.
- Show PDF / Sig Position / Edit / Delete — as on the templates tab.
When you send to an employee, they get an in-app notification and an email. When you send to an email address, IcehrM emails a secure, single-purpose signing link instead — see Signing without a login below.
After a document is sent it moves off the Documents tab and appears under Documents to Sign.
5. Track who still needs to sign
The Documents to Sign tab lists every request that's out and still pending — who it's with and when it was sent. You can filter by employee or by document.
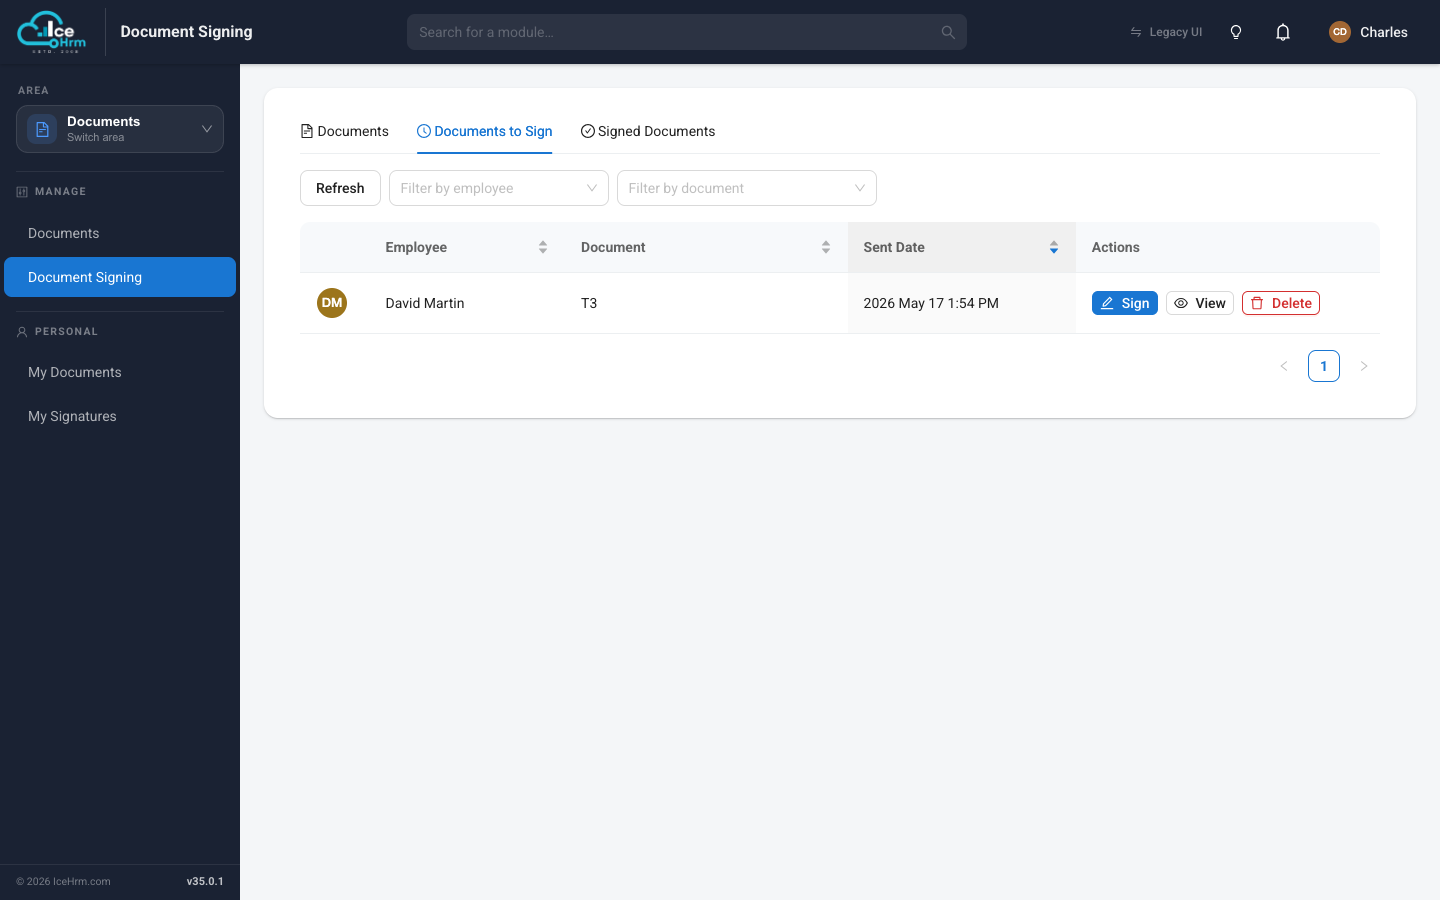
From here you can View the document or Delete the request (which removes the recipient's ability to sign it).
Signing is signatory-only. From this tab an admin or manager can view a pending request but cannot sign on someone else's behalf — only the assigned person can add their signature.
6. See what's been signed
The Signed Documents tab is your completed, audited record. Each row shows the signatory, the document, the status, and the signed date, with filters for employee and document.
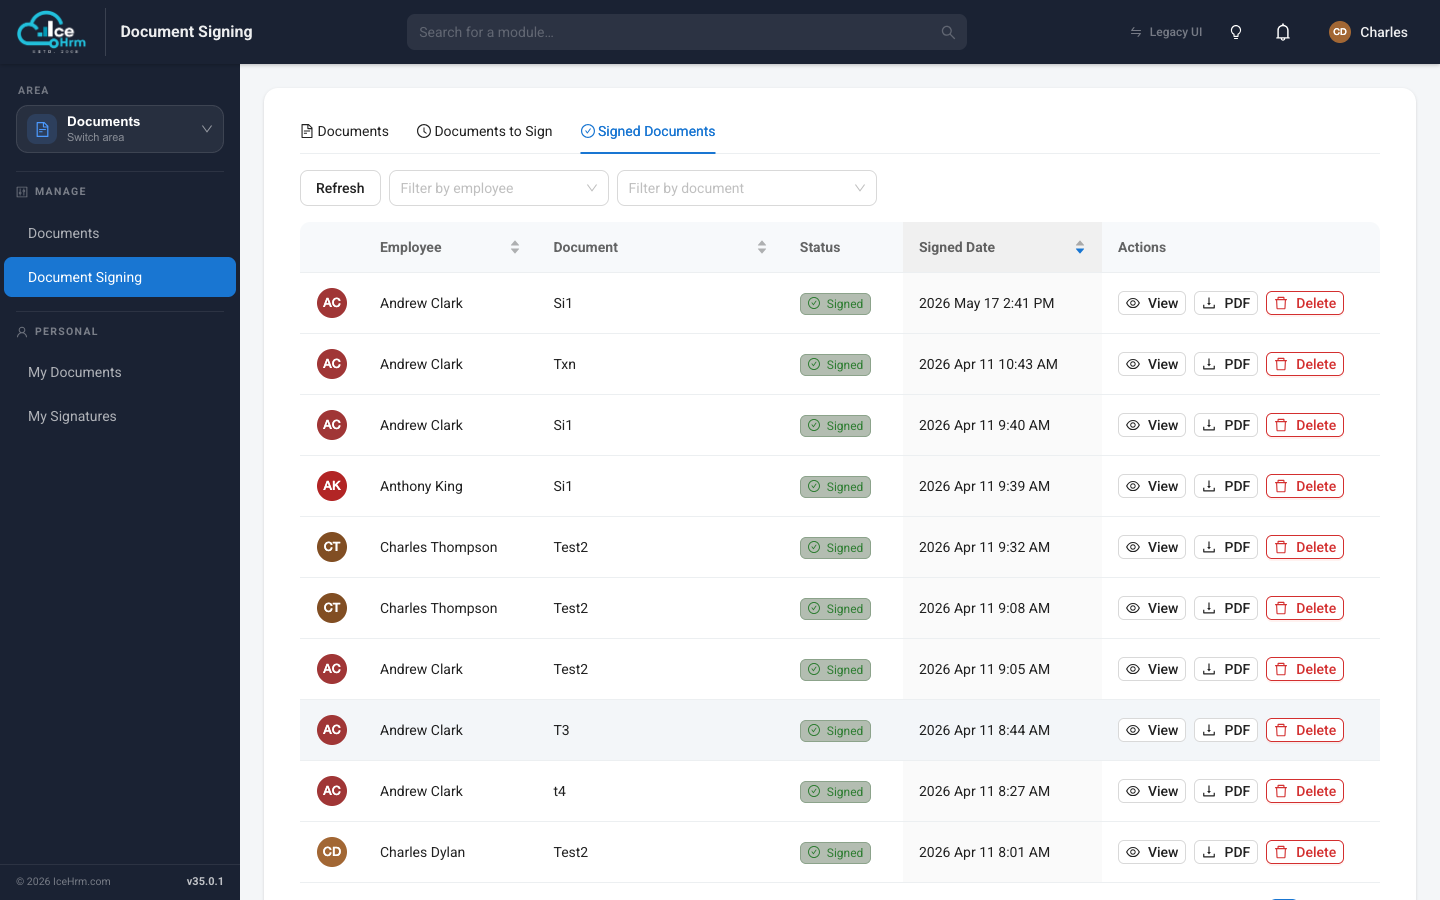
For each entry you can:
- View the document.
- PDF — download the signed copy, with the signature stamped into place.
- Logs — open the full audit trail for that document (see below).
- Delete — remove a signed entry from the list. The underlying record is kept for audit purposes and can't be restored from the screen.
The audit trail
Every step in a document's life is recorded and available from the Logs button as a timeline — who did what, when, and from which IP address. Tracked events include: document created and updated, template converted to PDF, template cloned, signatory assigned, sent for signing, signed, signed-PDF generated, and any document or request deletions.
Signing a document (the signatory's side)
Employees: My Signatures
When you send a document to an employee, they open the Documents area and click My Signatures under Documents. It has two tabs — Documents to Sign and Signed Documents.
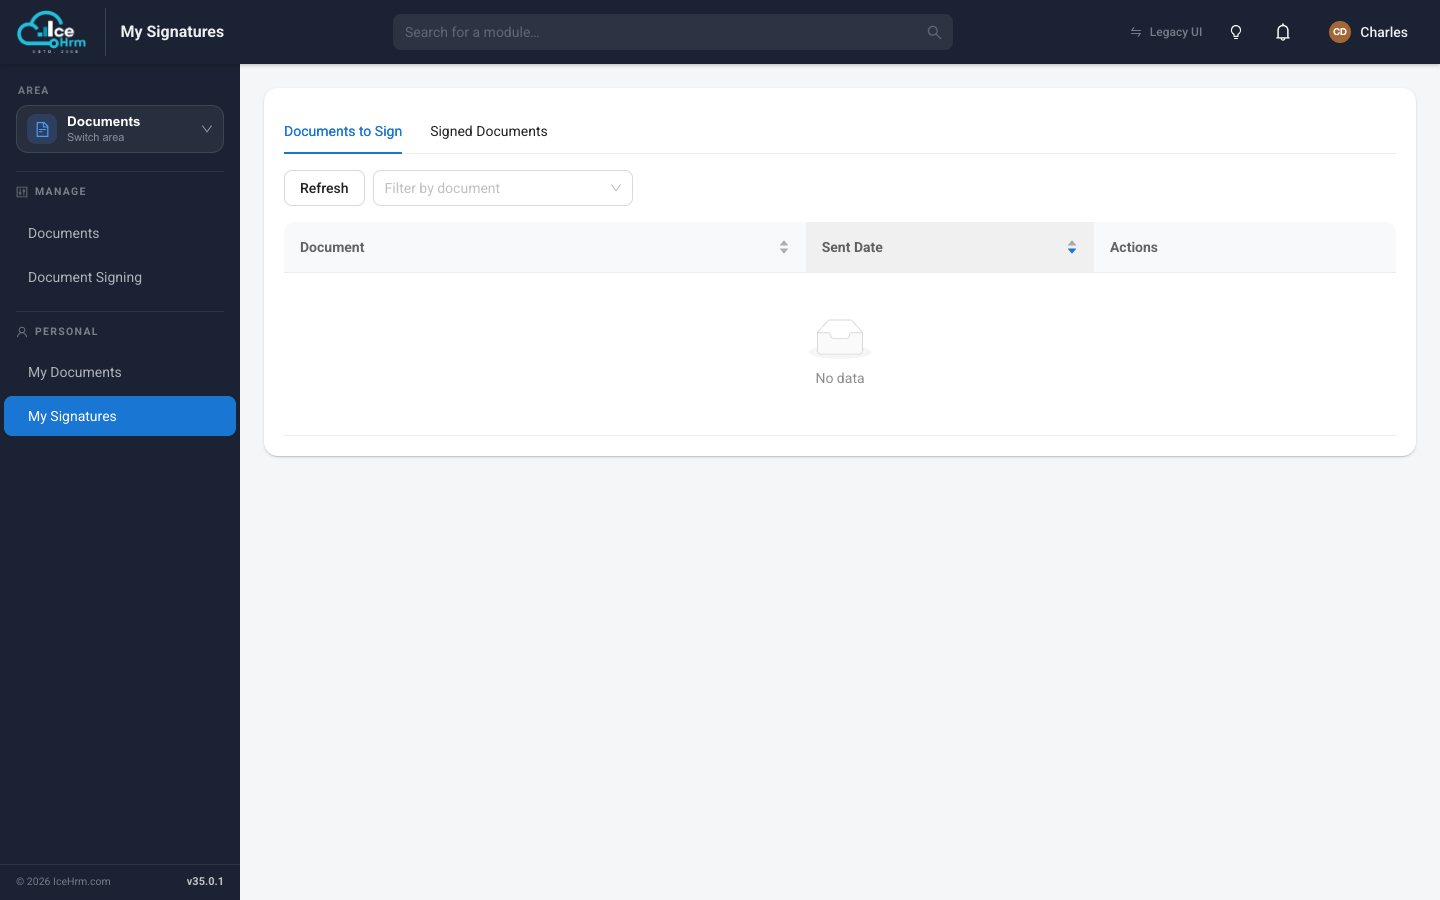
They open a pending document, sign it, and submit. It then moves to their Signed Documents tab — and yours.
The signing window is designed for readability:
- It opens full screen by default, with size toggles (S / M / L and Full screen / Exit).
- It previews the document one page at a time, with Prev / Next navigation and quick jumps to the pages that have signatures.
- Each signature spot shows a Sign Here box exactly where you placed it. The signatory clicks a box, draws their signature, and confirms.
- Use Previous Signature reuses the same drawing for the remaining boxes.
- Submit Signature stays disabled until every box has been signed.
Signing without a login
When you assign or send a document to an email address, the recipient doesn't need an IceHrm account:
- They receive an email with a secure hash link to a standalone signing page.
- That page offers the same experience as in-app signing — a per-page preview with the Sign Here boxes in place, a signature pad, and a submit button.
- When they submit, the person who requested the signature gets an in-app notification, and the signer is emailed their own copy of the signed document via a secure download link.
The signing link is tied to that one request. Once the document is signed the page shows a confirmation (with a download link), and the link can't be used to sign again.
The signing flow at a glance
Write a Document Template  (with {{placeholders}} if you like)
        ↓
Convert to PDF  +  set the signature positions
        ↓
Assign Signatory  → personalized PDF lands on the Documents tab
        ↓
Send  → the signatory is emailed / notified
        ↓
They sign  (in app, or via a secure no-login link)
        ↓
Signed copy appears under Signed Documents  (PDF + audit Logs)
Tips
- Set signature positions before assigning — the Assign Signatory button only appears once a template is Active, converted to PDF, and has at least one position.
- Keep templates reusable — write the body once with
{{placeholders}}, then fill them in per person at assign time. - Re-convert after edits — if you change a template's content, run Convert to PDF again so the signable copy matches.
- Use the email option for outside parties — vendors, candidates, or clients can sign without an account, and everyone gets a copy.
- Check the Logs on the Signed Documents tab whenever you need a full history of a document.