This documentation is relevant only to self-hosted installations of IceHrmPro or IceHrm Community.
Connecting Your IceHrm Installation to IceHrm.com
Connect your self-hosted IceHrm installation to your icehrm.com account so it can see the products linked to that account. Once connected, IceHrm detects an IceHrm Pro subscription automatically and offers the upgrade to Pro from inside the admin panel.
Prerequisites
- A working IceHrm installation
- Administrator access to your IceHrm instance
- An email address for your icehrm.com account. Use the same email you use, or plan to use, when purchasing IceHrm Pro
Step 1: Initiate Connection
Log in to your IceHrm installation as an administrator. Open the System area, click Marketplace, and go to the My Purchases tab. You'll see a prompt to connect your installation to icehrm.com.
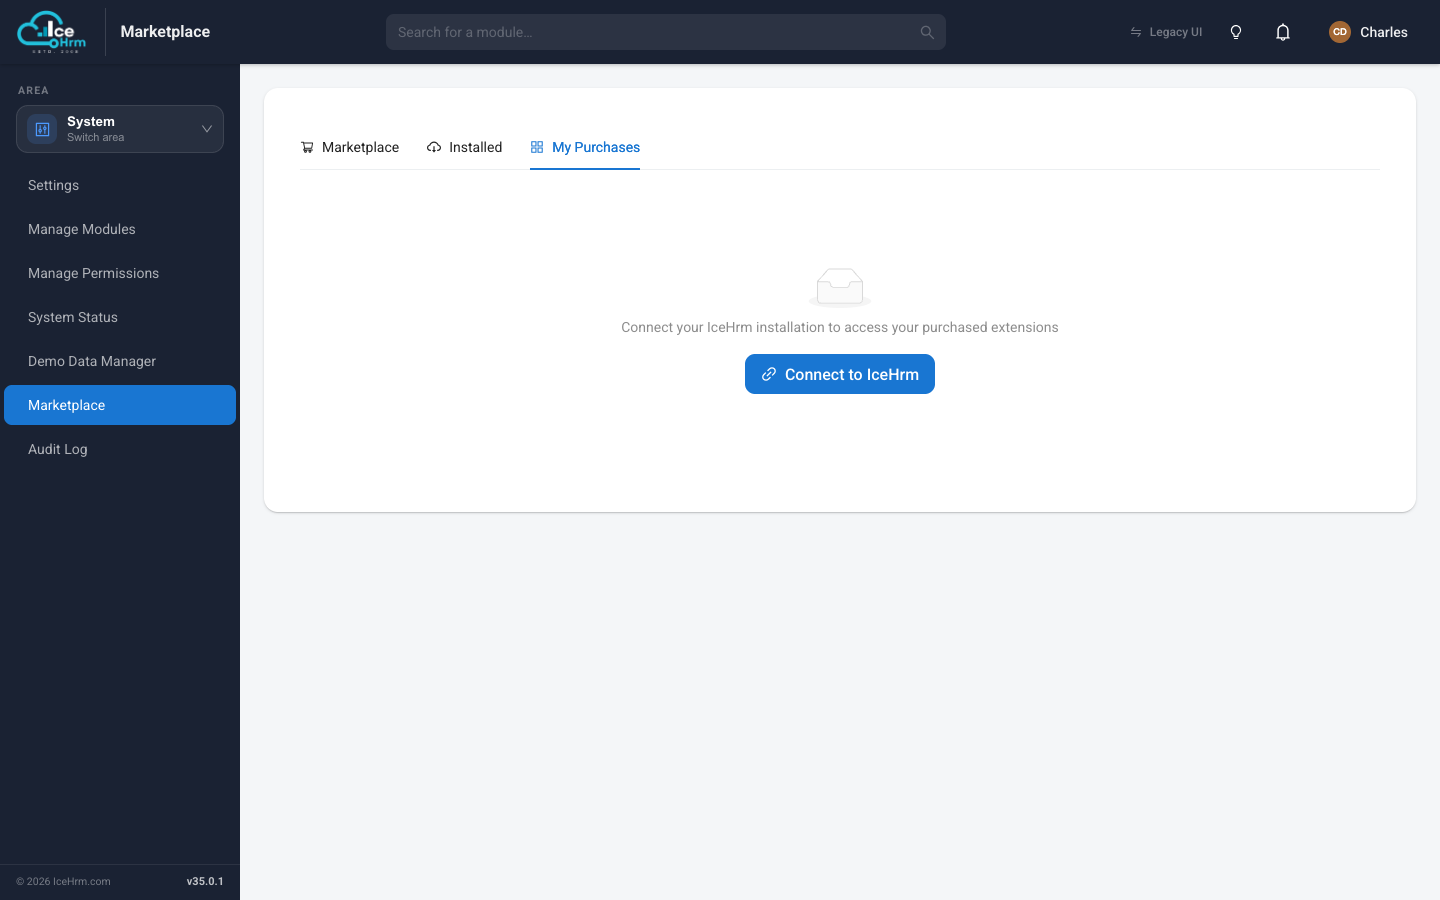
Click the Connect to IceHrm button to begin. The remaining steps happen on icehrm.com and are shown below.
Step 2: Sign In or Create Account
For Existing Users
If you already have an icehrm.com account, enter your credentials to sign in.
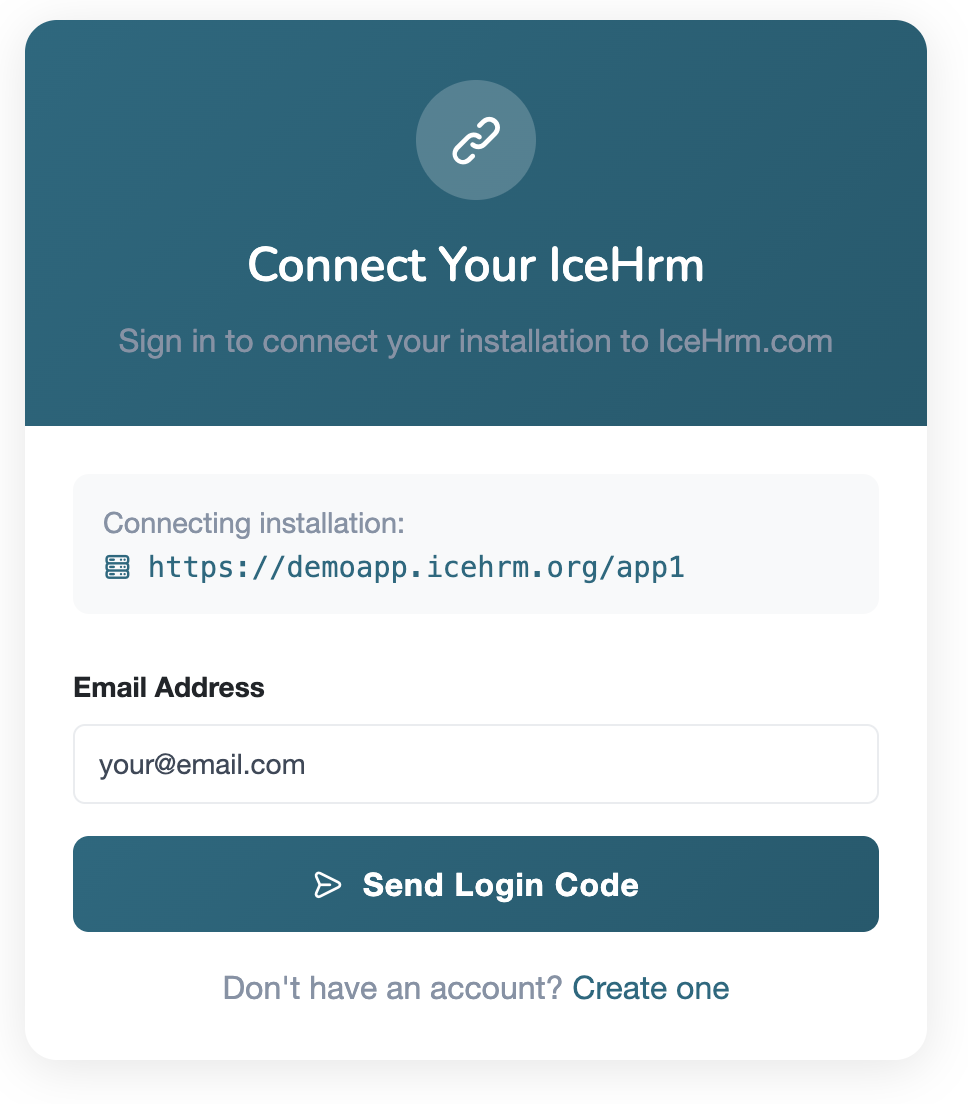
For New Users
If you don't have an account, click on Create Account and fill in your details.
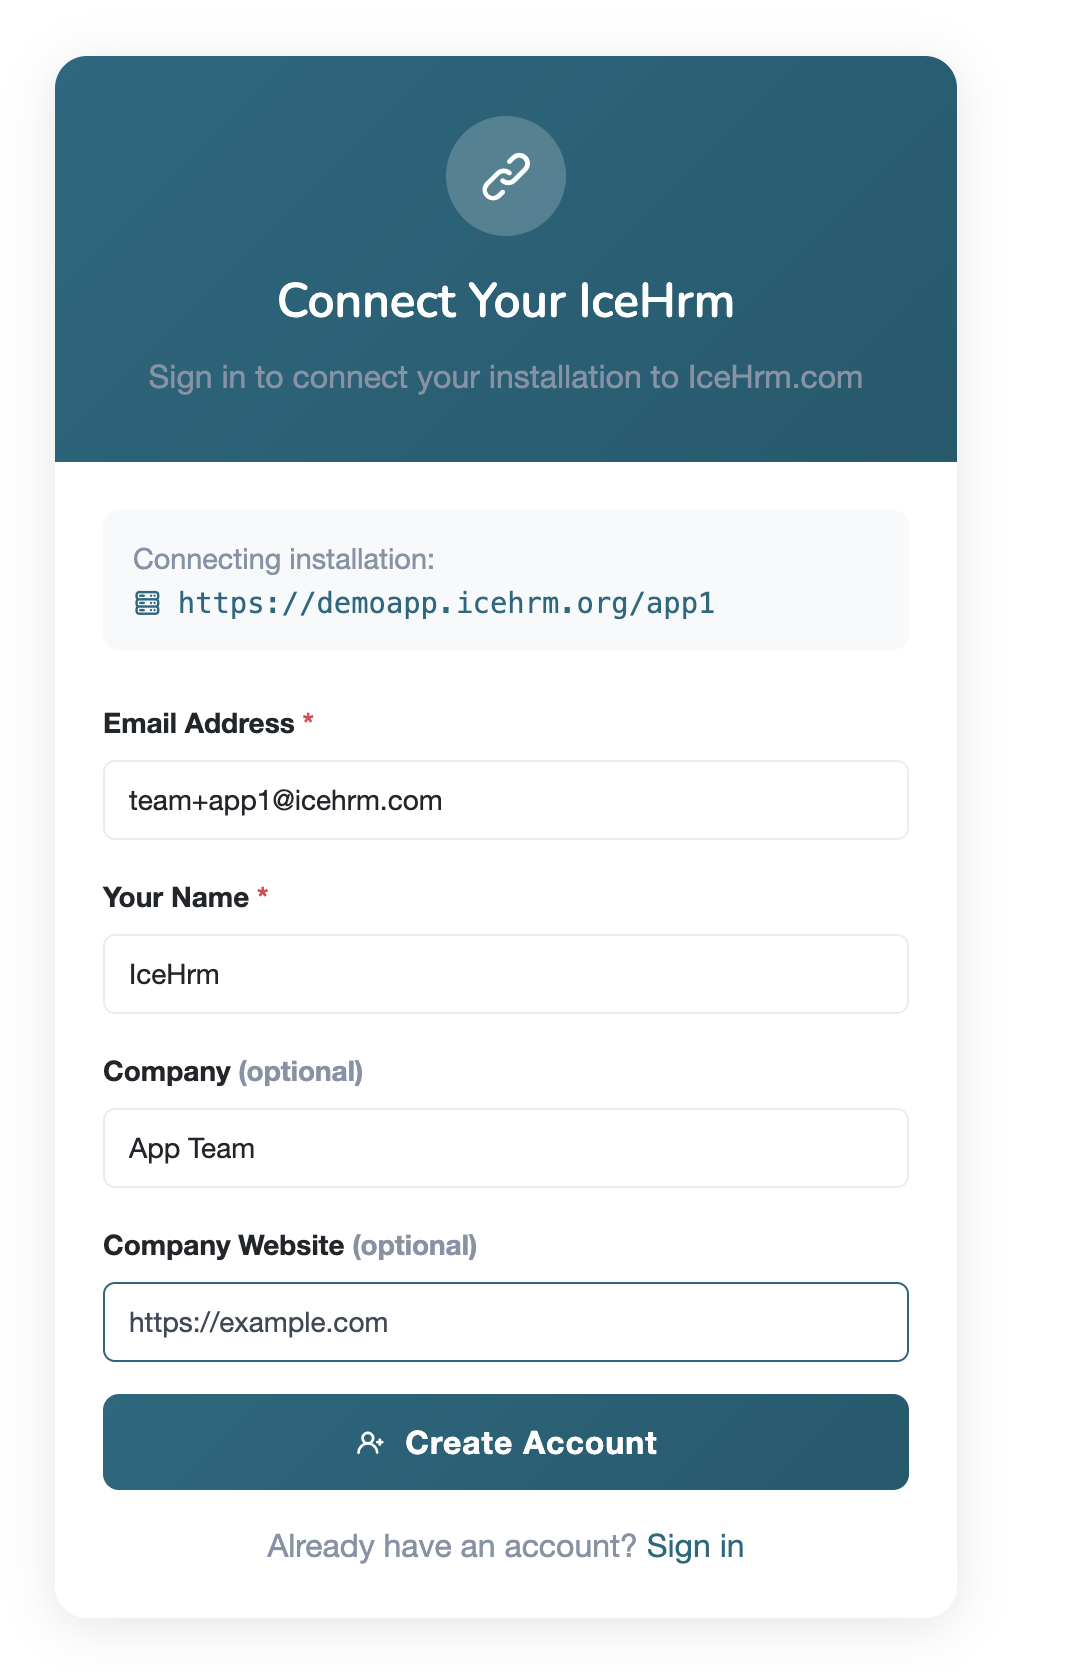
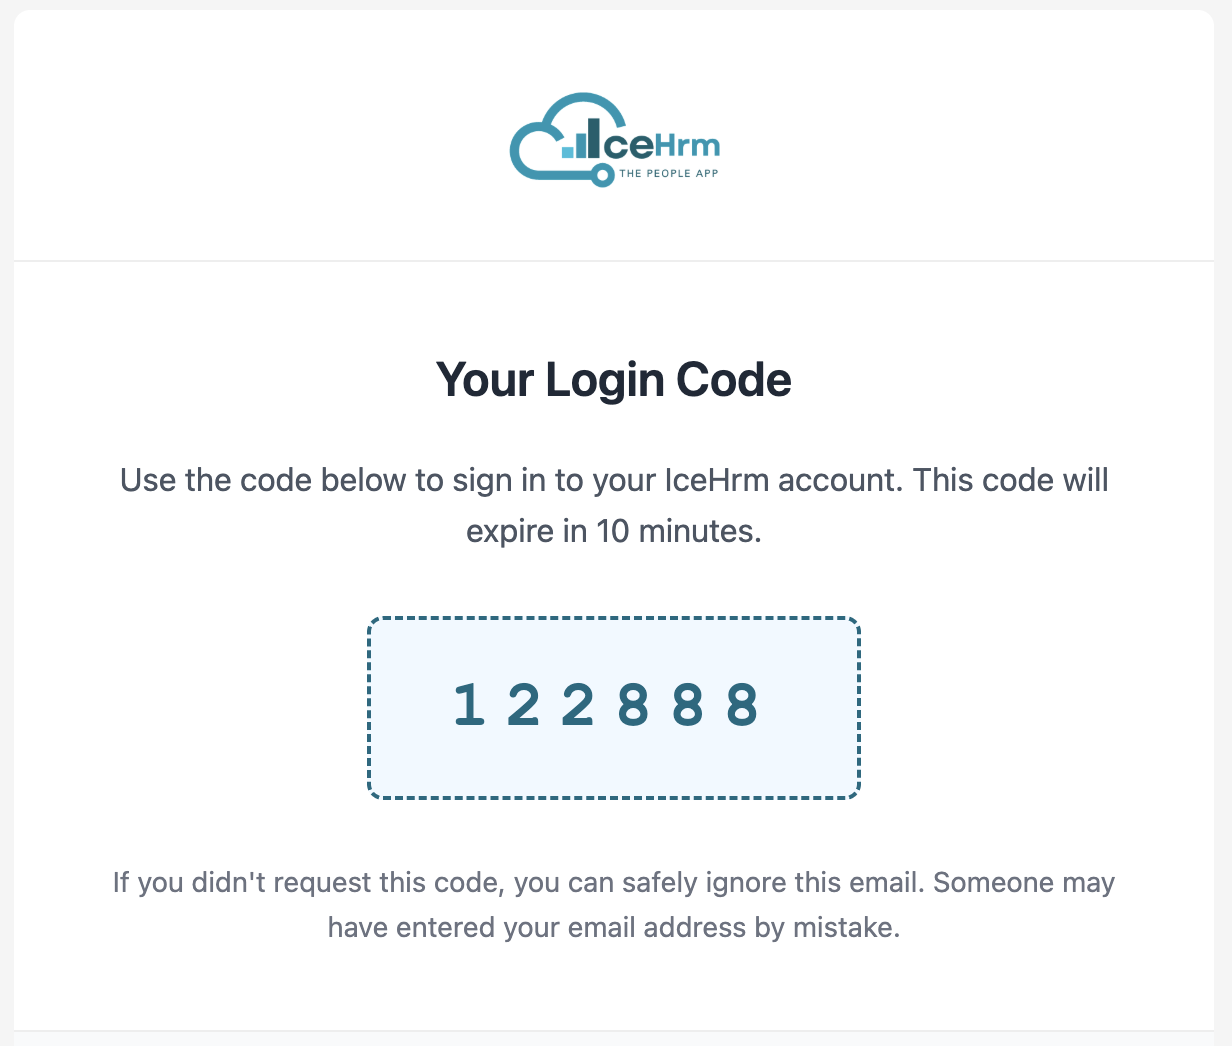
Step 3: Verify Your Email
After creating a new account, you'll need to verify your email address.
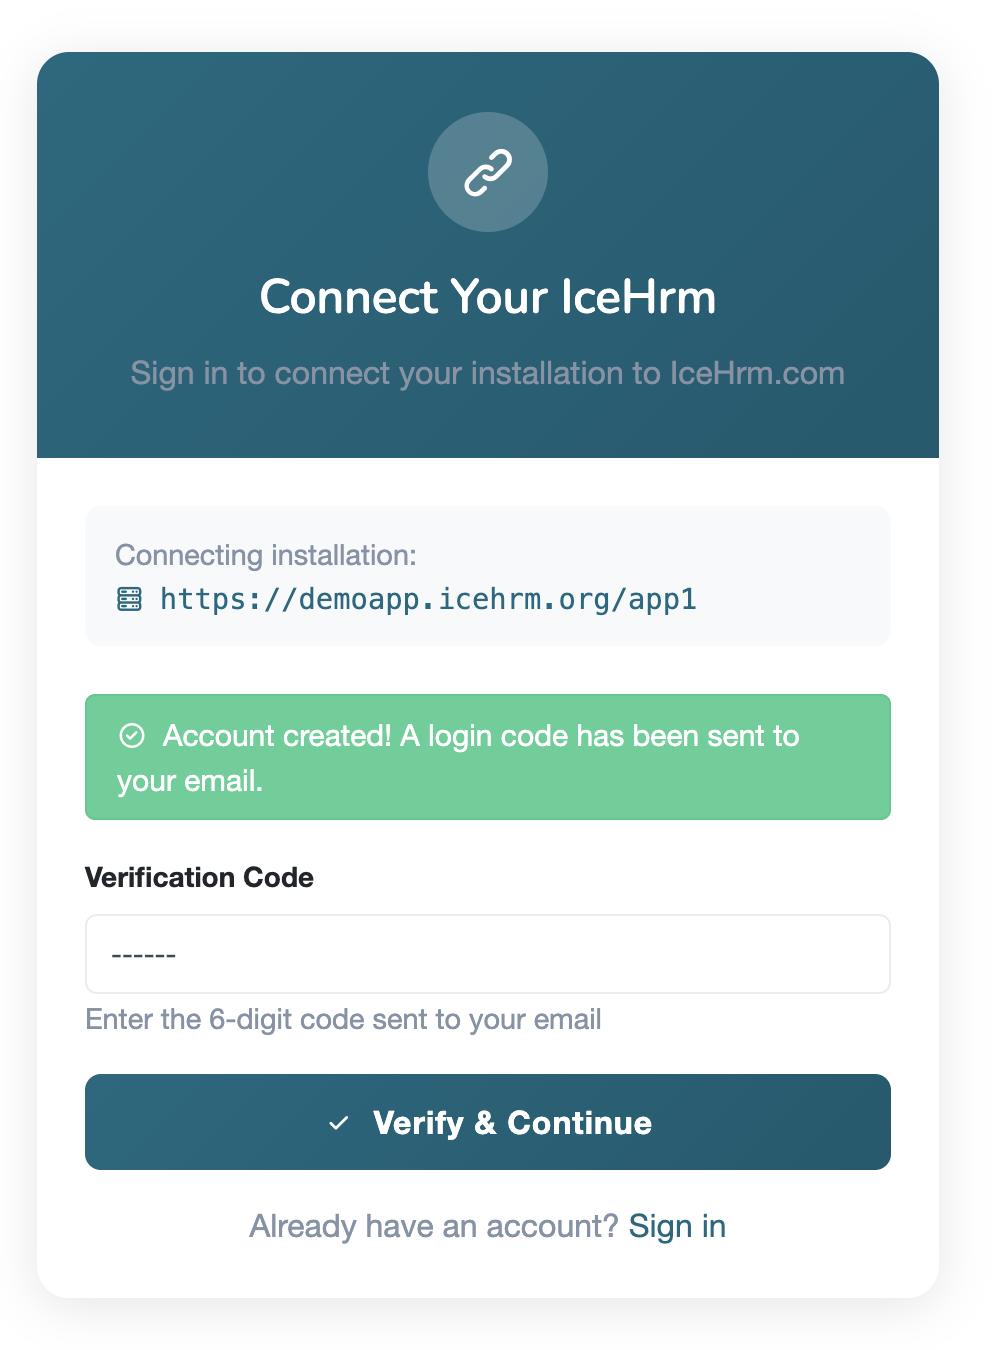
Check your email inbox for a verification code and enter it in the verification screen.
Step 4: Authorize the Connection
Review the connection request and click Authorize to allow your IceHrm installation to connect to your icehrm.com account.
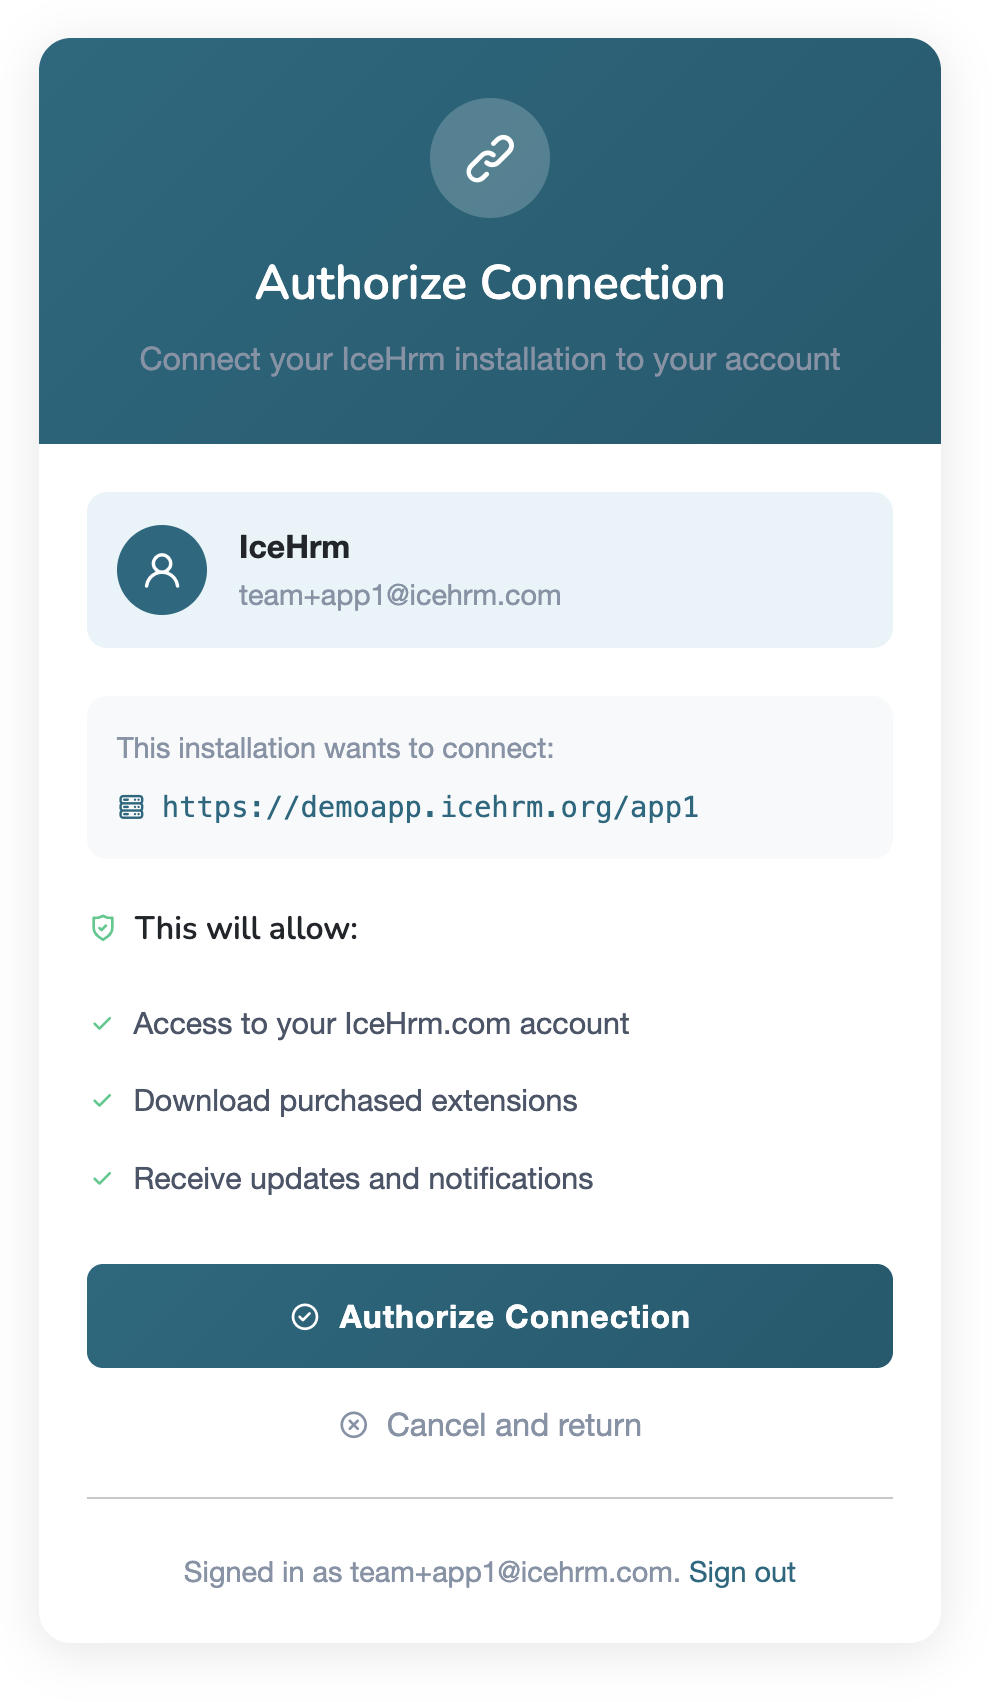
Step 5: Connection Complete
Once authorized, you will be redirected back to your IceHrm installation. Your account is now connected.
Next Steps
Now that your installation is connected, purchasing IceHrm Pro with the same email address makes the upgrade offer appear in your admin panel. See Upgrading to IceHrm Pro.