Expense Categories and Payment Methods
Before employees submit claims, set up the categories they'll choose from and the payment methods they can record. Both live in Pay & Expenses > Expenses (the Manage section).
Expense categories
On the Expenses Categories tab you'll find your list of categories — things like "Auto - Gas", "Transportation", or "Entertainment". Employees pick one for every claim, which keeps reporting tidy.
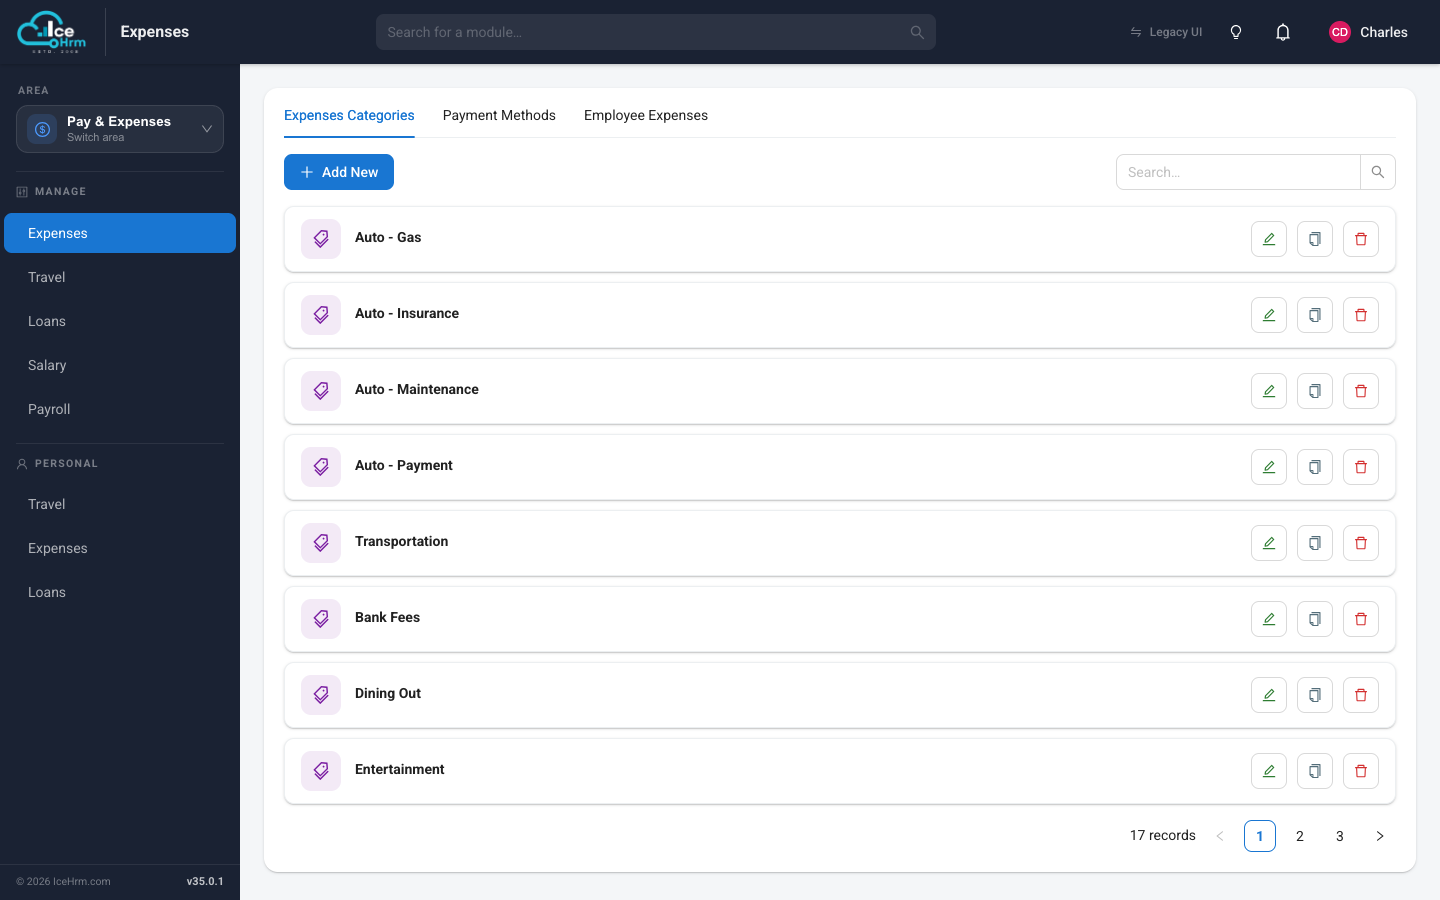
To add one, click Add New, enter a name, and save.
Payment methods
On the Payment Methods tab you list how expenses are paid — cash, debit card, credit card, cheque, and so on.
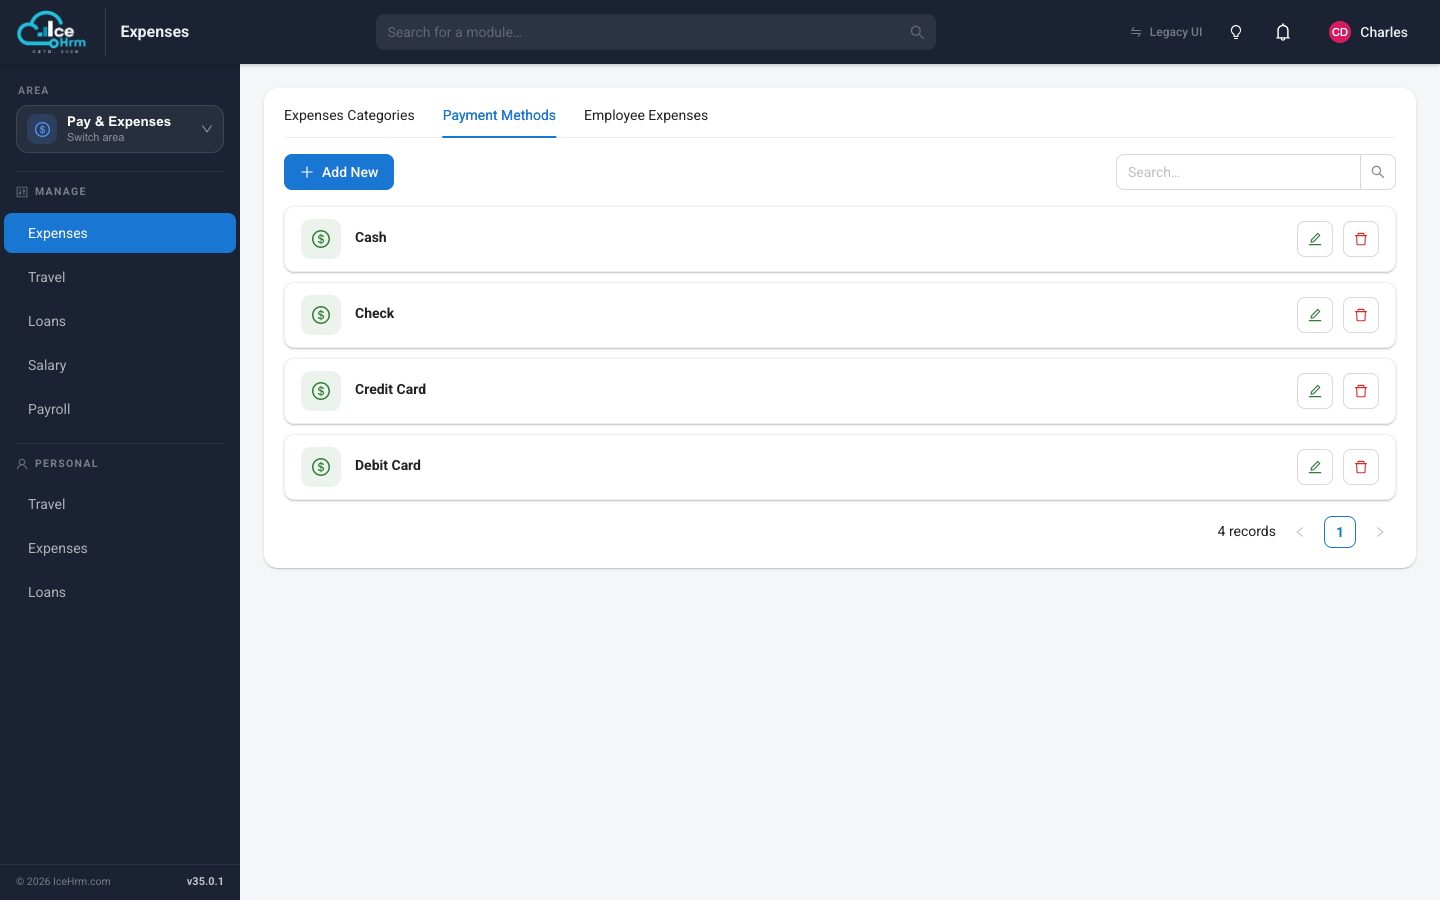
Employees choose a payment method when they enter a claim, so you can see at a glance how each expense was settled.