Submitting an Expense Claim
Employees submit their own expense claims from the Pay & Expenses area, under Personal > Expenses. The page lists their previous claims with the status of each.
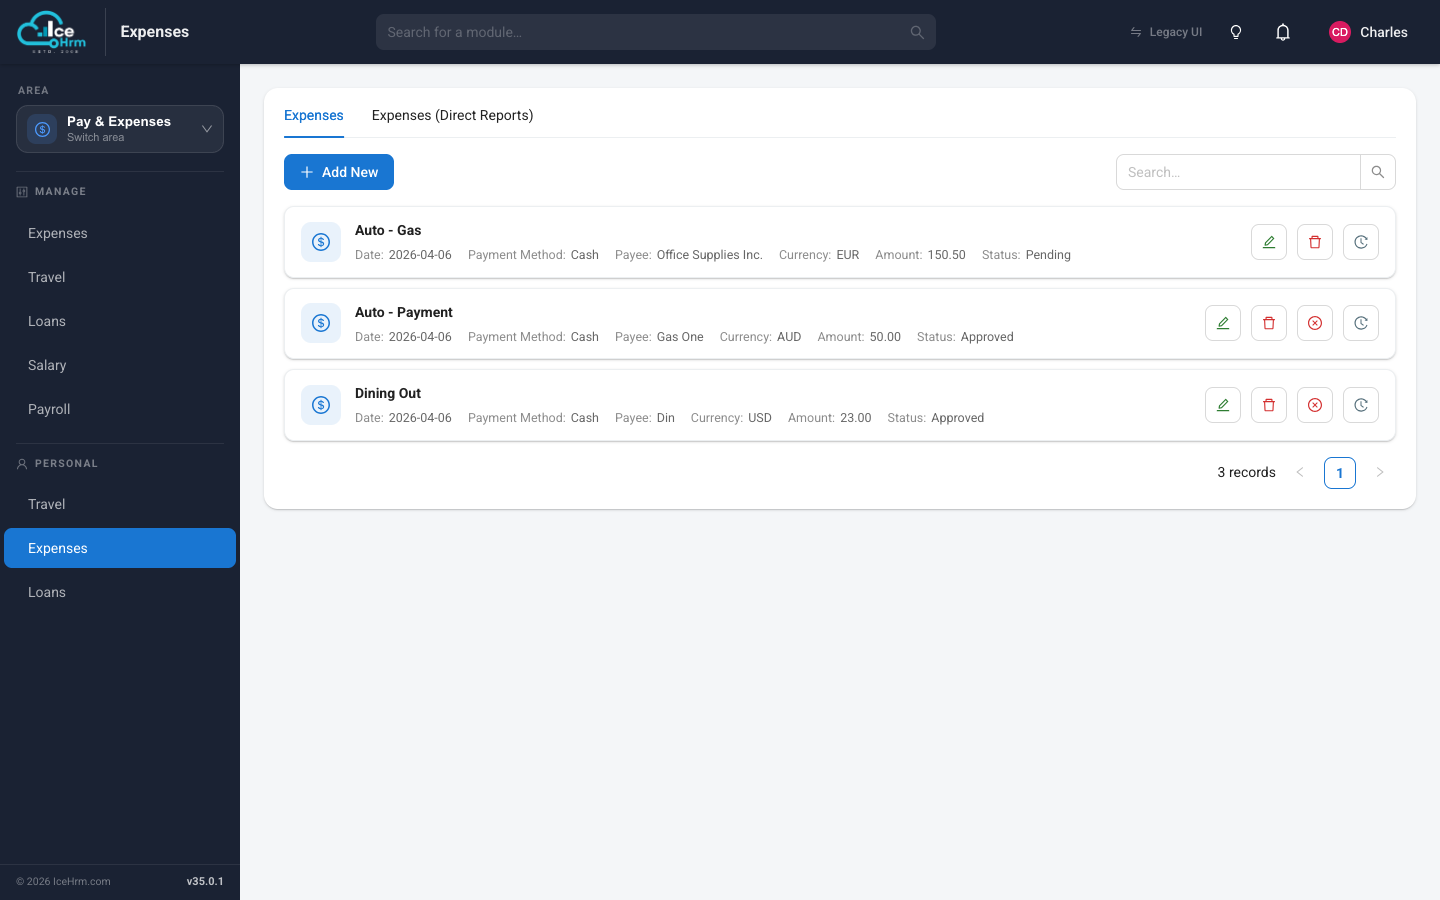
Adding a claim
- Click Add New.
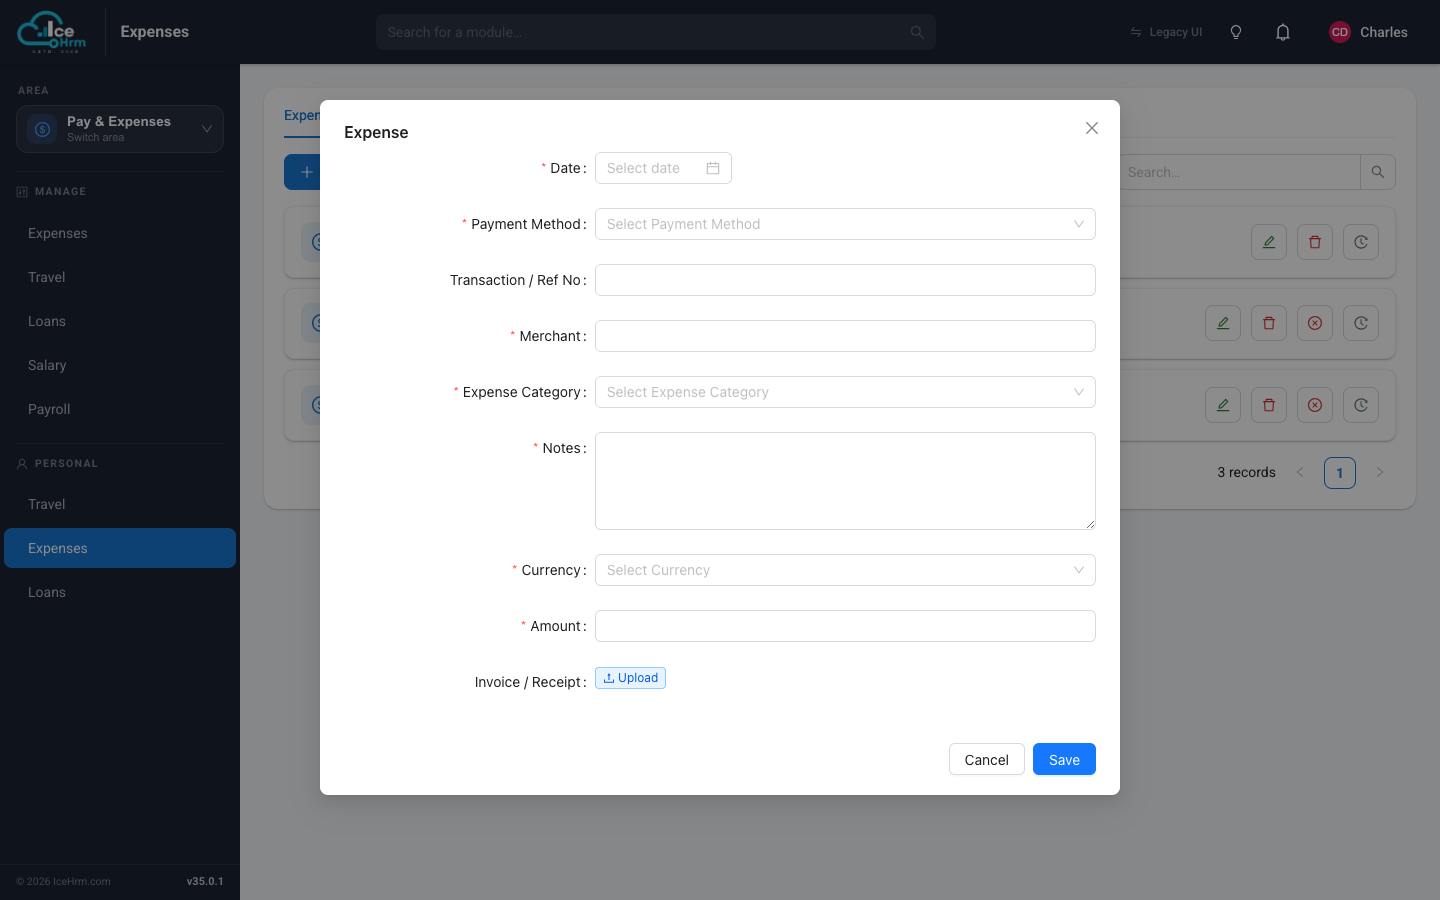
- Fill in the form:
- Date — when the expense happened.
- Payment Method — how it was paid (see payment methods).
- Transaction / Ref No — an optional reference number.
- Merchant — who was paid.
- Expense Category — the type of expense.
- Notes — a short description.
- Currency and Amount — how much it was.
- Invoice / Receipt — upload a photo or PDF of the receipt.
- Click Save.
The claim is submitted with a status of Pending and waits for a manager or admin to review it. Employees can watch the status change on their Expenses page.
Finding a claim in your list
Use the All statuses dropdown at the top of your Expenses list to filter by Pending, Approved, Rejected, or Paid. Clear it to see every claim again. The Search box next to it filters by text.
Viewing a claim
Click a claim card (or the View button on it) to open the expense dialog. It shows the amount, date, payment method, payee, transaction reference, notes, and any receipts you attached — with a Status History panel on the right that lists every status change, newest first.
Editing, deleting, and re-submitting
What you can do to a claim depends on its status:
- Pending — you can still Edit it (the dialog opens with editable fields) or Delete it while it's waiting for review.
- Rejected — you can Delete it, or Re-submit it. Click the Re-submit button to reopen the claim, correct whatever was wrong, and send it back for approval. Re-submitting sets the status back to Pending.
- Approved or Paid — the claim is locked; you can view it but not change it.
A rejected claim isn't a dead end. Fix the amount, category, or receipt and re-submit — it re-enters the same approval queue as a fresh Pending claim.