Connecting Your IceHrm Installation to IceHrm.com
Connect your self-hosted IceHrm installation to icehrm.com to access and install extensions. Once connected, you can easily install new extensions and keep them up to date directly through the IceHrm admin interface — without manually copying files to your server.
Prerequisites
- A working IceHrm installation
- Administrator access to your IceHrm instance
- An email address for your icehrm.com account
Step 1: Initiate Connection
Log in to your IceHrm installation as an administrator. Navigate to Marketplace -> Extensions and click on the My Purchases tab. You will see a prompt to connect your installation to icehrm.com.
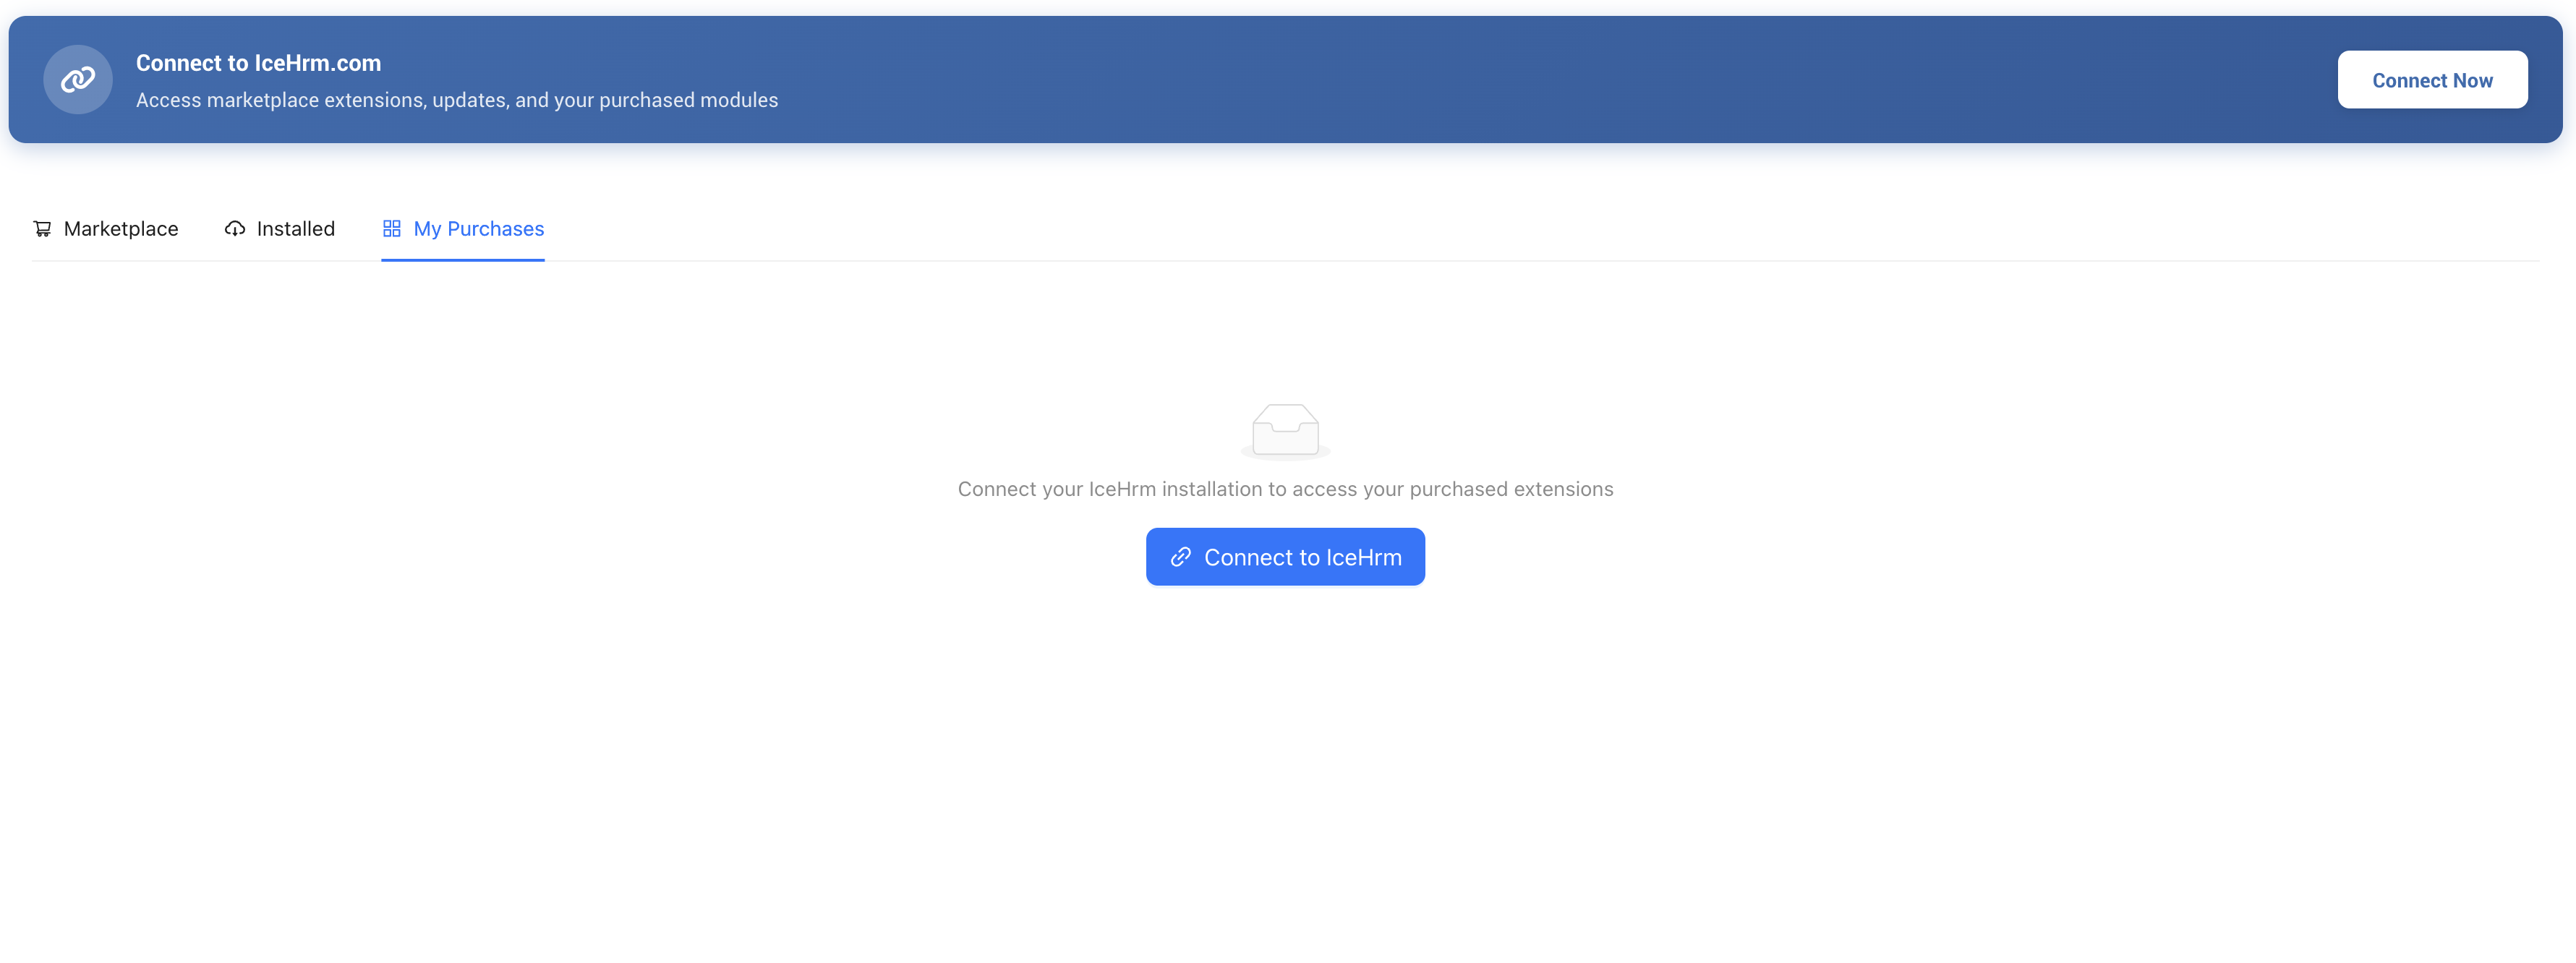
Click on the Connect button to begin the connection process.
Step 2: Sign In or Create Account
For Existing Users
If you already have an icehrm.com account, enter your credentials to sign in.
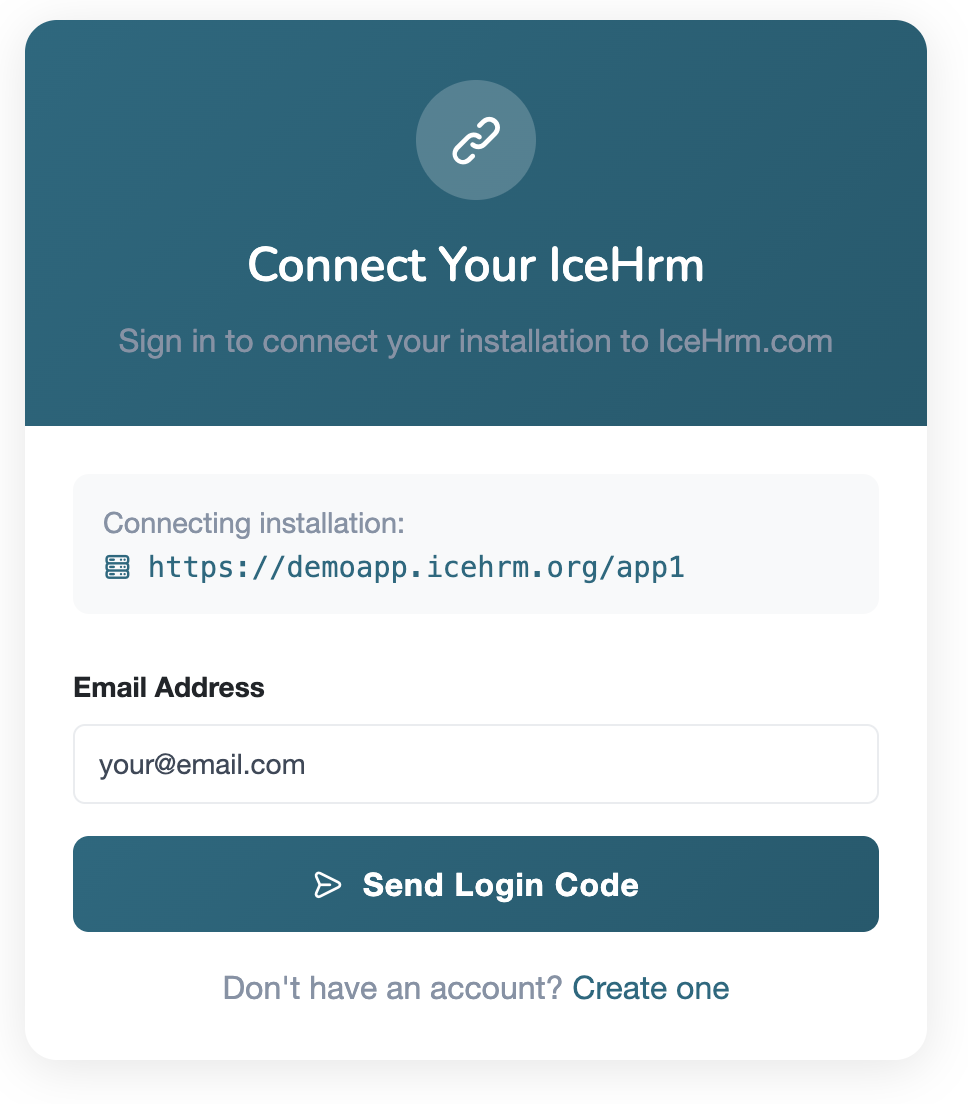
For New Users
If you don't have an account, click on Create Account and fill in your details.

Step 3: Verify Your Email
After creating a new account, you'll need to verify your email address.
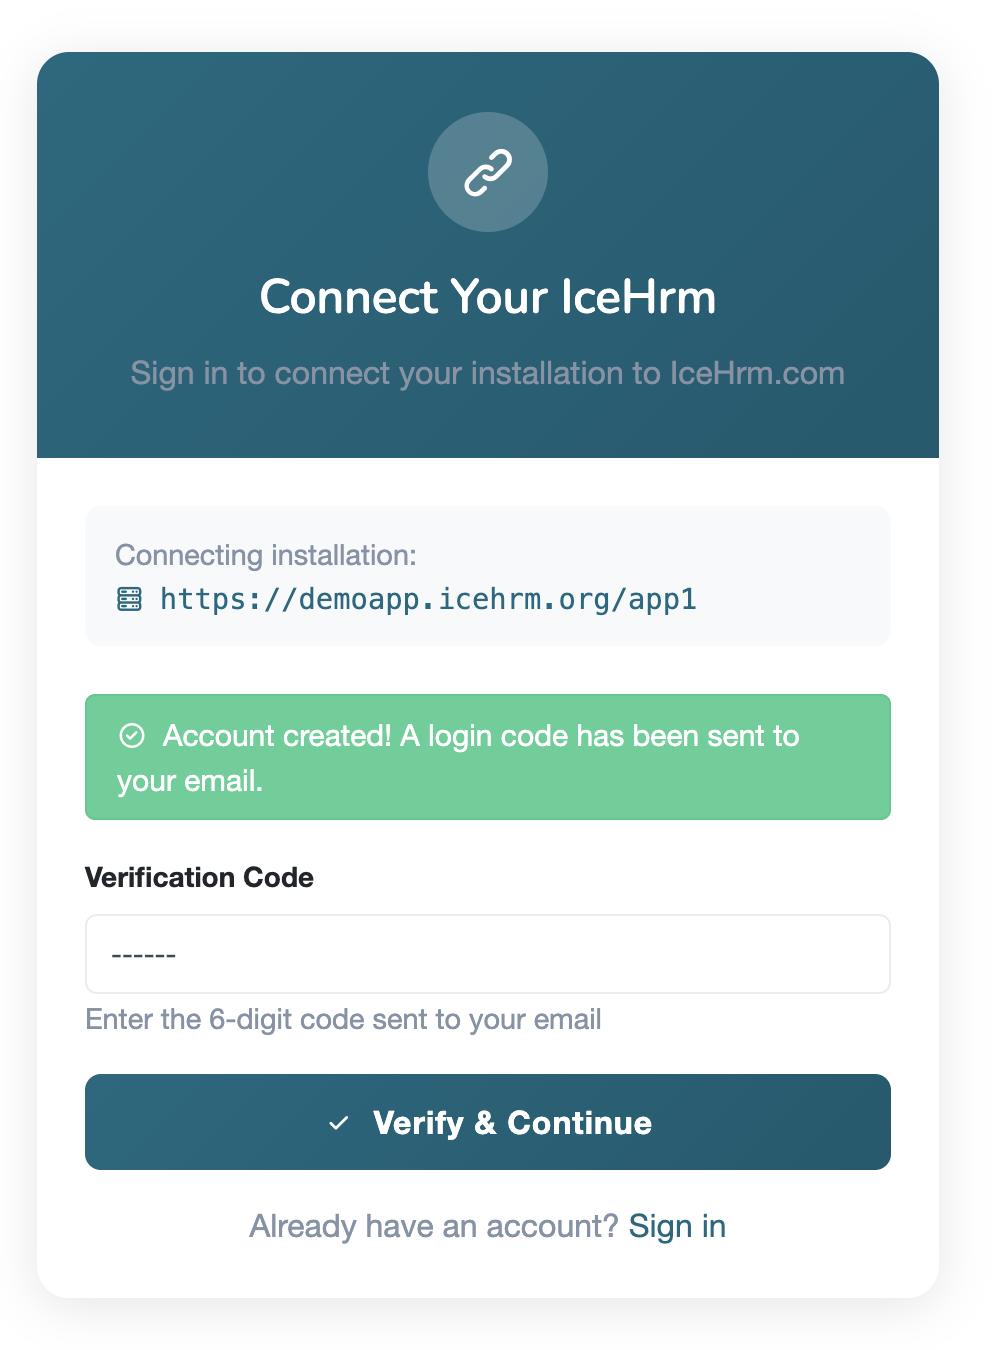
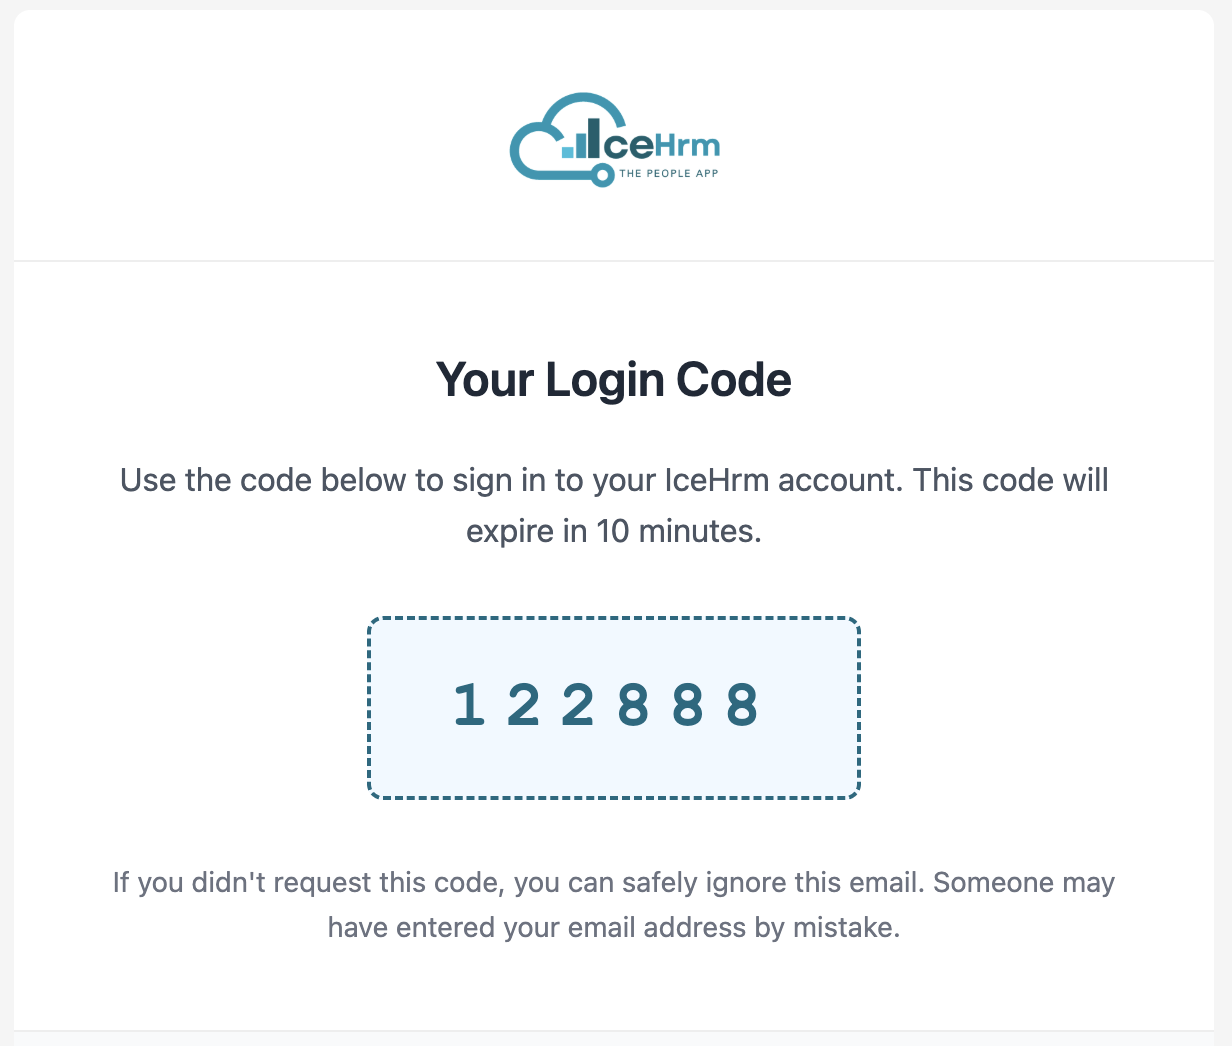
Check your email inbox for a verification code and enter it in the verification screen.
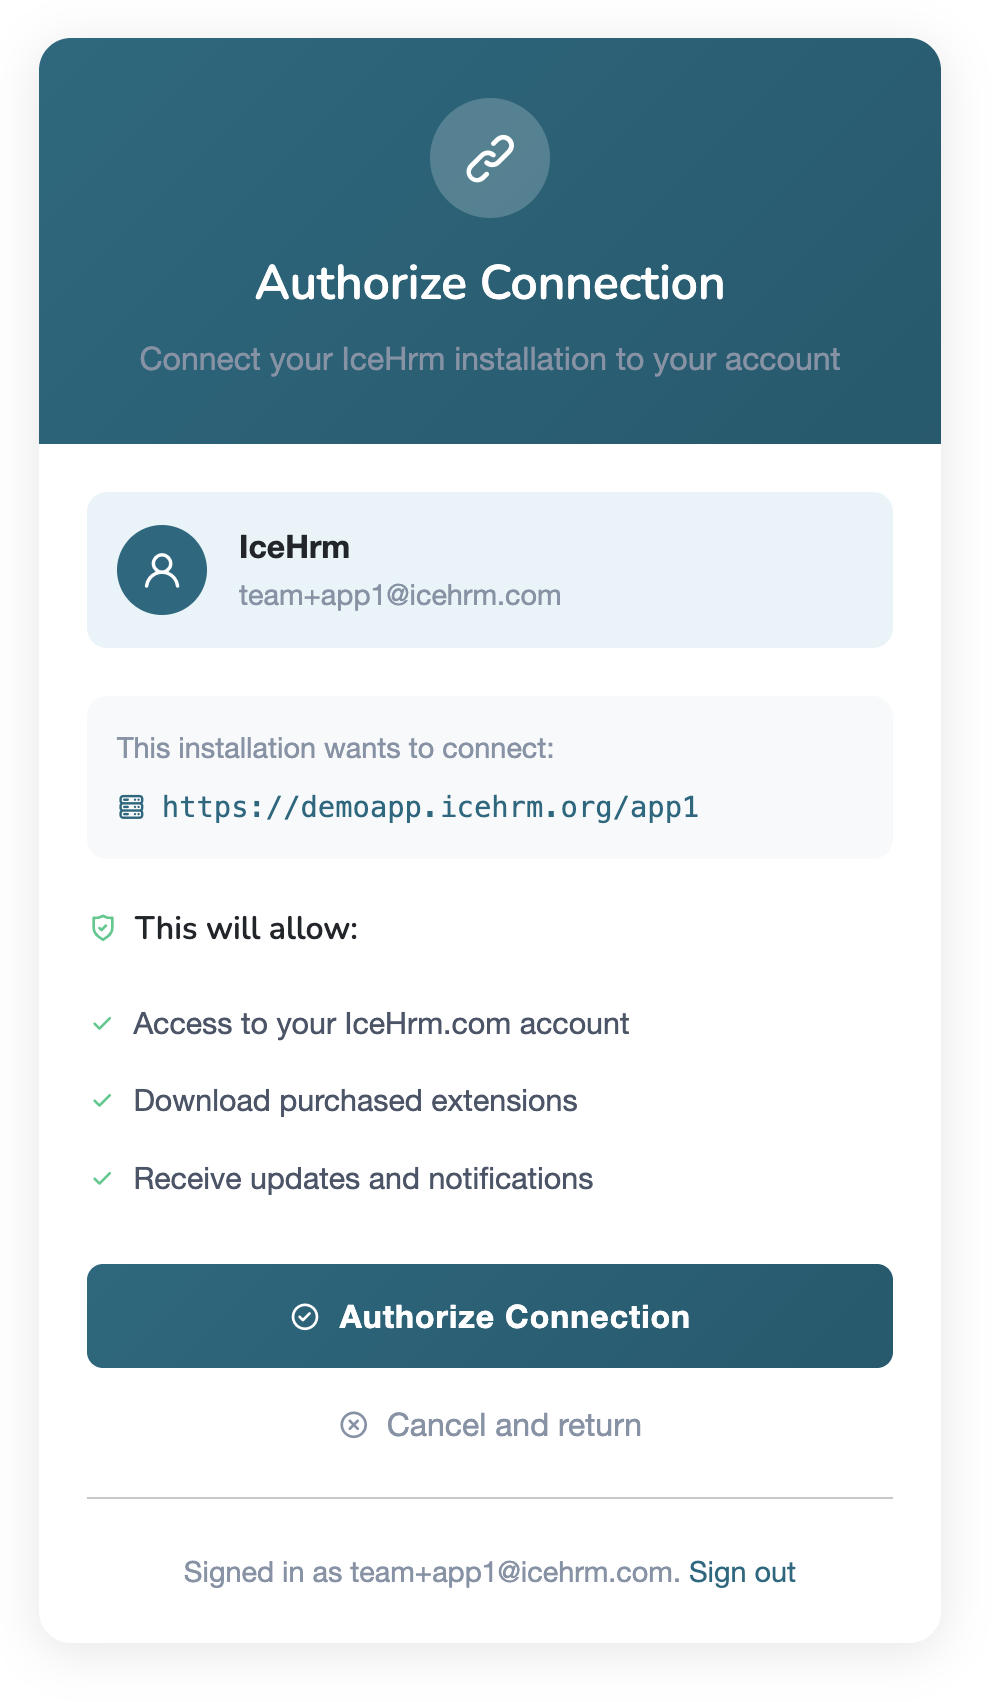
Step 4: Authorize the Connection
Review the connection request and click Authorize to allow your IceHrm installation to connect to your icehrm.com account.
Step 5: Connection Complete
Once authorized, you will be redirected back to your IceHrm installation. Your account is now connected.
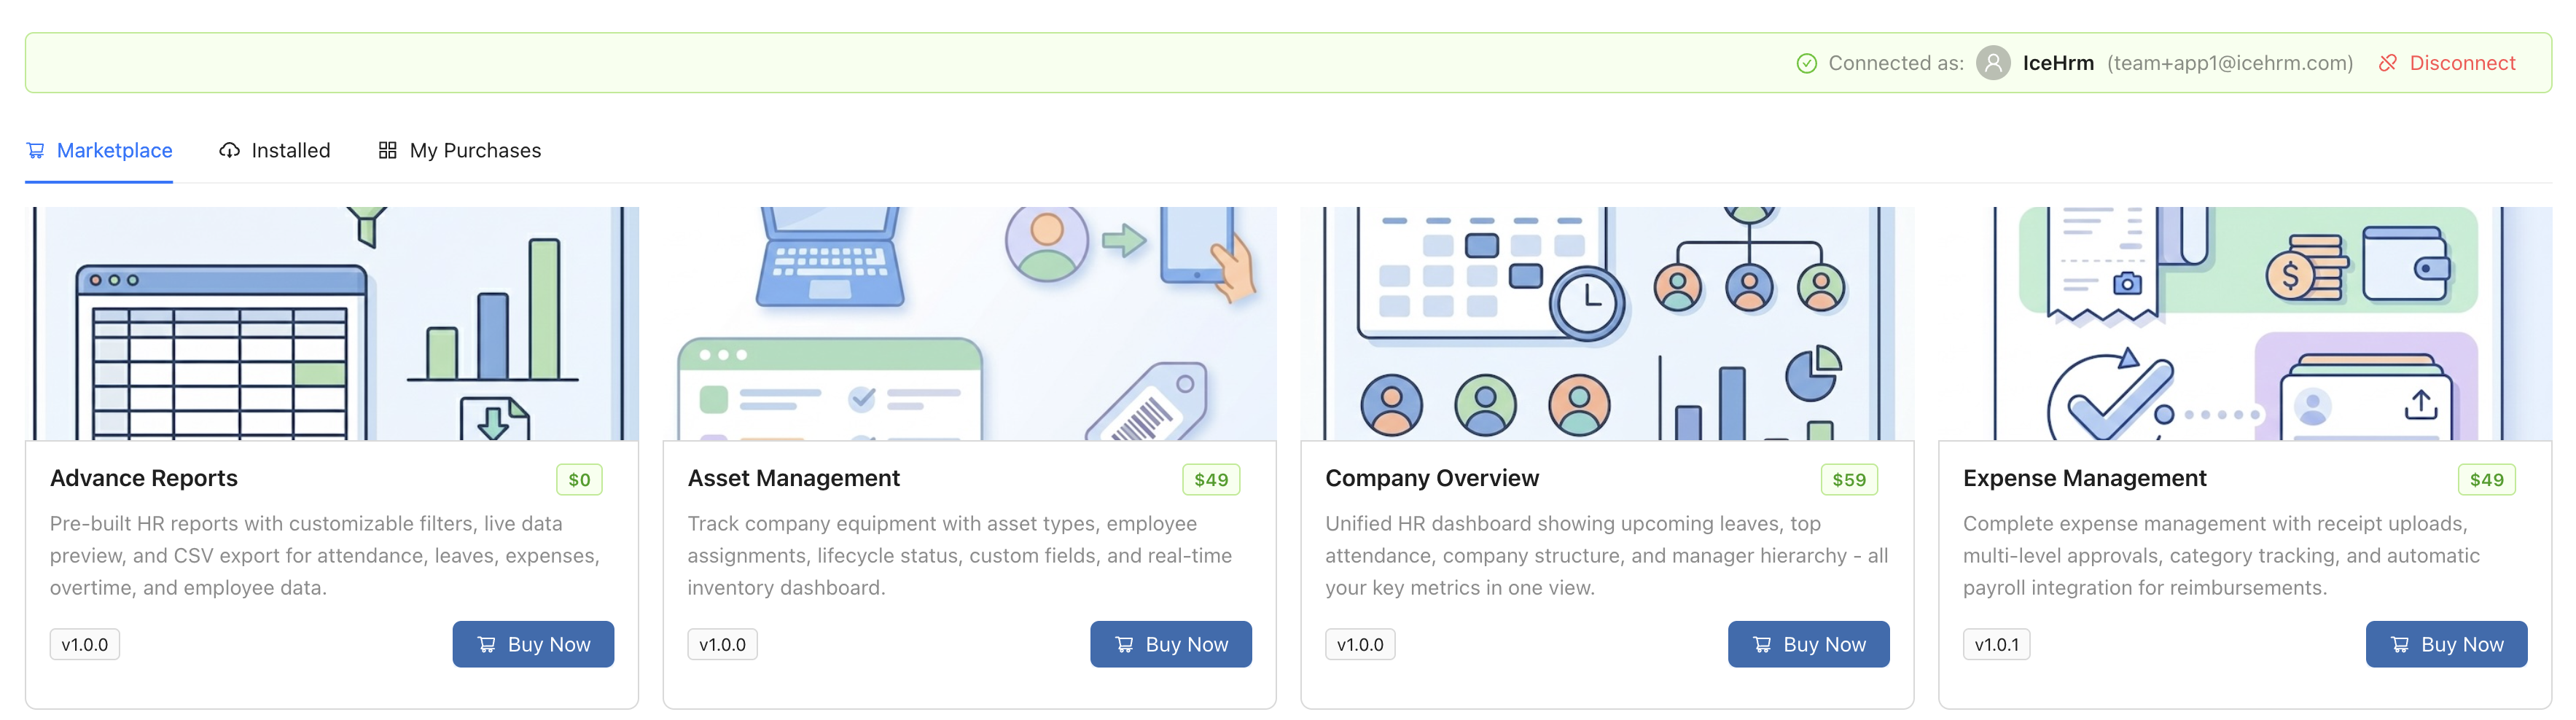
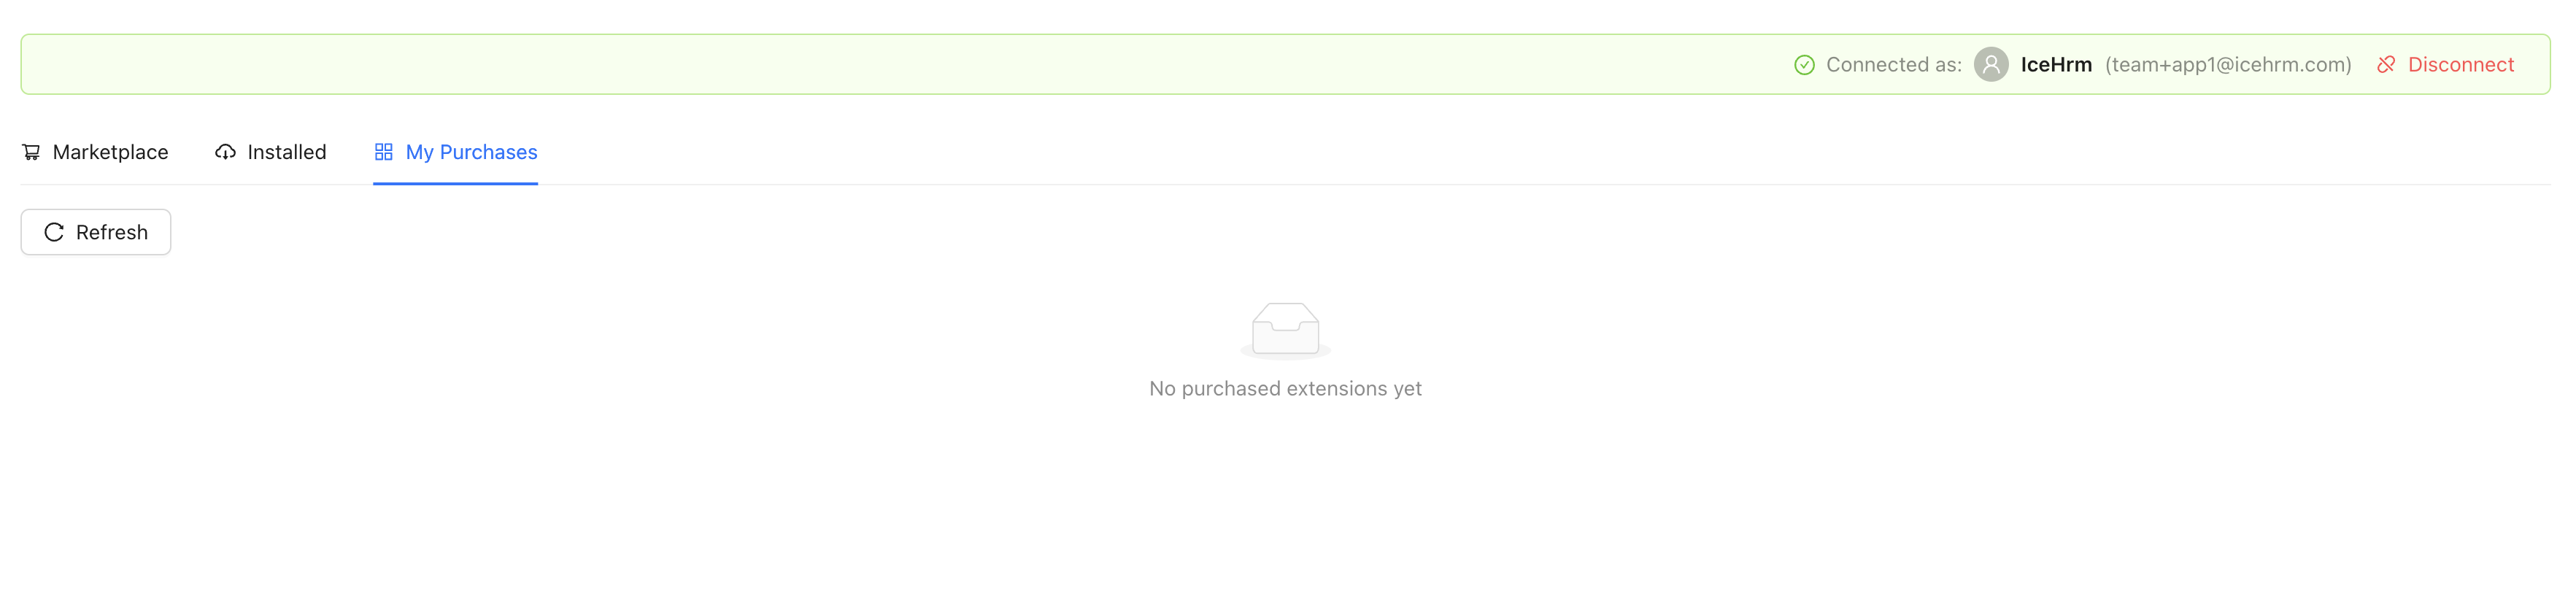
Step 6: View Available Extensions
After connecting, you can view available extensions. If you haven't purchased any extensions yet, you'll see an empty list.
Next Steps
Now that your installation is connected, you can purchase and install extensions.